
3D printing is ideal for crafting thoughtful, one-of-a-kind, creative, and personalized gifts. You can create items according to your style, hobby, or home. Practical devices to ornamental objects, 3D printed gifts are interesting since they are custom-made and unique to a particular person.
This guide presents 10 3D printed gift concepts and demonstrates how to print them properly. So, keep on reading.
Top 10 Unique 3D Printed Gifts in 2026
3D printing is an ideal technique for gift-making, personal, useful, and even fun gifts. You can request a gift from a professional service provider, or you may design it at home using DIY tips.
These are some unique and practical ideas for 3D printed gifts.
Personalized and Sentimental Gifts
For a gift that truly speaks to the heart, custom 3D prints are unmatched. These ideas help you transform cherished memories and personal touches into physical, lasting keepsakes.
Gift 1. Lithophane Photo Lamps
These lamps transform your favorite photos into shining pictures. The print is illuminated by light to bring out the image. White or translucent filament is the best to use. It is notably an easy method of visualizing memories.
Gift 2. Handwriting Pendants or Keychains
3D print a personalized pendant and keychain based on your handwritten note or a doodle. Nevertheless, it is a trivial object, yet it adds a personal meaning.
Geeky and Fun Gadgets
Combine creativity with utility by printing these clever tech accessories. They are perfect, custom upgrades for any gamer or gadget lover.
Gift 3. Custom Keyboard Keycaps
Replace your regular keycaps with printed ones. These features include special fonts, icons, and vibrant colors. This little personal touch in the setup is loved among gamers and enthusiasts.
Gift 4. Smartwatch Charging Docks
Create a tiny 3D-printed dock for charging your smartwatch. Cable slot additions maintain orderliness.
Artistic and Decorative Gifts
3D printing isn't just for functional parts. It is also a powerful tool for creating stunning decor. These elegant pieces add a sophisticated, artistic touch to any home or desk.
Gift 5. Sculptural Ring Holders
Through 3D printing, you can produce a fashionable ring or small jewelry holders. Shapes of abstract prints, animals, or artistic designs. They are ornamental and yet useful.
Gift 6. Miniature Busts
Design small busts of your favourite characters, pets, or people in print. These are popular as desk items, shelves, or collections.
Gift 7. Geometric Keychains
3D printing allows you to design lightweight lattice or geometric keychains. You can carry them anywhere. They even look fun and stylish.
Practical, Everyday Objects
Practical gifts never go out of style. You can easily 3D print these everyday problem-solvers to keep a desk organized and stylish.
Gift 8. Minimalist Phone Stands
A mini stand holds phones upright on a desk/nightstand. Through custom 3D printing, you can adjust the size to other models. These stands are easy to print and, in fact, useful in everyday use.
Gift 9. Eyeglass Holders
Create a 3D print holder to keep glasses off your desk or nightstand. It is both fun and useful, with shapes like animals, initials, or geometric designs.
Gift 10. Coaster Sets
For 3D-printed gifts, you can make a coaster set with matching designs like initials, patterns, and logos. It is good to use PETG or PLA. They are durable thermoplastics and provide structural integrity. You can match these items to your home decor in terms of colors to make it personal.
Essential Preparation Before Printing Your Gifts
Before starting your 3D printing project, preparation remains significant. For optimal outcomes in printing, you must carefully:
-
Choose the right printer.
-
Select a compatible material resin.
-
Adjust slicer settings.
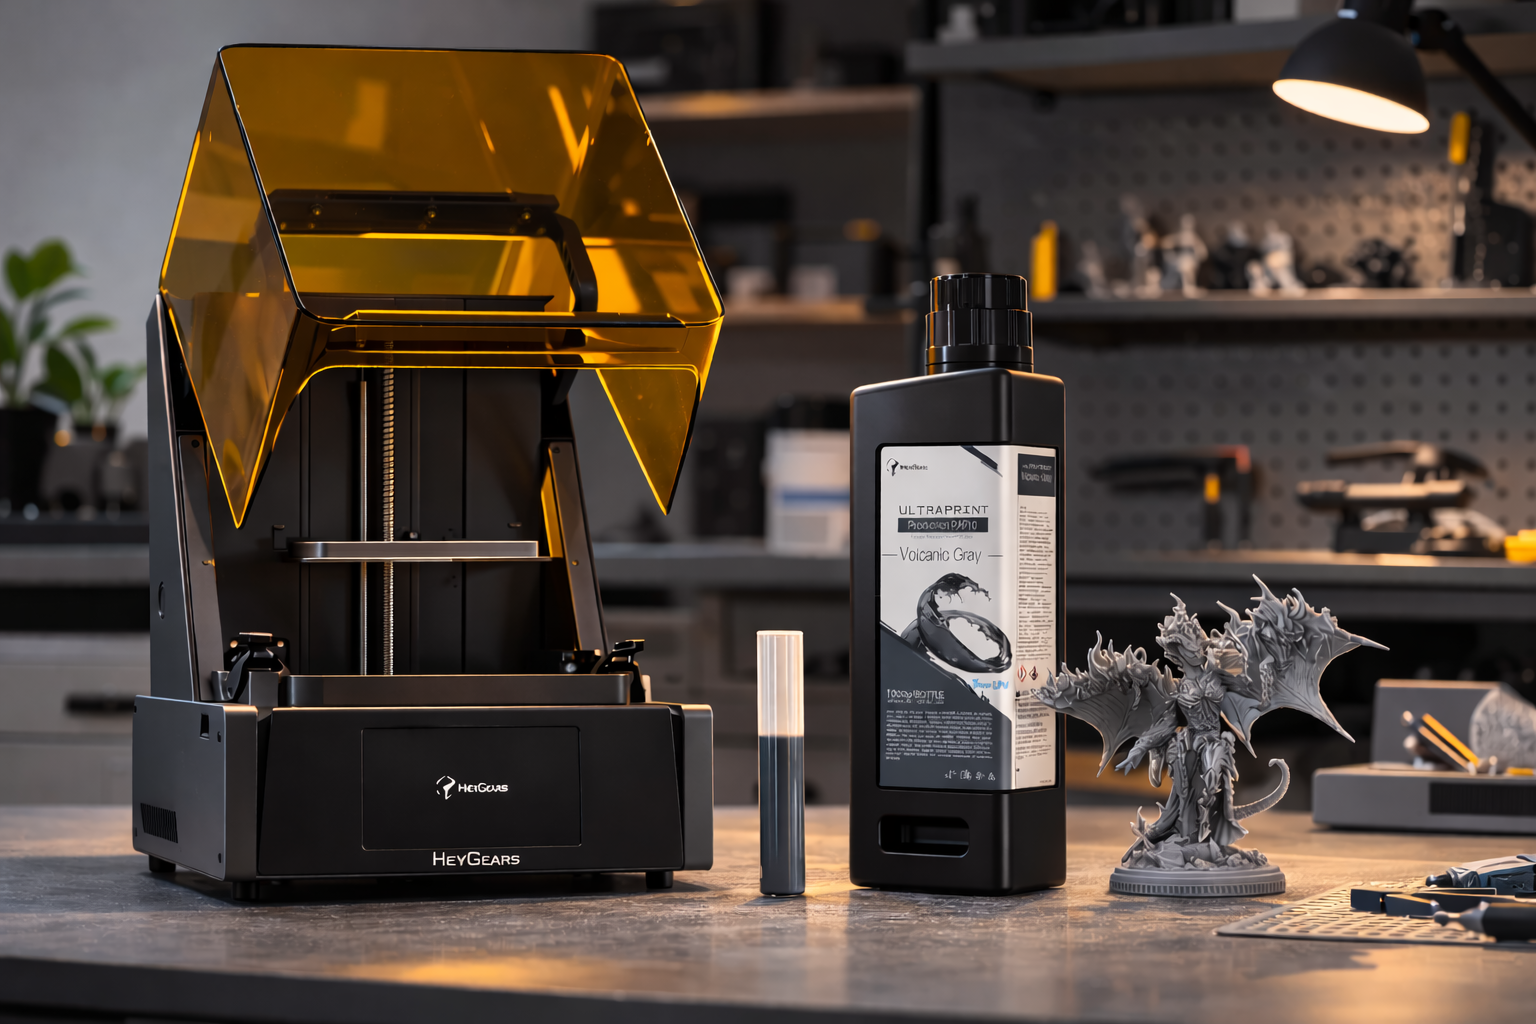
Choosing the Ideal 3D Printer
Reflex 3D Printer is a good option when it comes to having high-resolution resin prints. It combines both industrial-grade accuracy and automation.
-
Precision: 33 μm XY resolution, 385 nm UV light source
-
AI Assistance: Peeling force management, residue detection
-
Automation: Auto resin refill, heated tray, no-leveling setup

Picking the Best Materials
The right resin defines the quality of your prints. For miniatures and gifts, these two options are ideal:
|
Resin |
Features |
Ideal Use |
|
UltraPrint-Production PAP10 |
great detail, stable structure |
Miniatures, fine figurines |
|
UltraPrint-Production PAF10 (PVC-like) |
Clear, flexible, durable |
Transparent or flexible accessories |
Choose PAP10 for highly detailed, paintable models. Alternatively, use PAF10 for clear, flexible parts with a PVC-like feel.

Important Slicer Settings
Dialing in the correct software settings is essential for a successful resin print. Use these parameters as your starting point.
-
Layer Height: 50 to 100 μm for sharp details
-
Exposure Time: Follow resin manufacturer recommendations (PAP10 vs PAF10 differ slightly)
-
Supports: Add where overhangs are >45°, use fine tip for delicate features
-
Orientation: Tilt miniatures slightly to reduce visible layer lines and peeling stress
-
Infill: 15 to 25% for decorative miniatures; increase to 40 - 50% for functional parts
Useful Tips:
Before you hit the print button, run through this quick final checklist to save time and resin.
-
Always preview your model in the slicer before 3D printing.
-
Inspect thin areas to avoid breakage.
-
Add overhangs or supports if needed.
Step-by-Step Guide to Printing Your First Gift
In this section, explore how you can make a digital model, a refined 3D print. This is an example of the usage of a miniature figure, Reflex 3D Printer, and PAP10 resin.
Step 1: Prepare Your Model in Blueprint Studio
Open your miniature design in Blueprint Studio. Check critical parameters like dimensions and size, ensure that the details are clear, and add support where your model requires.
Step 2: Print with Your Resin Printer
Next, load the HeyGears Reflex with the UltraPrint PAP10 resin. Optimize your printer settings and start printing. Monitor the initial layers to ensure that all adheres well, depending on your design.
Step 3: Wash and Cure the Miniature
After printing, thoroughly wash and clean your 3D resin prints in isopropyl alcohol to remove any sticky residue. Then cure it in UV light till it gets completely hard. This procedure renders the miniature hard.
Step 4: Remove Supports Carefully
Use a pair of little clippers or a hobby knife to remove the supports. Move slowly, particularly when it comes to small details, so that nothing is broken or scratched.
Step 5: Post-Cure for Strength
Once supports are removed, cure the miniature once more under UV light. This provides an additional strength and ensures that thin sections do not bend or break.
Step 6: Sand and Polish for a Clean Finish
Polish cracks gently with smooth sandpaper. Buff conscientiously to a smooth surface. You can leave it as it is, may paint it, or apply a coat to make it look professional and aesthetically appealing.

Pro Tips for a Flawless 3D Printed Gift
A little effort will make your miniatures, printed gifts, and accessories look clean, strong, and polished.
Wear Gloves and a Mask
3D printing resins are normally skin-sensitive. Additionally, they have unpleasant odors and toxic fumes. So, it is important to wear a mask and gloves during printing. This helps you stay safe and keep your workspace clean.
Print Fine Details Facing Up
Sensitive images, such as decorations, faces, or more delicate sections, must be printed with the faces upwards in the printing machine. This orientation eliminates flattening, smudging, or breaking, and the fine features that you worked hard to create are preserved.
Sand in Stages for Smooth Surfaces
-
Use medium-grit sandpaper (~400) to remove the layer lines.
-
Use fine grits (around 800-1200) for a uniform and polished finish.
Fix Small Blemishes Before Painting
When dents or rough spots appear on your print, fill them in with a little resin or putty. Lightly sand after it dries. This is to make your model appear impeccable and look professional.
Use Primer for a Polished Finish
Using a thin layer of primer allows your paint to adhere better. It prevents chipping and creates the perfect base before you learn how to paint resin 3D prints for a professional finish.
Additional Tips
Keep these final details in mind for the best possible results.
-
Work with cured prints carefully; even the tiniest details can be chipped.
-
Sanding and filling can be done gradually; a rushed job is bound to have scratches or an ugly plate.
FAQ
Should I Print the Gift Solid or Hollow?
Hollow prints save resin and minimize curing time. Use solid prints only for small parts that need extra strength. Hollow with internal supports works for most miniatures.
Can I Wash High-Precision Resin with Water?
No, use isopropyl alcohol to clean resin prints. Water can leave sticky residue and prevent proper curing. While alcohol keeps details sharp and surfaces smooth.
How to Prevent Resin Prints from Yellowing?
Keep your prints indoors and away from direct sunlight, and use quality resins with anti-yellowing properties to ensure long-lasting color preservation.
Are Support Marks Normal on a Resin Print?
Yes, small marks appear where supports were attached. Light sanding or polishing removes them and keeps details intact.
Is it Safe to Print Resin Miniatures Indoors?
Yes, simply print in a well-ventilated area with safety gloves. When not in use, store the resin away from your workspace.
Conclusion
To conclude, 3D printing is a useful technique for designing custom items. From daily use items to personalized gifts, you can do it yourself, following basic steps and paying attention. Nevertheless, you must choose the right printer, resin type, and optimized settings. So your design remains professional and aesthetically appealing.
This article has provided useful tips and step-by-step instructions to successfully use 3D printing to produce personalized objects effectively. So, now, you have everything you need to start your 3D printing gifts project. Anyone who receives your gift, whether an emotional trifle or a playful object, will be amazed and captivated by it.
Share:
3D Printing Book Stand: A Step-by-Step Guide for Beginners
3D Printed Computer Case: A Complete Guide to Printing Your Own