
There's something magical about holding a perfectly detailed, lifelike animal model in your hands—a miniature wolf with every strand of fur defined, a dragon with scales that shimmer, or a delicate hummingbird with paper-thin feathers. With the rise of high-resolution resin 3D printing, creating these stunning 3D printed animals has moved from the realm of professional studios into the hands of creators and hobbyists like you.
But where do you start? How do you transform a digital sculpture into a physical masterpiece? This guide is your comprehensive resource for diving into the captivating world of 3D printed animals. We’ll explore why resin is the superior choice, cover essential design and printing techniques, and spark your imagination with incredible project ideas, helping you understand how the right tools can bring your creative vision to life.

Why Resin is the Ultimate Choice for Detailed Animal Models
While there are other 3D printing methods, when it comes to creating animal figures that are bursting with life and detail, resin printing is in a class of its own. The technology's unique approach offers three distinct advantages that are crucial for capturing the organic complexity of the animal kingdom.
Unmatched Detail: Capturing Fine Textures Like Fur, Scales, and Feathers
The secret to a lifelike animal model lies in its texture. Think about the rough hide of an elephant, the sleek fur of a panther, or the intricate pattern of a butterfly's wing. Resin 3D printers, which work by curing liquid resin with a high-resolution light source, can reproduce these details on a microscopic level. Where other printing methods produce visible layer lines that can obscure fine features, resin printing creates an exceptionally smooth, near-continuous surface that captures the finest nuances of the digital sculpt, resulting in exceptionally fine layer lines that are significantly less visible than those from filament-based printers, achieving a near-continuous surface appearance. This precision is what makes the difference between a model that looks like a toy and one that looks like a museum-quality replica.
The Smooth Surface Finish Advantage Over Other Printing Methods
Beyond fine texture, the overall surface quality is paramount. Resin printing is capable of producing an almost perfectly smooth surface finish, often described as 'injection-mould-like,' after proper washing and curing. This creates a superior foundation for painting compared to other methods, though proper post-processing—including washing, support removal, and light sanding—is still essential to achieve a truly smooth canvas. This is a massive advantage for two reasons. First, it means your models look incredible with minimal post-processing. Second, it creates the perfect canvas for painting. Without the need to sand away layer lines, your primer and paint will apply evenly, allowing you to execute advanced techniques like washes and dry brushing to make those tiny details pop.
Material Versatility: From Crystal Clear Creatures to Paint-Ready Canvases
Modern photopolymer resins offer a fantastic range of properties to suit any project. You can use HeyGears resins in shades of grey for a neutral base that's perfect for painting and highlights every detail. You can print a ghostly jellyfish or an ethereal water elemental using crystal-clear resins. For models that might be handled more often, such as articulated animal models with moving parts, you can use tough or ABS-like resins that provide enhanced durability for thin, interlocking components. This material versatility allows you to match the physical properties of your print to the artistic vision for your creature.
Key Considerations for Your Animal Model Designs
A great print starts with a great design. Whether you're sculpting your own model from scratch or downloading a pre-made file, understanding a few key principles will save you time, resin, and frustration.
The Foundation: Mastering Anatomy, Pose, and Expression
The most technically perfect print will fall flat if the subject itself isn't believable. Before you even think about printing, study the anatomy of the animal you're creating. How do its muscles connect? How does it carry its weight? A dynamic pose can tell a story and imbue your model with energy and personality. Is the wolf snarling in aggression, or is it calm and observant? Capturing this expression is key to creating an emotional connection with the viewer.
Essential Resin-Specific Design: Hollowing, Drainage, and Wall Thickness
Printing solid models can be time-consuming and expensive due to the amount of resin used. The solution is hollowing—turning the inside of your model hollow. However, this creates a new challenge: trapped, uncured resin inside your print. To solve this, you must add strategically placed drainage holes. These holes allow the uncured resin to escape during the printing and washing process. A good rule of thumb is to have at least two holes, one near the base and one elsewhere, to allow air to enter as the resin drains. Finally, pay attention to wall thickness. If the walls of your hollowed model are too thin, the print can be fragile or even fail. A wall thickness of 1.5mm to 3mm is a safe range for most models.
Where to Find High-Quality 3D Models for Your Next Project?
You don't have to be a master sculptor to get started! A great alternative is to use a powerful 3D model community and search engine like Thangs.com.
Thangs is an excellent resource designed specifically for creators. It hosts a massive, searchable library of millions of 3D models, making it one of the best places to find your next project. You can search for specific animals, browse collections curated by other users, and follow your favourite designers to see their latest creations. Many models are available for free, and the platform's robust community features allow you to see how others have printed and painted a specific file, giving you confidence before you even download it.
The Printing and Finishing Workflow
With a great model in hand, it's time to bring it to life. A methodical approach to printing and finishing will ensure your final piece is something you can be proud of.
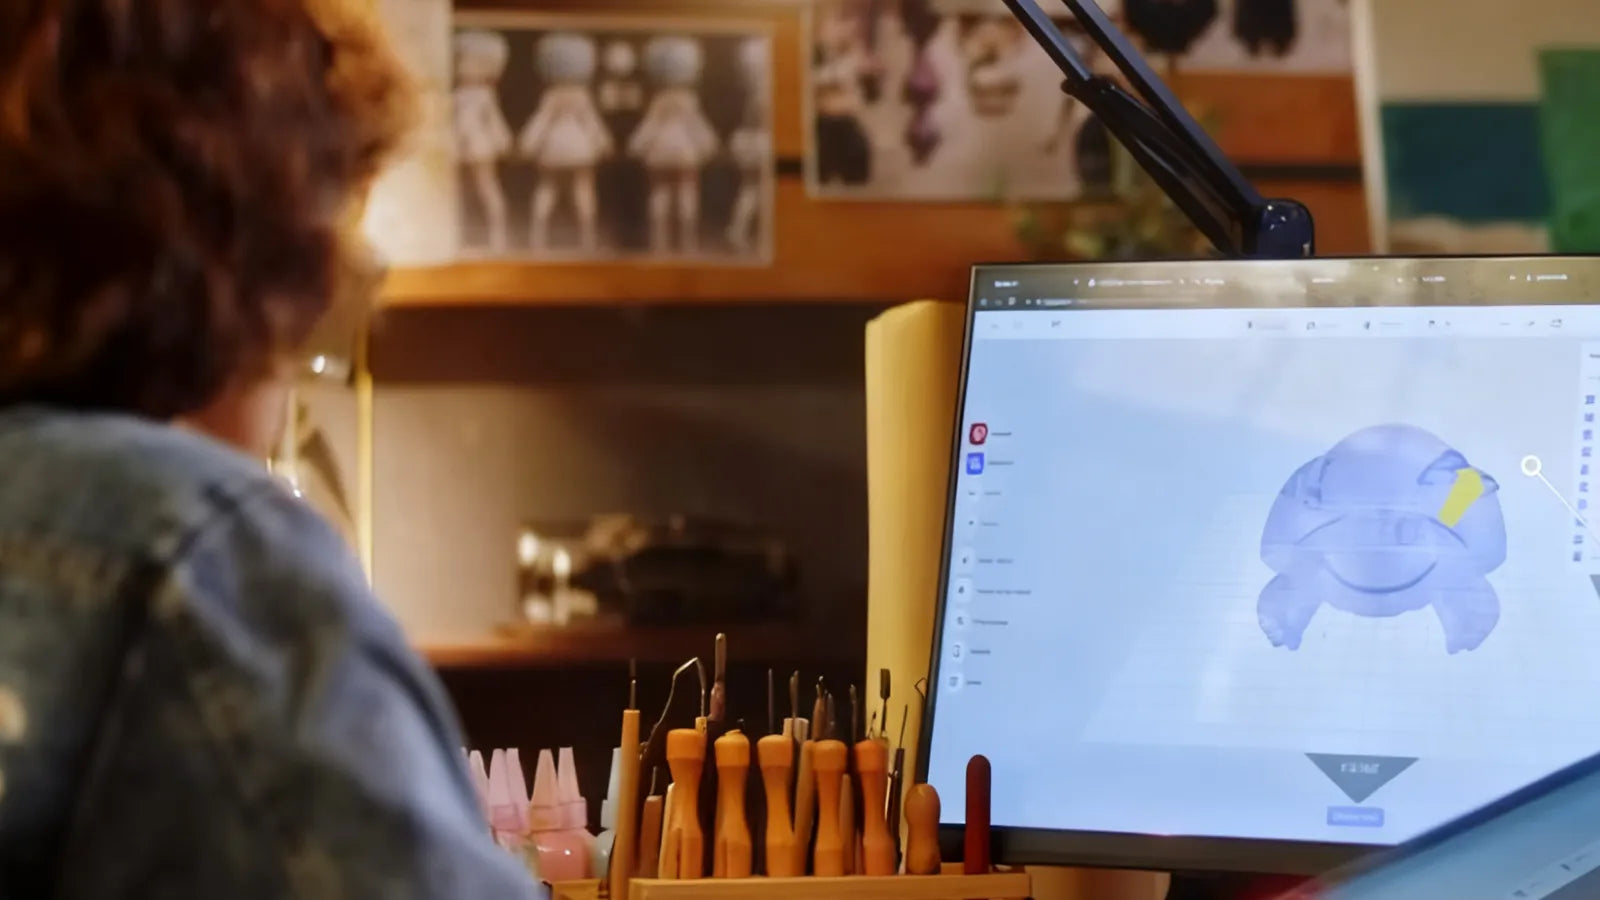
Slicer Settings: Optimizing Orientation and Supports to Preserve Delicate Features
Your slicer software is the bridge between your 3D model and your printer. The two most important settings here are orientation and supports. Orientation refers to the angle at which you place your model on the build plate. For animal models, it's best to tilt them backwards (often around 30-45 degrees). This helps hide the tiny marks left by support structures on the model's back or underside, preserving the crucial facial and frontal details.

Supports are the scaffolding that holds up overhanging parts of your model during printing. Use light or fine supports for delicate areas like ears, tails, and claws to make them easier to remove without causing damage. Professional-grade resin 3D printers, like HeyGears Reflex 3D Printer, often come with powerful, intuitive slicer software that can automate much of this process with intelligent support generation.
Post-Processing: Washing, Curing, and Sanding for a Flawless Finish
Once the print is finished, a few steps are needed to prepare it. First is washing. This involves rinsing the print in isopropyl alcohol (IPA) to remove any uncured liquid resin from its surface. Next is curing. The print has achieved its form but requires post-curing under UV light to complete the polymerization process, which ensures maximum structural integrity, durability, and material stability. Finally, after removing the supports, you may have tiny nubs left over. These can be carefully sanded away with fine-grit sandpaper for a completely seamless finish.
Painting Techniques to Bring Your Resin Animals to Life
This is where your model truly develops its personality. Always start with a thin layer of primer, which helps the paint adhere to the resin. From there, the possibilities are endless. Apply a base coat of your main colours, then use a darker "wash" to seep into the crevices and bring out the texture of fur and scales. Finish with "dry brushing"—using a nearly dry brush with a lighter colour to catch the raised edges and highlight the details. This simple three-step process (base, wash, highlight) can produce breathtakingly realistic results.
Stunning Ideas for 3D Printed Animals Projects
Ready for some inspiration? Here are a few project ideas that are perfectly suited for the detail and quality of resin 3D printing.
Hyper-Realistic Miniatures for Dioramas and Collectors
Create a miniature wildlife scene. Print a majestic eagle to perch on a branch, a fox stalking through the undergrowth, or a full set of African safari animals. The high fidelity of resin printing allows you to create diorama pieces and collectibles that are accurate enough for educational displays or discerning collectors.

Stylized and Artistic Animal Sculptures as Home Décor
3D printed animals don't have to be strictly realistic. Explore artistic styles like low-poly designs for a modern, geometric look. Or, create elegant, flowing sculptures of animals in motion that serve as stunning centrepiece art for your home. This is also where skills overlap with other creative hobbies. If you've ever wondered, "Can you 3d print anime figures?", the answer is a resounding yes, and the techniques for capturing the stylized details of a character are the same as those used for an artistic animal sculpture.
Functional Art: Animal-Themed Bookends, Planters, and Jewelry Holders
Combine form and function. Print two halves of a powerful bear or a wise owl to serve as unique bookends. Design a cute cat or a quirky octopus that can hold your rings and necklaces on its tail and tentacles. Or, create small planters shaped like hedgehogs or turtles. These projects are not only fun to make and paint, but also make fantastic, personalized gifts.
Now that you're inspired to create your own menagerie, the next step is choosing the right tool for the job. To achieve the professional-grade detail, smooth finish, and flawless results we've discussed. Mastering the workflow of resin 3D printing, from design and slicing to post-processing, is key to transforming your artistic vision into a stunning physical reality.
Share:
Where to Find the Best Free 3D Print Models for Your Resin Printer
How to 3D Print with a Resin Printer: A Beginner-Friendly Guide