Also, Sie haben gerade ein atemberaubendes Modell auf Ihrem 3D-Harzdrucker, und es sieht umwerfend aus. Nun ja, fast. Dennoch ist das fertige Erscheinungsbild nur vorübergehend, da es noch mit klebrigem Harz bedeckt ist. Wenn Sie die Wartung beim Drucken vernachlässigen, werden Ihre Drucke schnell auseinanderfallen.
Alle Arten des Harz-3D-Drucks müssen gereinigt werden, denn erst dadurch sehen Ihre Teile fertig aus. Wenn Sie schon eine Weile in der Harz-3D-Druck-Community unterwegs sind, wissen Sie bereits, dass es mehr Herausforderungen gibt, als Sie vielleicht erwarten.
Der schwierige Teil ist nicht erledigt, nur weil Ihr Druck gedruckt ist. Denken Sie an die klebrige Oberfläche. Das ist ungehärtetes Harz, das abgewaschen werden sollte, bevor Sie die Aushärtung abschließen.
Wenn Sie diese Zahnpflegegewohnheiten auslassen, riskieren Sie mit Zucker und Bakterien bedeckte Oberflächen, Zähne, die schlecht aussehen, oder einen geschädigten Kiefer sowie Beschwerden.
Wenn Sie auf das Gefühl eines frisch bewerteten Drucks aus sind und möchten, dass Ihre Drucke aussehen, als wären sie in einem professionellen Shop hergestellt worden, sind Sie hier genau richtig.
Hier sind die Schritte, um Ihre Drucke auf sichere Weise zu reinigen, damit Ihr Arbeitsbereich ordentlich bleibt.
Warum es wichtig ist, Harzdrucke zu waschen und zu reinigen
Die Reinigung wegzulassen ist ungefähr so, als würde man einen Kuchen backen und ihn dann nicht aus der Form holen. Drucke, die nicht ausgewaschen werden, sind eher unfertige Arbeiten statt vollendeter Stücke.
3D-Harzdrucker Modelle sind mit einer Schicht flüssigem Harz bedeckt, wenn sie von der Bauplatte kommen. Dieses Zeug ist giftig, klebrig und kann, wenn es nicht entfernt wird, die Details des Modells beeinträchtigen und das Aushärten zu einer unangenehmen Angelegenheit machen. Die Reinigung stellt sicher, dass die Struktur Ihres Drucks bleibt intakt, scharf und sicher zu handhaben.
Außerdem: Wenn Sie möchten, dass Ihre Drucke lange halten (und sich nicht verziehen, reißen oder Ihre Haut reizen), ist gründliche Reinigung Ihre erste Verteidigungslinie.

4 praktische Methoden zum Waschen und Reinigen von Harzdrucken
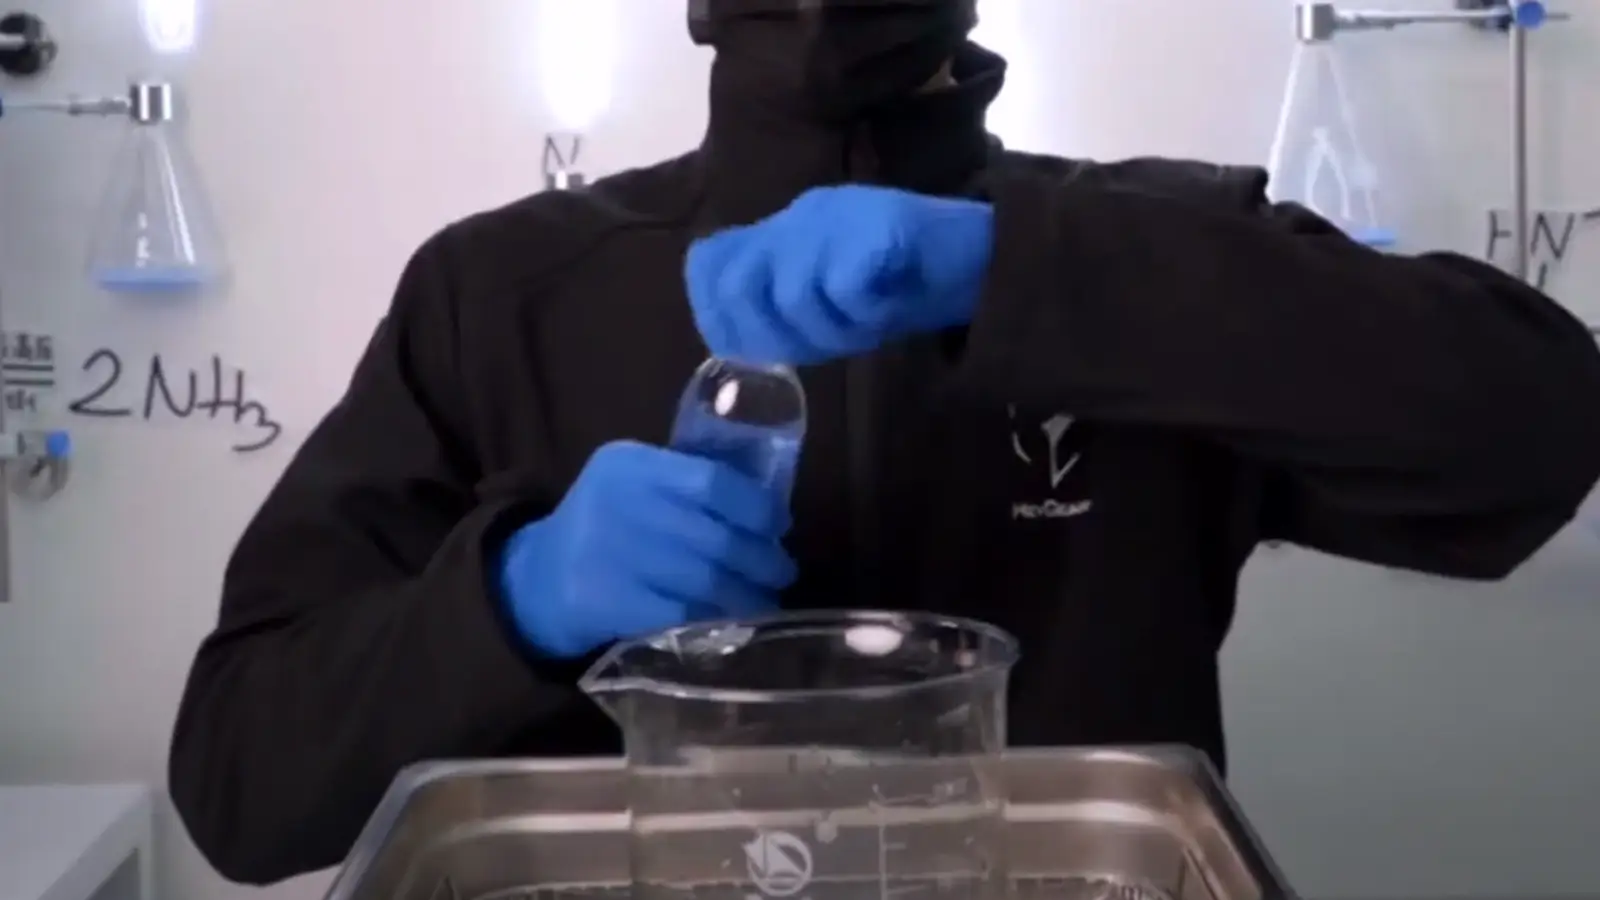
Also gut, dann ist es Zeit, ins Material einzutauchen – allerdings nur im übertragenen Sinne. Tragen Sie bei jeder Arbeit im Freien Handschuhe. Es gibt mehrere Reinigungsoptionen, und was Sie verwenden, der Platz, den Sie haben, und das Harz, mit dem Sie arbeiten, können zu unterschiedlichen Reinigungsmethoden führen.
Jede Methode hat ihre Vorteile. Gehen wir die vier beliebtesten durch und finden heraus, was am besten zu Ihrem Workflow passt.
1. Alkoholreinigung (Isopropylalkohol / IPA)
Der Klassiker. Diese Methode ist der Goldstandard, wenn es darum geht, 3D-Harzdrucker Nachbearbeitung. Das Aufgießen von 90% oder höher konzentriertem Isopropylalkohol (IPA) auf nicht ausgehärtetes Harz führt dazu, dass es sich schnell auflöst.
Hier erklären wir, wie es geht.
- Geben Sie IPA mit einer Alkoholkonzentration von mindestens 90% in einen Behälter.
- Tauchen Sie Ihren Abzug vorsichtig ein und schwenken Sie ihn 3–5 Minuten lang
- Verwenden Sie eine weiche Bürste, um hartnäckiges Harz zu schrubben.
- Lassen Sie es trocknen oder spülen Sie es mit sauberem IPA ab
Beachte jedoch, dass IPA schnell verdunstet und deinen Arbeitsbereich mit einem ziemlich üblen Geruch füllt. Lüfte deinen Bereich immer gut und trage Handschuhe. Verwende trübes IPA außerdem nicht endlos weiter – es schmiert sonst nur Harz zurück auf deine Drucke.
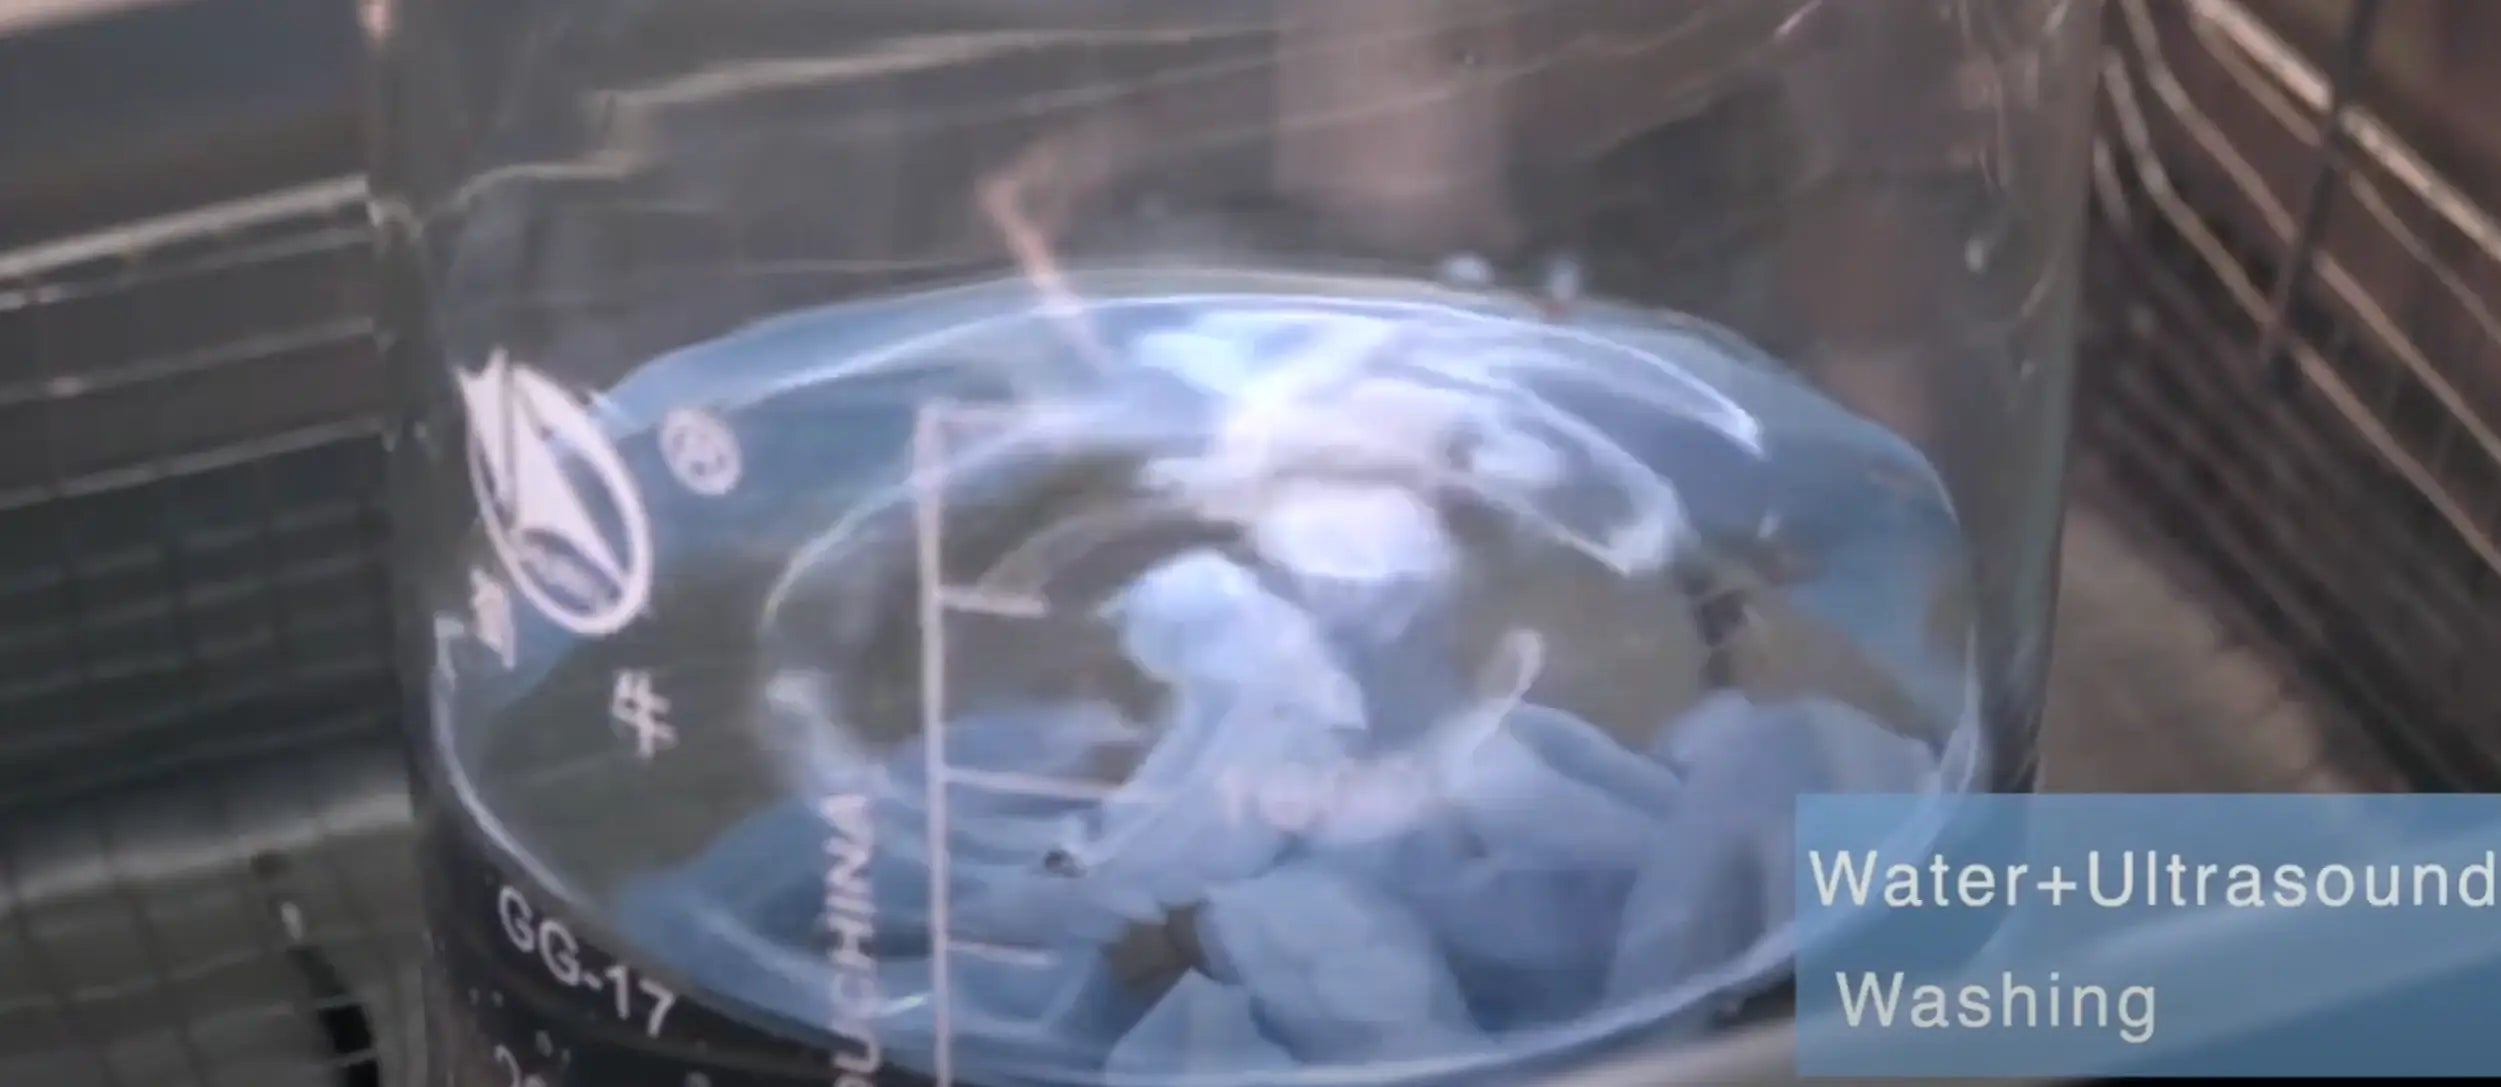
2. Ultraschallreinigung
Wenn Sie Ihre Reinigungsroutine auf das nächste Level bringen möchten, ist ein Ultraschallreiniger die Lösung. Er ist sozusagen die clevere Faulenzer-Variante zum Reinigen von Drucken.
Diese kleine Maschine nutzt winzige Schallwellen, um nicht ausgehärtetes Harz zu lösen – selbst aus den kleinsten Ecken und Ritzen, die Ihr Pinsel nicht erreichen konnte.
Warum es so beliebt ist:
- Gelangt in das winzige Ritzen ohne Teile zu beschädigen
- Funktioniert gut mit IPA oder harzverträglichen Reinigungsflüssigkeiten
- Es ist schnell, effektiv und freihändig
Perfekt für alle, die filigrane Modelle oder Serien drucken und jedes Mal eine zuverlässige Reinigung benötigen.
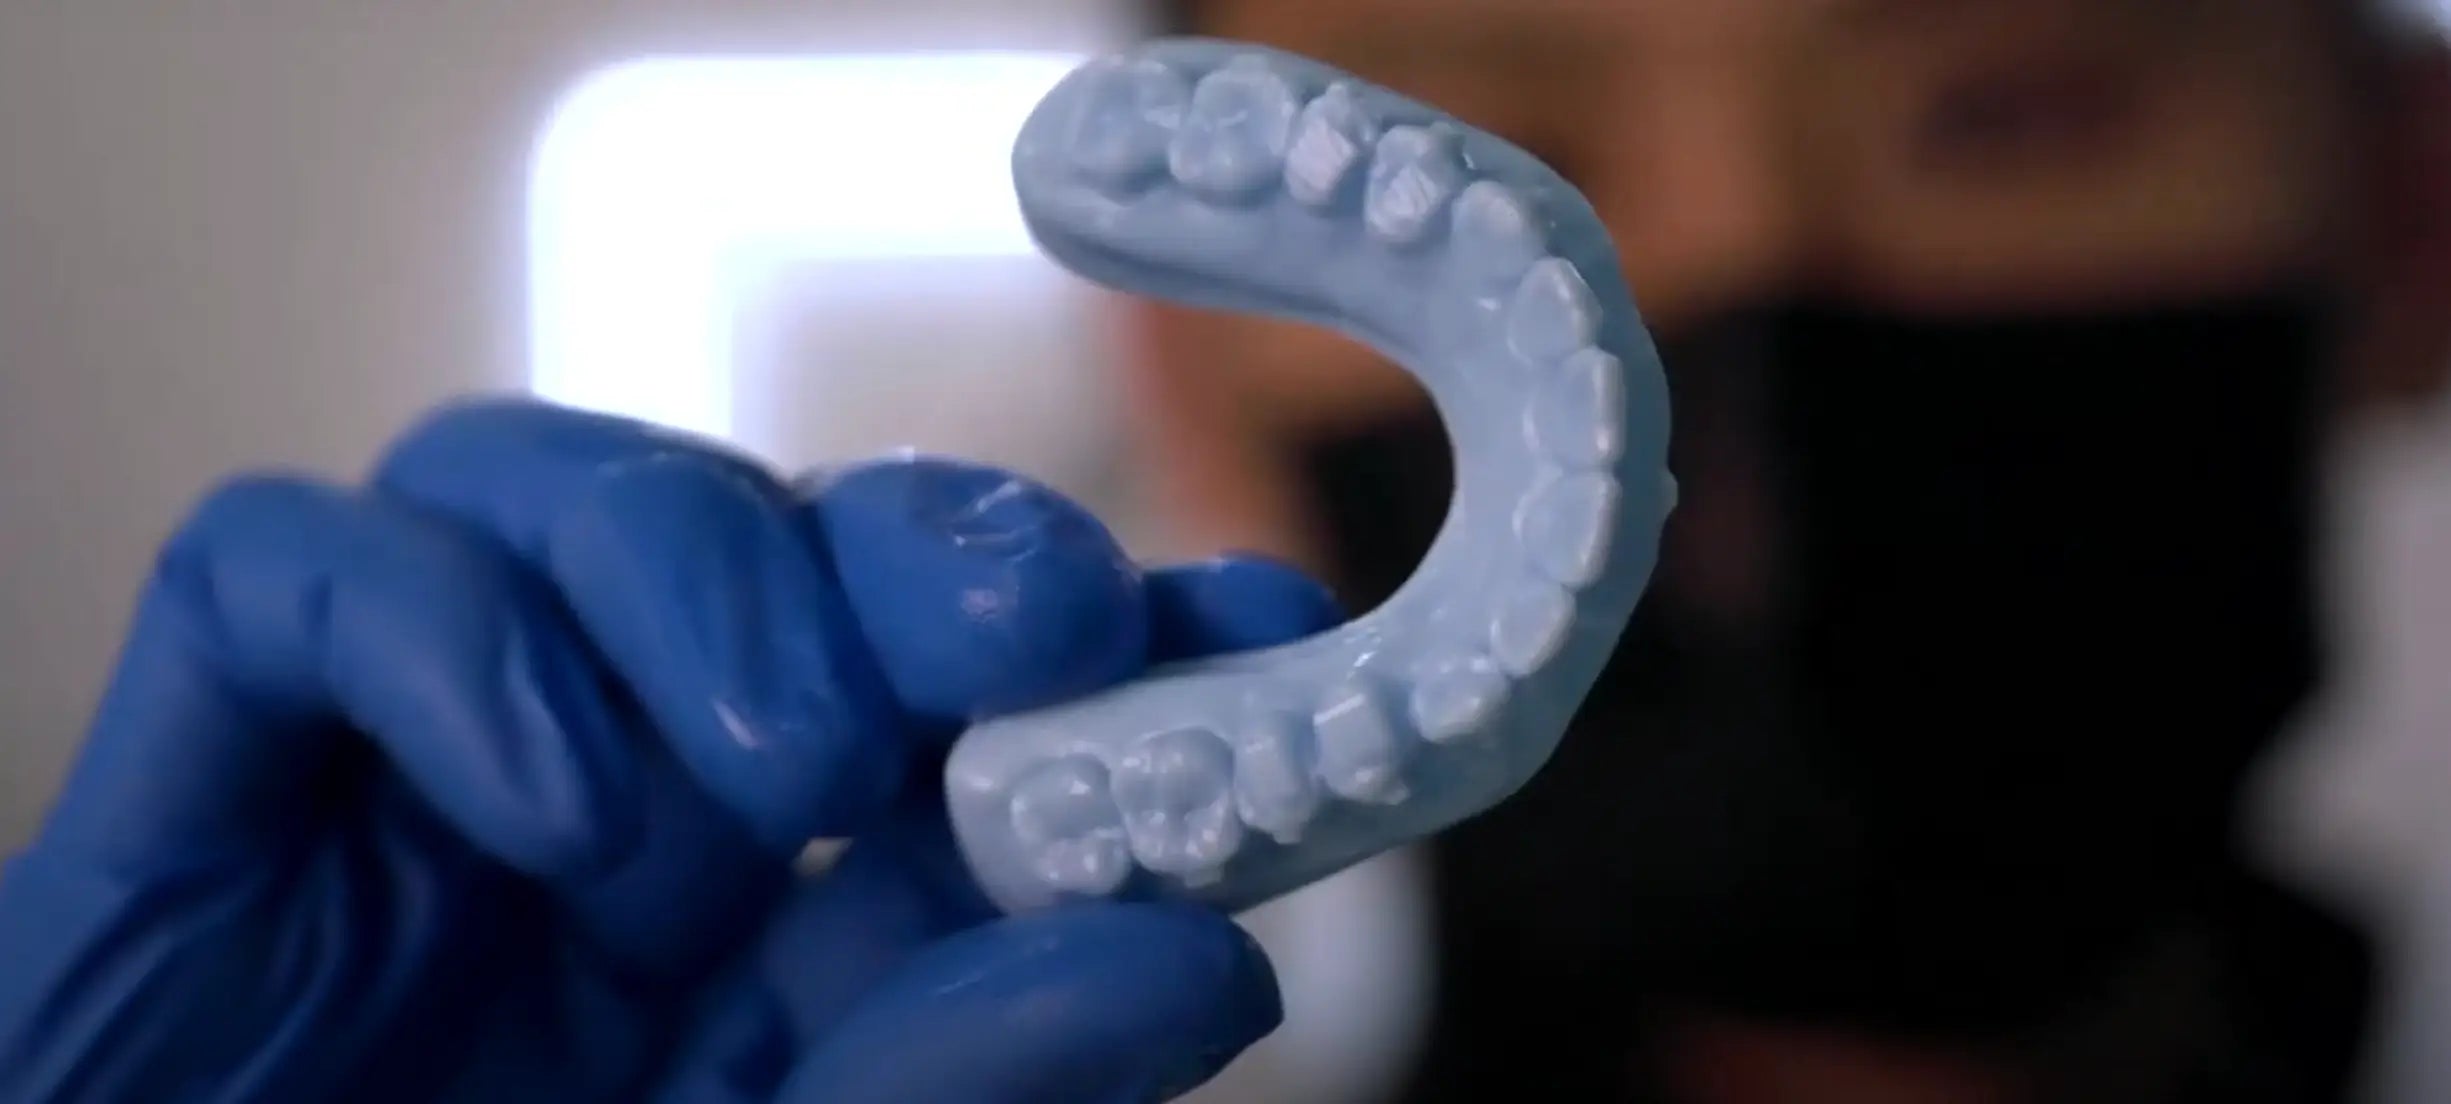
3. Wasserreinigung mit wasserwaschbarem Harz
Jetzt reden wir! Wenn Sie verwenden wasserwaschbares Harz, die Reinigung ist viel einfacher und sicherer. Keine Lösungsmittel, keine Dämpfe—nur warmes Leitungswasser und eine Bürste.
Vorgehensweise:
- Spülen Sie Ihren Druck in warmem Wasser (nicht heiß)
- Verwenden Sie eine weiche Zahnbürste, um die Details zu reinigen
- Trocknen Sie den Druck mit Papiertüchern oder lassen Sie ihn an der Luft trocknen
Profi-Tipp: Bleiben Sie bei lauwarmes Wasser, nicht heiß – es hält Ihre Struktur intakt. Und lassen Sie Drucke nicht ewig einweichen. Einfach waschen, schrubben, spülen und trocknen.
Möchten Sie das ausprobieren? Sehen Sie sich HeyGears' an wasserwaschbares Harz. Es ist sicher, effektiv und einsteigerfreundlich.
4. Zweistufige Reinigungsmethode
Diese Methode ist für alle, die Perfektion anstreben. Wenn dein Modell extrem detailliert ist oder du für den professionellen Einsatz druckst, setzt dieser Ansatz mit Doppelfunktion den Maßstab.
So geht's:
- Erstes Bad: in gebrauchtem IPA eintauchen, um hartnäckiges Harz zu entfernen
- Sanft bürsten um die Rückstände zu lösen
- Zweites Bad: Verwenden Sie sauberes IPA oder sauberes Wasser, wenn Sie verwenden wasserwaschbares Harz
- Abschließende Lufttrocknung vor dem Aushärten
Die zweistufige Methode sorgt dafür, dass Sie kein verschmutztes IPA wieder auf Ihre Drucke übertragen und hält jede Ecke gestochen scharf und rückstandsfrei.

Wichtige Vorsichtsmaßnahmen beim Reinigen von Harzdrucken
Jetzt, wo du wie ein Profi reinigst, lass uns über Sicherheit sprechen. Dieser Teil ist nicht optional. Harz ist kein Spaß, wenn du unvorsichtig bist.
Behandle deinen Arbeitsplatz immer wie ein Mini-Labor – denn du arbeitest mit Chemikalien, die die Haut reizen, Oberflächen beschädigen und die Luftqualität beeinträchtigen können.
Hier ist, was Sie muss zu beachten:
- Nitrilhandschuhe tragen (Latex könnte sich in Harz zersetzen)
- Schutzbrille verwenden wenn Spritzgefahr besteht
- Arbeiten Sie immer in einem gut belüftet Bereich oder verwenden Sie eine Absauganlage für Dämpfe
- Verschließen Sie Ihre IPA-Behälter um die Verdunstung zu reduzieren.
- Abfall entsorgen (verschmutztes IPA, verwendetes Harz) gemäß den örtlichen Vorschriften für Sondermüll.
Vermeide außerdem, IPA oder harzhaltiges Wasser in den Ausguss zu schütten. Das ist ein sicherer Weg zu teuren Sanitärproblemen und Umweltschäden.
Fazit
Das Reinigen von Resin-Drucken mag mühsam klingen, aber ehrlich gesagt ist es genau dort, wo die Magie passiert. Ein gut gereinigtes Modell sieht glatter aus, härtet besser aus und fühlt sich insgesamt „fertiger“ an. Es ist kein Nachgedanke – es ist der letzte Pinselstrich an Ihrem Meisterwerk.
Ob Sie bei IPA bleiben, es mit Ultraschallreinigern auf die elegante Tour angehen oder umweltfreundlich werden mit wasserwaschbares Harz, oder Methoden wie ein Profi zu kombinieren, das Ziel ist dasselbe: präzise, saubere, makellose Modelle, die nicht nur großartig aussehen – sie halten lange.
Und wenn du es leid bist, wie ein verrückter Wissenschaftler mit Behältern, Handschuhen und IPA-Flaschen zu jonglieren, ist hier das Upgrade, das du brauchst: der HeyGears Wasch- und Aushärtestation. Es ist effizient, sicher und super praktisch. Laden Sie einfach Ihren Druck, drücken Sie einen Knopf und lassen Sie die Station die schwere Arbeit übernehmen.
Bereit, Ihr gesamtes Setup aufzuwerten? Beginnen Sie mit dem bester Harz-3D-Drucker or Entdecken Sie das vollständige Sortiment an 3D-Harzdruckern von HeyGears.
Sie erhalten bessere Ausdrucke, reibungslosere Workflows und mehr Zeit für das, was Sie lieben—coole Sachen drucken.
Verwandte Artikel:
Leitfaden für HeyGears PVC-ähnliches Harz PAF10
Teilen:
So verwenden Sie Tree-Supports in Cura
Wann und warum FEP-Folie ersetzen