
Using quality resin and designing your model properly are important steps, but your resin 3D printer also relies on less glamorous but essential components.
Just like Arwen quietly supported the Fellowship in The Lord of the Rings, the FEP film plays a crucial behind-the-scenes role in every successful print.
It may seem easily breakable, but this clear sheet is necessary for the perfect structure and quality of your printer’s outputs. Let’s find out why replacing it at the proper stage can be the difference between a great model and a failed one that never left the vat.
There’s nothing more frustrating than a failed resin print. You double-check your file, your bed is level, and you even cleaned your plate like a pro. But your prints keep peeling, warping, or straight-up disappearing. Sound familiar?
Sometimes the problem isn't your slicer or settings. It’s that thin piece of film quietly degrading at the bottom of your vat. Yep, your FEP film.
Understanding when and why to replace it is the first step toward consistent, flawless printing—and extending the life of your resin 3D printer’s internal structure.
What Is the Function of FEP Film?
Before you yank it out and toss it, let’s be clear on what this film does. The FEP film—short for Fluorinated Ethylene Propylene—is the transparent layer that lines the bottom of your resin vat.
Its job? Crucial.
It allows UV light from the screen beneath to pass through, curing the resin layer by layer. At the same time, it prevents resin from leaking out of the vat while enabling each cured layer to peel off cleanly from the bottom.
If your FEP film is scratched, cloudy, or stretched, that light gets diffused. And if the cured layers don’t peel away correctly, your print fails—fast.
When and Why to Replace FEP Film
The main question is, what signals should be recognized to know when to move on?
It’s not necessary to be an expert to tell that the film is tired. If you have done 30–50 prints (or you notice things are going wrong sooner), you could observe:
- A hazy or cloudy surface
- Deep scratches or pitting
- Excessive suction noise during layer separation
- Warping or shifting in models
- Resin leaks through micro-tears
Each of these is a warning sign that your FEP is no longer performing its job, and it's time for an upgrade.

Turn Off the Printer and Remove the Resin Vat
Alright, now we’re getting hands-on. Start by powering off your resin 3D printer completely. This isn’t a step to rush—resin and electricity are not friends.
Carefully lift the resin vat out of the machine. Move slowly and hold it level. Spilled resin is messy, toxic, and hard to clean.
Clean Any Remaining Resin and Wipe Thoroughly
Let’s keep things tidy before surgery.
Pour any reusable resin through a filter and return it to the bottle. Then, wipe out as much of the remaining resin as possible using paper towels.
Now go in with isopropyl alcohol (at least 95%). Give every corner of that vat a good cleaning, and let it fully dry. Trust us—resin hates moisture and sticky surfaces.
Remove the Old FEP Film
Time to say goodbye.
Flip the vat upside down and you’ll see a grid of small hex screws securing the frame around the FEP film. Gently remove them one by one. Keep the screws in a small container so you don’t lose them (because you will).
Once you’ve freed the frame, peel the old film away. If it's sticking, push it out from behind using something soft like a credit card. No metal tools. No brute force.
Install the New Film
With your new FEP film in hand, place it between the top and bottom parts of the vat frame. Align the screw holes properly—precision matters here.
Now, insert the screws, but don’t go tightening like it’s a race. Use a diagonal (star-shaped) tightening pattern to keep tension even across the surface.
Tighten each screw gradually, and check to make sure the film remains flat and taut.
Check the Tension and Flatness
You’re almost done, but this step is essential.
Give the center of the FEP film a gentle tap. If it sounds like a tight drum, you nailed it. If it sags or feels too loose, start over. You’ll thank yourself later.
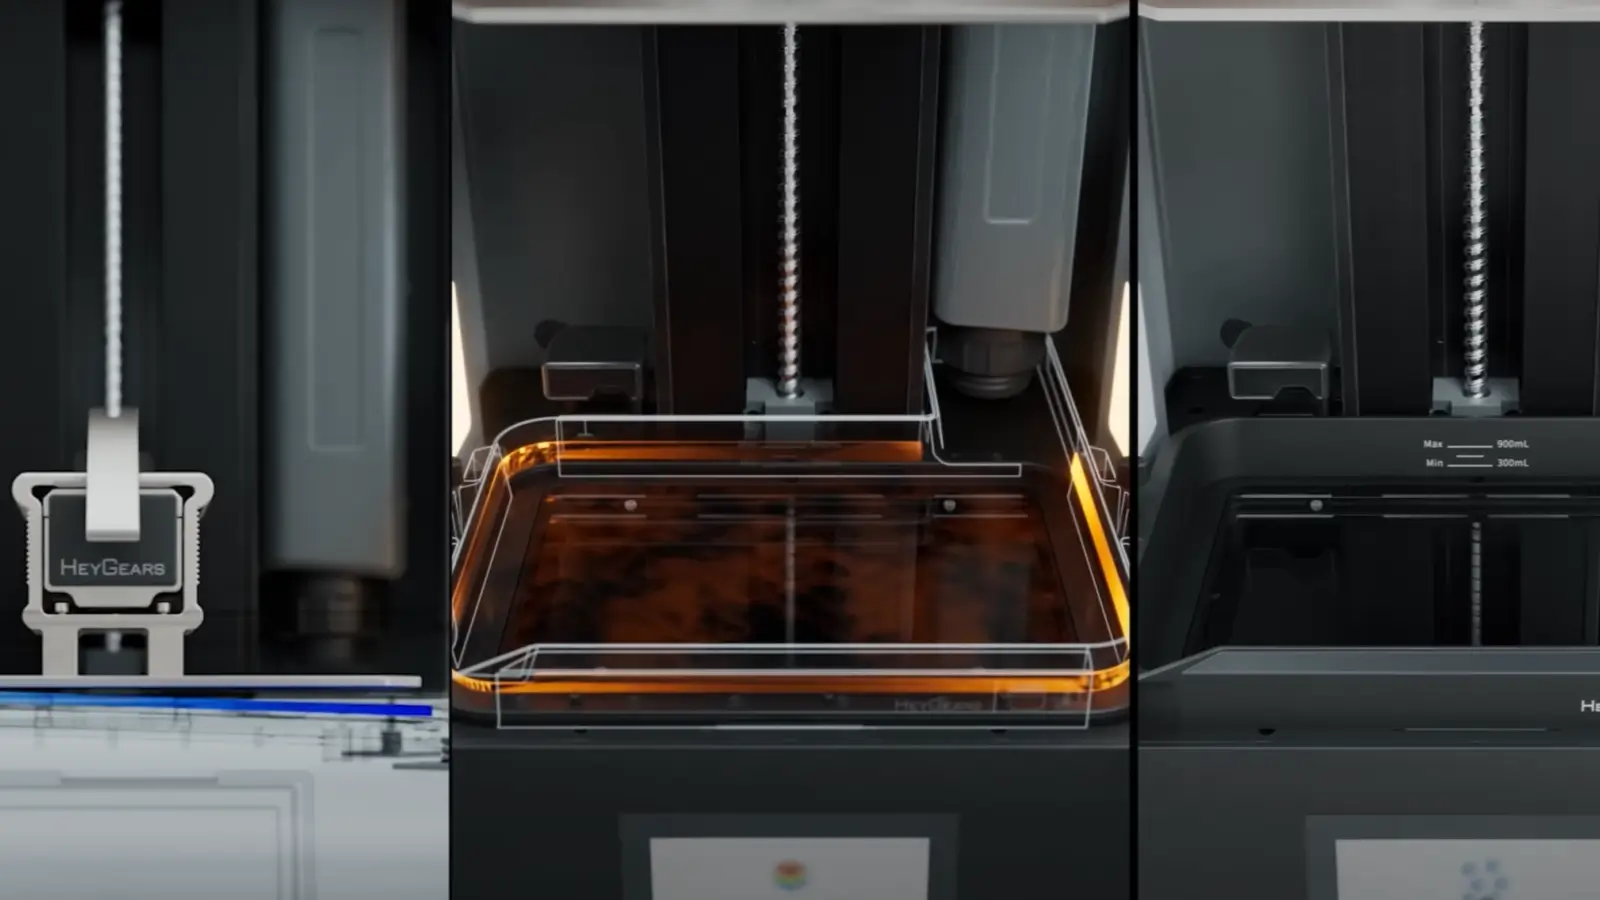
Now, if you’re using a HeyGears printer, lucky you:
HeyGears printers come with pre-mounted films in a resin tray frame. The film is replaced together with the tray, so there’s no need to check film tension. The proper tightness is pre-adjusted at the factory. Users only need to replace a few screws.
That means no struggling with film alignment or tension tests. Just pop in the new tray, and you're golden.
Reinstall the Resin Vat and Run a Test Print
Slide the vat back into its spot on the resin 3D printer, secure it tightly, and pour in some fresh resin.
Here’s where you want to keep it simple—print a basic test cube or calibration piece. If it comes out clean, sticks well, and peels smoothly, your structure and setup are spot-on.
Common Problems When Replacing FEP Film
Even pros hit a few snags. Let’s troubleshoot the usual suspects that can throw off your perfect print and waste valuable time.
1. What if the Film Wrinkles or cannot Stay Flat?
That’s usually from uneven screw pressure. Double-check your tightening pattern and make sure every screw is equally snug. You don’t want one corner tighter than the rest.
2. What If Printing Fails After Replacement?
Re-level your build plate, recheck exposure settings, and confirm your FEP film is installed correctly. Also, make sure no resin leaks under the vat or screen.
3. Are There Better Alternatives to FEP Film?
Yes! Some users opt for nFEP or PFA films. These last longer, stick less, and can boost performance. But they’re pricier and may not be necessary unless you're printing high volumes daily.
For most resin 3D printer users, especially hobbyists and small-scale businesses, standard FEP film does the job just fine, if you replace it on time.
Conclusion
So, what have we learned here? That thin, clear FEP film at the bottom of your vat isn’t just a passive layer—it’s the unsung hero of your resin 3D printer’s entire structure.
Even the best resin 3D printer on the market won’t deliver flawless results if the FEP film is worn or improperly installed. When it wears out, so does your print quality. Replacing it at the right time ensures smooth layer separation, fewer print failures, and better part detail.
Whether you're printing a prototype for your startup or a mini for game night, staying on top of FEP film maintenance gives your prints that pro-level polish, without the frustration.
And if you're lucky enough to own a HeyGears printer, your life just got easier. Thanks to pre-mounted trays, you skip the stress of film tensioning altogether. Just pop in a new tray, fasten a few screws, and you’re ready to go. It's as hassle-free as resin printing gets.
How to Convert 3MF to STL: Complete Guide
Share:
How to Wash and Clean 3D Resin Prints
How to Solve Bridging in Resin 3D Printing: A Complete Guide