
The production of the 3D printed action figures requires a mixture of digital design, accurate printing, and elaborate post-processing to attain professional outcomes.
This process can now be made available with a HeyGears resin printer, which enables creators to make figures in extremely high detail and durability. Here we’ll inform you of the steps, materials, and methods required to create action figures that have realistic details and realistic movement.

Why Resin Is the Gold Standard for Action Figures and Miniatures
Here’s why 3D printing resin stands out as the top choice among 3D printing methods.
Achieving Flawless Detail: Resin vs. FDM for Character Creation
LCD-based resin 3D printing (such as HeyGears) is much more detailed than FDM (Fused Deposition Modeling) printing.
The resin printers are used to cure the layer of liquid photopolymer resin through UV light, creating 3D printed action figures with very detailed features, smooth skin, and a small number of layers.
FDM printing that expels melted plastic filament can tend to leave visible lines of the layers, and has difficulties in capturing fine features such as facial textures or small accessories. Resin is the material of choice when creating characters where sharp details are needed.
The HeyGears Advantage: Ultra-High Resolution for Lifelike Textures and Faces
HeyGears printers, including the Reflex RS 3D Printer, are highly accurate printers, with XY native pixel resolution of 29.7 μm. This acceptable resolution allows for the reproduction of the realistic textures, including skin details, armour patterns, or folds of clothing, which are produced correctly.

The error of +-2 µm stable Z-axis movement of the printers reduces defects such as banding, which results in uniform layer thickness.
Furthermore, the full-field precision screen of HeyGears has a light intensity variation of +-3% with a printing tolerance of 0.05 mm to produce highly accurate action figures with 3D Printing.
Understanding Key Terms: Articulation, Keying, and Tolerances for Action Figures
It takes knowledge of specific terminologies to make functioning 3D printed action figures. The movable joints that enable figures to pose are referred to as articulation, e.g., ball joints or hinges.
The keying is the way of designing parts that fit together in an interlocking manner (e.g., pegs and slots) so that during the assembly process, the components can be placed together securely.
The exact gaps between parts are known as tolerances, which are usually 0.1-0.3 mm, and permit easy movement without being loose or frictional. These aspects are essential in creating figures that are appealing as well as functional.
The Complete Workflow: From Digital Sculpt to Physical Collectible
Below is a complete workflow that takes your 3D model from the virtual world to a finished and display-ready piece.
Step 1: Digital Design and Sculpting for 3D Printing
It begins by creating a (computer-generated) model in a sculpting program like ZBrush or Blender. Note the making of a high-resolution mesh to capture a fine detail, face expression or armour that has a texture.
Optimize the model for resin printing by checking and fixing non-manifold geometry or mesh errors, which can cause slicing issues. Export the model in an STL or OBJ file to be opened in HeyGears Blueprint slicing software.
Step 2: Hollowing, Keying, and Engineering Joints for Articulation
To reduce the size of resin required and to prevent the risk of failure in the prints, hollow out thicker areas of the model with BluePrint Studios software, including Meshmixer.
Add drainage holes to prevent uncured resin from stagnating in cup-like or enclosed geometries that could result in the occurrence of pressure variation and surface flaws.
In the case of articulated 3D printed action figures, such design joints as ball-and-socket or hinge joints with reasonable tolerances (0.2-0.3 mm to move smoothly). Integrate keying, i.e., pegs or slots, which allow alignment of parts during assembly.
Step 3: Strategic Support in Your Slicer to Preserve Critical Details
HeyGears’ Blueprint slicing software offers a simplified one-click support generation tool, boasting an 87% success rate for miniature prints. Position supports in a strategic position to protect tender parts such as fingers, weaponry, or features of the face.
It is recommended that support not be placed on sensitive parts of the work to save on post-processing cleanup. When using complex action figures in 3D Printing, support structures must be added by hand when the overhangs or islands in the 3D model are too large to be supported by supports.
Test a sliced model to ensure coverage and tune the parameters, such as layer height.
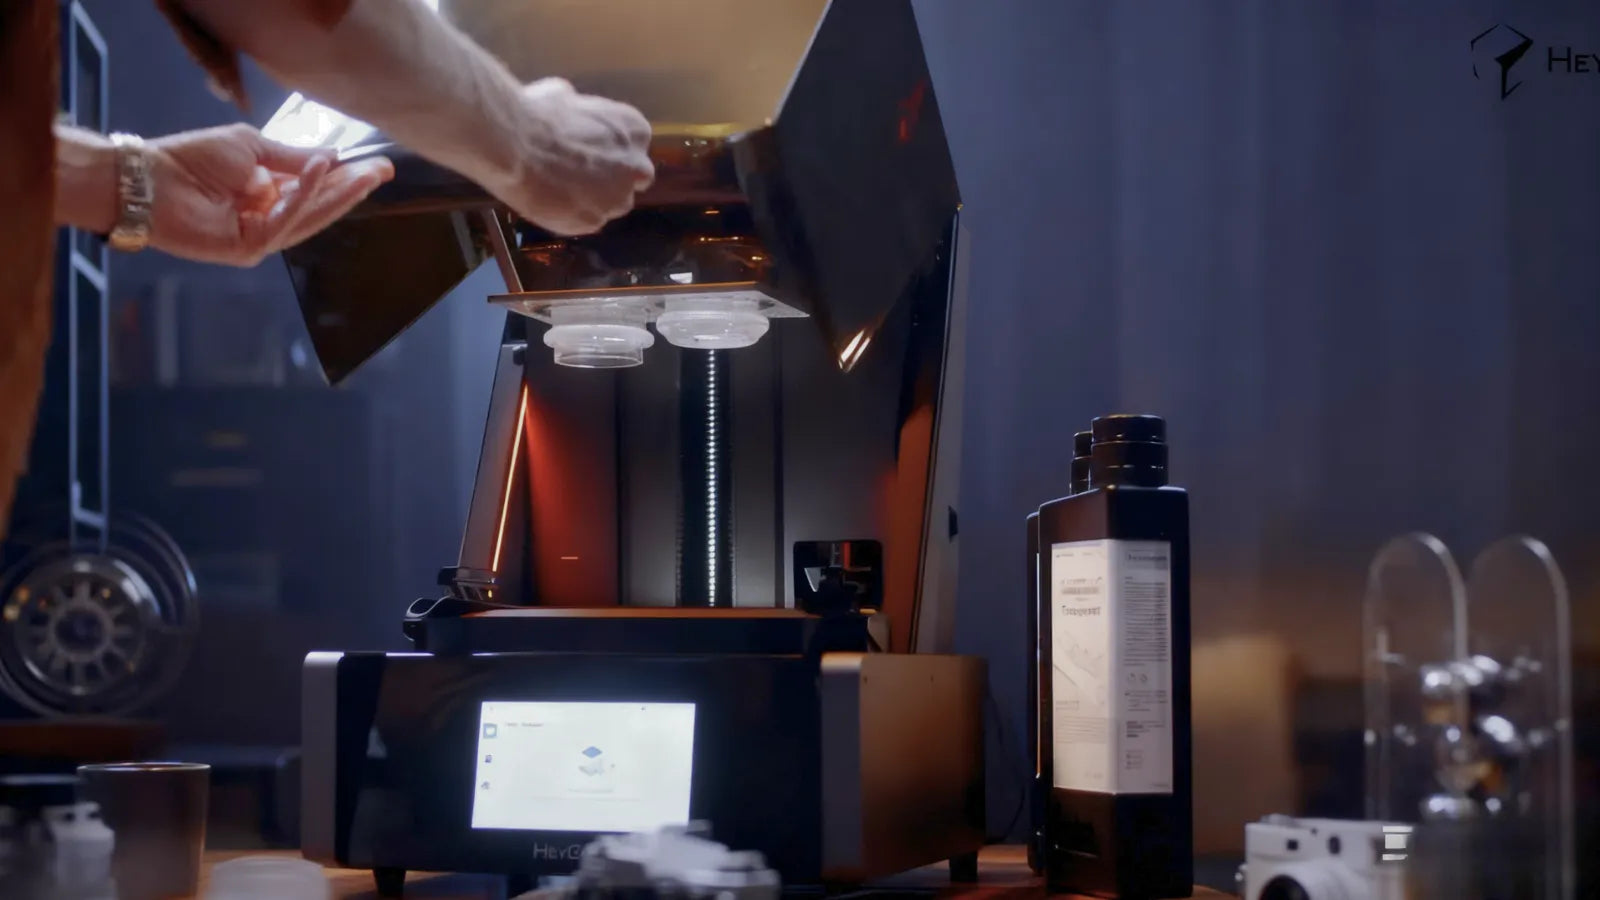
Step 4: Printing with Precision on a HeyGears Machine
Insert the sliced file in a HeyGears printer, e.g., Reflex RS, and choose the suitable resin. The printer has automated functions such as self-leveling, preheating of resin, and smart monitoring, which simplify the process.
Make sure that the build platform is locked and the resin vat has no debris to avoid shifting of layers. The consistent light intensity of the Reflex RS and the accuracy of its movement in the Z-axis guarantee high-fidelity prints, which can reproduce finer details of action figures in 3D Printing.

Model created by @DM Stash
Step 5: Essential Post-Processing for a Professional Finish
Once printed, take the model off the build platform and rinse it in isopropyl alcohol to wash off uncured resin. Delicate areas can be cleaned with a soft brush. Cure the model under UV light for around 30 minutes to achieve its final structural strength.
Take off the supports with a gentle touch with flush cutters to make sure that you do not ruin the figure. Sand any support with fine-grit sandpaper (600-1000 grit) to provide a smooth finish. Check the model for surface flaws and rectify them, and then paint.
Material Selection: Choosing the Right Resin for Your 3D Printed Action Figure
Different resin types serve unique purposes, from sturdy joints to crystal-clear accessories.
Using Tough or ABS-Like Resins for Durable, Articulated Joints
HeyGears PAWR10 tough resins that are suitable for the production of articulated 3D printed action figures. PAWR10 has break-resistance and therefore can be used in movable joints and accessories such as weapons or limbs that need to be durable.
This is a resin that is balanced and provides strength and flexibility, which guarantees that joints do not crack during repeated posing.
Using Standard Resins for High-Fidelity Static Parts
In the case of non-articulated components (i.e., torsos or heads), standard resins such as PAS10 should be used.
PAS10 has smooth surfaces and is highly detailed, and is best suited to the static elements of a complex textural object, such as clothing or armour. It is economical, and therefore it can be used on bigger models, including those above 54 mm.
Exploring Clear or Flexible Resins for Special Effects and Accessories
Special effects, such as translucent capes or glowing parts, are best suited to clear or flexible resins, such as PAF 10 3D printing resin.

Such resins enable customizable accessories, such as visors or power guns, to make the 3D printed action figures look better. Cure to ensure that clear resins are clear and not cloudy.
Advanced Techniques for a Studio-Quality Finish
These advanced finishing techniques will give your model a studio-quality appearance with professional texture and colour depth.
Sanding and Priming to Create a Perfect Canvas for Painting
Give the figure a professional finish using sandpaper of increasingly smaller grit (600-2000 grit) until the lines of the layers are removed and the marks can be smoothed.
An airbrush or spray can can be used to apply a thin layer of primer in order to paint a uniform surface. Primer increases the adhesion of paint and exposes leftover defects to further sanding.
Airbrushing and Hand-Painting Techniques for Characters
Base colors and gradients. To add smooth transitions between skin tones or armor shading, it is best to use airbrushing to apply base colours and gradients to 3D printed action figures.
Apply acrylic paints to have durability and delicate layers to maintain details. To use finer details, a small brush (size 0 or 00) should be used to paint fine details such as eyes or insignia. The methods of practice, such as dry brushing, make textures prominent.
Sealing Your Work for Longevity and a Professional Sheen
Once painted, a clear sealant (matte, satin, or gloss) should be used to cover the figure to preserve it and provide a professional finish. Apply brush sealant by using a spray sealant with 2-3 thin layers. Let one coat dry completely before applying another.
A 3D printed action figure is sealed and does not wear out easily; it does not change its looks over the course of time.
Inspiration: What You Can Create
With the precision and versatility of resin printers, creators can bring a wide range of ideas to life.
Custom Action Figures and Character Prototypes
HeyGears resin printers allow one to make personal 3D printed action figures, including original characters or fan-made ones. The statistics may be used in the form of small batch production or personal collectibles and may be articulated to be able to pose them.
High-Detail Garage Kits and Resin Statues
The strong resolution of HeyGears printers is good for garage kits and resin figures, where small-scale models need to be reproduced in large size (28-54 mm or larger).
They are perfect when a collector wants pieces that have fine textures and smooth finishes, and that are museum quality.
Intricate Wargaming Miniatures and Collectibles
HeyGears printers create in PAP10 detail resin ultra-fine details to form detailed miniatures (10-28 mm) to suit wargame users. The tabletop gaming is made more precise and durable with these miniatures, including fantasy warriors, sci-fi soldiers, etc.

Model created by @DM Stash
Bring Your Characters to Life with HeyGears Technology
The 3D printed action figures require the tools to produce high-quality statistics with a high resolution, automatic features, and resin optimization, which HeyGears resin printers can deliver.
With the help of a systematic working process, the choice of the appropriate materials, and the use of the latest finishing methods, designers can make the digital images come to life in the form of real-life, resilient collectibles.
Be it through custom figure design, garage kit design, wargaming miniature design, or some other design-driven projects, HeyGears technology enables designers to realize their visions with accuracy and comfort.
Share:
HeyGears 2024: A Year-in-Review
A Guide to Creating 3D Printed Art with a Resin Printer