

3D printing is transforming the way we design and build just about everything across industries. When building refined machine parts or small models, you will face obstacles. One typical example is 3D printing bridging, specifically in the case of resin-based 3D printers.
It's important to know how bridging works and how to raise your success rate in 3D printing. In this article, we’ll break down what bridging is, how it differs between resin and FDM printers, how to improve results, and which resin materials give you the best outcome.

What is 3D Printing Bridging?
3D printing bridging occurs when the printer must create a structure that spans two separate points without direct support underneath. Think of a small bridge alongside the building, and you have to know how your printer has to make that bridge.
In the case of FDM (Fused Deposition Modeling) printers, this frequently involves squirting liquid plastic through the air and trusting it to solidify before it droops.
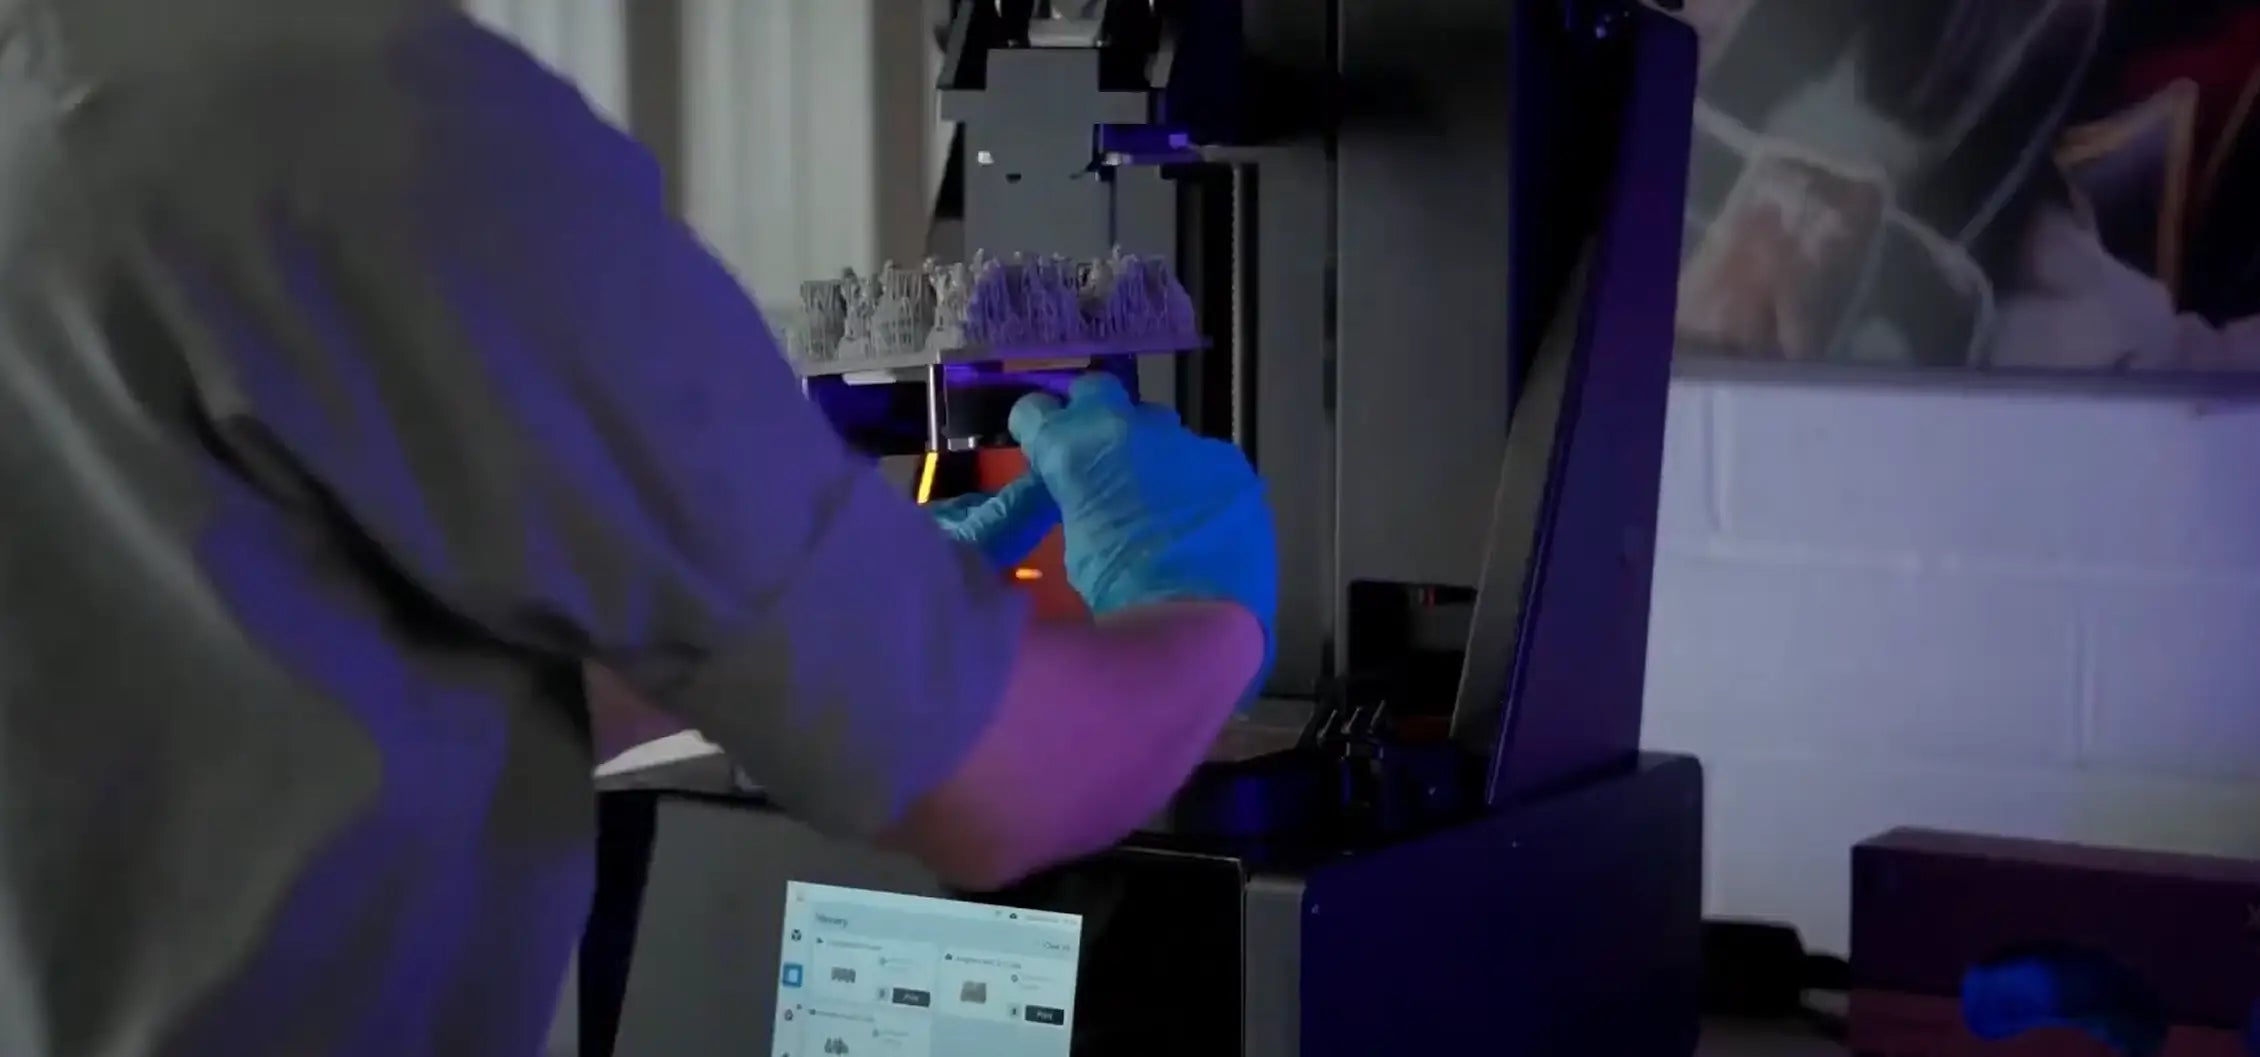
But in resin 3D printing, everything looks a little bit different because, as the charming as well as cryptic term would imply, the resin is photopolymerized, solidified, turning ordinary, UV-triggered liquid resin into a solid substance with nothing but light.
Bridging is generally harder to do with resin printers, but not unworkable. The author also stated that with the right material properties, setting, and comprehension, it is also possible to make strong and smooth bridges even with resin.

Bridging in Resin vs. FDM 3D Printing (Comparison Table)
|
Feature |
FDM Printing |
Resin Printing |
|
Bridging Feasibility |
Generally easier |
More difficult, needs optimization |
|
Material Behavior |
Thermoplastic hardens quickly |
Liquid resin cured with light |
|
Support Requirements |
Less support |
More support is typically necessary |
|
Post-Processing |
May require trimming, sanding |
May need curing and support removal |
|
Print Speed for Bridging |
Slower to ensure structural integrity |
Controlled by exposure settings |
|
Bridge Quality |
Depending on cooling and material |
Depends on the resin type and exposure |
How to Improve Bridging Success in Resin Printing?
While resin printing requires more complex bridging, the following tips can dramatically improve your results:
Use the Right Resin
The resin you choose affects the strength, flexibility, and curing accuracy. Opt for high-performance materials like ABS-like resin. It offers mechanical strength and low shrinkage.
Adjust Exposure Time
The layers are cured enough to support themselves and the next one. Try longer exposure times on the bridging layers.
Orientation and Supports
Place the model so that as few and as short bridges as possible are created. If bridges cannot be avoided, add custom supports near the ends to support them during curing.
Optimize Layer Height
Lower layer heights decrease the gap per layer during bridges, which results in less sagging and less separation.
Temperature and Simplicity
Store your resin and working environment at the same recommended temperature. Undercured bridges are weak due to cold resin.
Common Reasons for Bridging Failure
Why do bridges fail with resin printing? When a bridge fails to print out successfully, there are several common causes:
Under-Cured Resin
If you don’t expose long enough, the resin may not cure fully, especially in midair bridge areas. As a result, the tissues start to sag or cave in.
Unsupported or Oversized Bridges
Trying to span long lengths with no support is a recipe for failure. The tension (sheer strength) is not nearly as strong as FDM filament in resin.
Poor Resin Choice
Some resins are just not bridgers. Softer resins, such as those having a low modulus of elasticity, may bend or deflect with the threads more readily.
Wrong model orientation
If you've oriented your model and it still requires long square or horizontal sections, then re-tilting your model can decrease the length of these bridges and increase your chances of a successful print.
Which Resin Materials Work Better for Bridging?
Not all resins are equal when it comes to bridging. Here’s a quick guide to help you choose the right type for your needs:
ABS-like Resin
- ABS-like resin is one of the best materials for bridging due to its durability and low warping.
- It mimics the performance of FDM ABS plastic.
-
Great for functional parts, enclosures, and brackets with bridging elements.
Engineering Resins
- For high-precision and high-strength prints, engineering resins offer exceptional performance.
-
They provide excellent mechanical properties. It is crucial when printing bridges that must hold up under stress.
Modeling Resins
-
Modeling resins work well for figurines and miniatures. But it may not always offer the mechanical strength for demanding bridges unless well-supported.
Flexible Resins
-
Flexible resin is not typically suitable for bridging due to its soft nature.
-
Best used for parts that require bendability, not unsupported midair structures.
When in doubt, experiment with small test prints and controlled environments to see how each resin performs with bridging in your specific printer.
As a rule of thumb, you’ll want to print bridges slower than anything else, particularly if you’re rocking FDM. Slowing down the speed of the print gives more time for the filament to cool and solidify while bridging a gap, and lowers the likelihood of dropping or warping.
Typical bridge speeds for FDM are between 15 and 40 mm/s, with additional fan cooling recommended for optimal results. Resin printing is less a matter of speed and more a matter of exposure time than movement.
As toast points out, a little extra exposure time increases resin curing so that overhangs can be better supported from one wall to the next. Regardless of which method is used, slower, well-judged settings will result in cleaner and more successful bridges.
Conclusion
Bridging in 3D printing is a unique challenge. It is especially true for resin printing, but it’s not an impossible task. With the right printer settings, careful model orientation, and a strategic choice of resin material, you can overcome many of the obstacles that come with printing unsupported structures.
By investing in the best resin 3D printer from Hey Gears and selecting high-performance resin printer supplies, you’ll boost your success rate. Besides, you will be able to elevate the quality of your 3D printed projects.
Mastering bridging in resin printing is about combining smart design choices with material science. Keep testing, adjusting, and learning—and your results will only get better.
Share:
When & Why to Replace FEP Film
Why Your File Failed to Be Recognized by a Resin Printer