
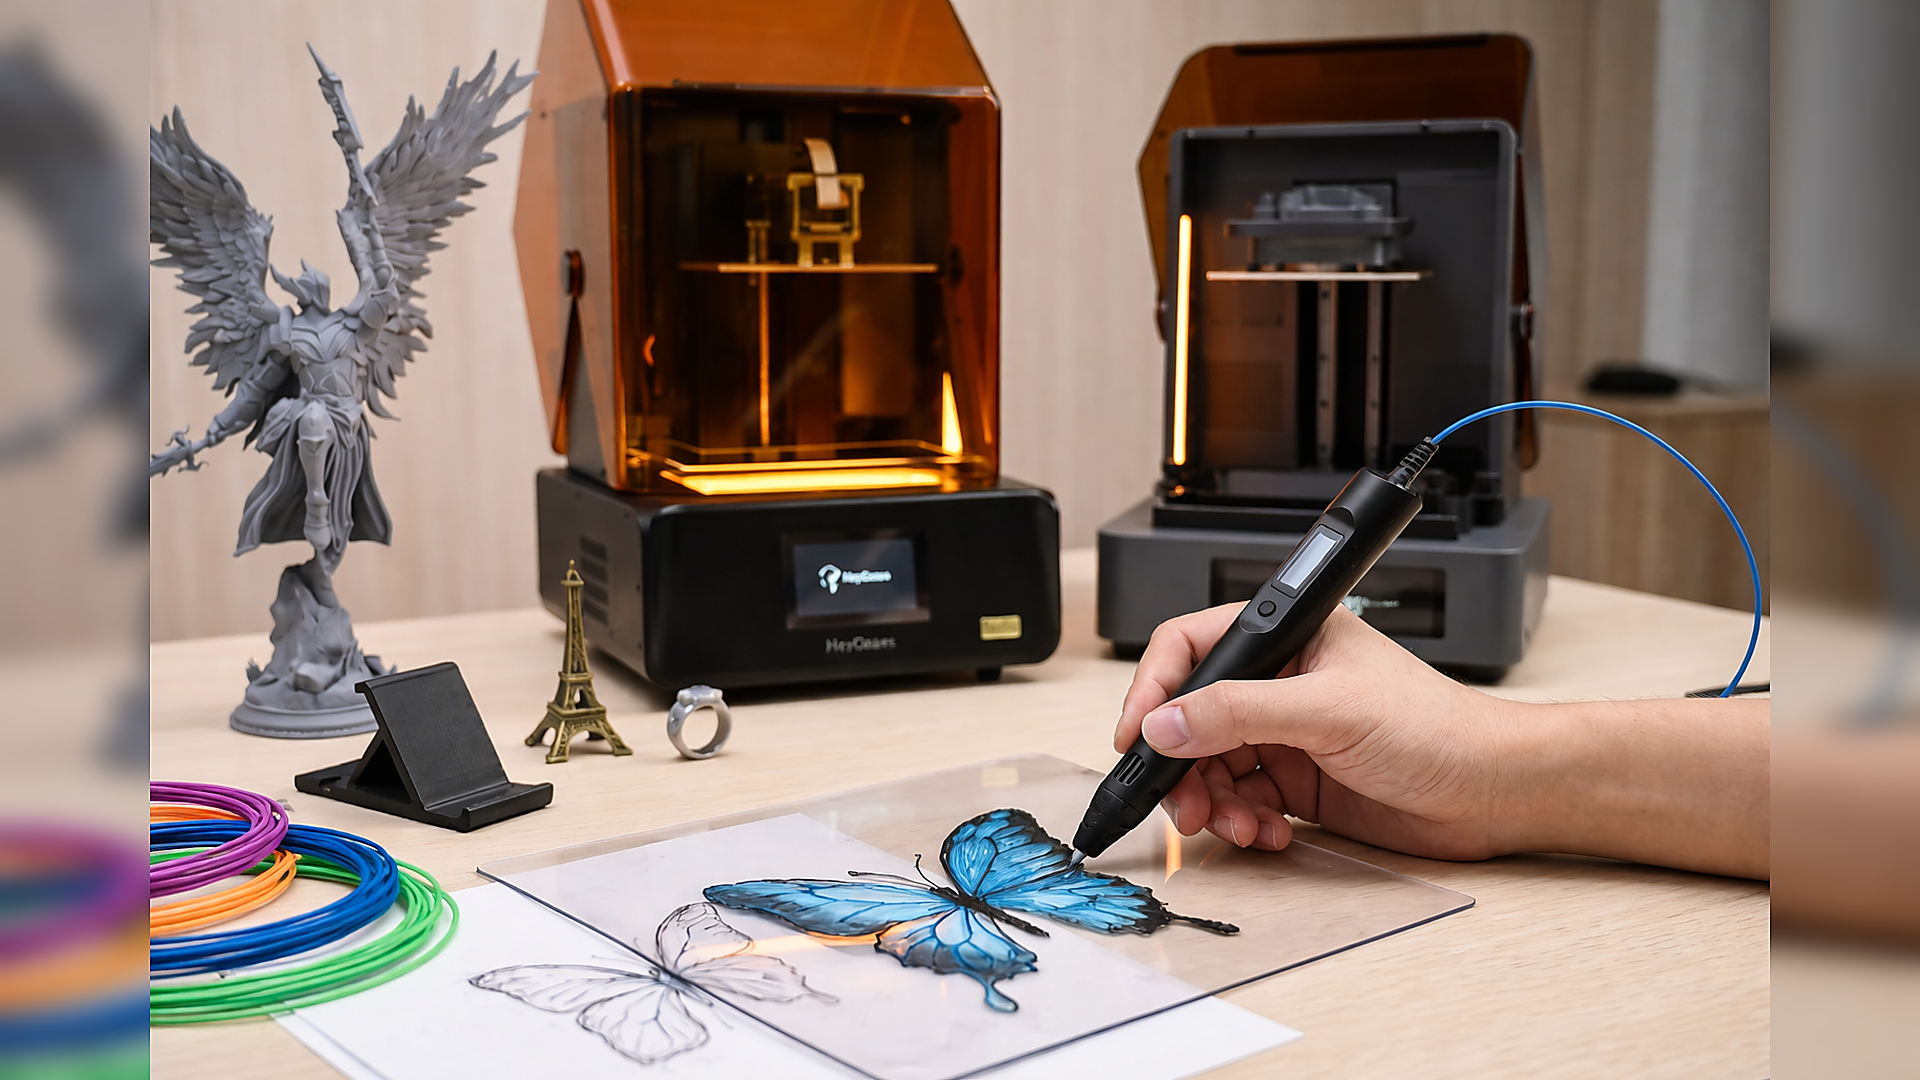
A 3D printing pen is a compact, handheld tool. It allows users to draw prints with melted plastic. The plastic comes out warm and hardens quickly. You can make raised lines, join pieces, or build simple 3D shapes.
However, it is not an easy tool to use for first time users. The plastic filament may also not flow well, lines may not run straight, and shapes may bend out of shape before they dry. Issues related to hand control or temperature settings are the primary causes of most issues, but are solved with practice.
This guide will show you how to use a 3D pen step by step. We will share tips to make your work cleaner while saving filament.
What Is a 3D Printing Pen, and How Does It Work?
A 3D printing pen is similar to an ordinary pen, the difference is that it uses soft, melted plastic rather than ink.
A small stepper motor drives the filament forward in the pen at a very slow rate and melts it to the correct temperature in a heated nozzle. The melted plastic is pushed out in a narrow and steady stream and solidifies almost instantly. Ensure your hand movement and speed match the rate at which the filament hardens.
Initially, it is a tricky tool to use. Lines can be wobbly, shapes can be hanging, flow may appear to be uneven. It will only take practice to become more precise when it comes to developing control and stack lines.
What Can Be Made with a 3D Printing Pen?
Below are the common items you can create using a 3D printing pen.
Simple 2D Tracing
2D tracing is the foundation of learning how to use a 3D printing pen properly. In this method, you place a printed design under a transparent sheet and trace over the lines. This helps you learn how fast the plastic flows, how much pressure to apply, how long to pause at corners and how to keep line thickness even.
Common 2D projects include logos, signs, coasters, flat gears, phone stands, and simple mechanical shapes for school projects. Many users also create multiple flat pieces first and later join them to form 3D objects.
3D Figures and Miniatures
3D figures are made by building structures layer by layer. You usually start by making a base frame and then fill it in gradually.
For example, when making a small animal or character:
-
First, draw the outline
-
Then, create vertical supports
-
After that, connect and fill surfaces
-
Finally, strengthen weak joints
One common mistake is adding new layers before the previous ones cool. This causes bending, sinking, and collapse. Good results require patience and timing.
3D pens are often used to make:
-
Small figurines
-
Prototype parts
-
Model accessories
-
Toy repairs
-
Custom holders and clips
Some users also use them to reinforce weak plastic parts instead of replacing them.
Jewelry and Decorations
3D printing pens are well-suited for making lightweight decorative items because thin plastic structures are easy to form and customize.
When making jewelry, users usually work on templates and focus on symmetry and balance. Thin layers are preferred to keep the items comfortable to wear.
Common projects include:
-
Earrings and pendants
-
Bracelets and rings
-
Wall patterns
-
Lamp covers
-
Gift ornaments
Color changes can be used during printing to create gradient effects. Some users also sand and polish finished pieces for a better appearance. For decorations, surface smoothness and clean joints are important.
How to Use a 3D Pen?
Using a 3D pen is not as complicated as it seems. Here’s the step-by-step approach to follow.
Set Up Your 3D Pen
Plug in your pen and turn it on. Allow it to become hot, typically for a minute. Don't put in the filament yet. Always ensure that your working area is well-ventilated for safety and well-lit so that you can see all the lines. An additional preparation here goes a long way.
Insert the Filament
After the pen gets hot, insert the filament into the back of the pen. Press the feed button and wait a few seconds. If nothing comes out, don’t push it; just check if it’s hot enough. Filament jams easily, so be gentle with the pen.
Adjust Temperature and Speed
Depending on the type of filament, adjust the temperature. PLA requires less heat, ABS a little more. Use a slow speed of feeding at first till you become comfortable.
When you can control it better, you may make it go faster. Uneven lines or clogs usually come about due to the wrong setting. Adjust the settings to suit your own speed.
Start Drawing
One should practice on scrap material first. Hold the pen at a slight angle and move in a steady motion. Attempt to maintain a steady rate and pressure.
Using 3D shapes, the time interval needs to be several seconds between layers to enable the plastic to cool and keep its shape. You should not be afraid that your first efforts might not be good; it takes time to get better.
Finish Up
Once it is finished, stop the filament feed and turn off the pen. Allow it to cool down and then store it. When feasible, wipe the tip and remove the filament. This simple procedure avoids clogs and makes the pen easier to use in the future.
Common Tips for 3D Pen Maintenance
It is not difficult to take care of your 3D pen. Some simple routines maintain their serviceability and discourage clogging and poor lines.
Store Cool, Dry, and Dark
Allow the pen to cool down and then store it. Store it in a dry and shady place. To prevent moisture and subsequent damage to your filament, filament should be left closed.
Clean Gently, Handle Carefully
When it is hot, wipe the tip lightly to get rid of any plastic residue. Metal tools should be avoided, and the filament should not be forced. Use the pen carefully to ensure that it can work.
Seal with a Clear Coat
Your prints can be sprayed thinly with clear spray. Ensure that the print is first clean and dry, and then spray it sparingly and allow it to dry completely.
Limitations of 3D Pens and When to Upgrade
3D pens are fun, but they have limits, too. If you need smooth, detailed, or repeatable parts, a resin printer is the way to go.
Hard to Achieve High Precision and Detail
With a 3D pen, every line depends on manual control. Small movements, uneven pressure, and shaky lines directly affect the final shape.
For example, when making miniature parts, jewelry prototypes, or mechanical components, even a small error can make the part unusable. A pen cannot maintain a consistent layer thickness or precise spacing.
Rough Surface Finish
3D pen prints usually have visible lines, uneven edges, and melted-looking surfaces. Since the filament is deposited manually, the material cools irregularly. This results in bumps, gaps, and weak joints between layers.
Time-Consuming for Complex Models
Building a complex object with a 3D pen means drawing every part by hand. Large models take hours, and mistakes can mean starting over. Hollow sections, supports, and internal structures are especially tricky.
For multi-part projects, keeping sizes consistent is hard. Each piece can end up slightly different, making it tough to fit them together.
Solution: Upgrade to Resin for High-Detail Models
If your projects require accuracy, repeatability, and professional finishes, resin printers are the practical next step. A 3D printing pen depends entirely on your hand control, issues like shaky edges and inconsistent layer heights are almost impossible to avoid for complex work; while a resin printer solves aforementioned problems quite nicely.
Reflex RS Turbo 3D Printer
For makers who prioritize speed without sacrificing accuracy, the Reflex RS Turbo offers a significant leap in productivity. This machine is specifically built for rapid prototyping, allowing you to move from a digital concept to a physical part in a fraction of the time it takes to draw by hand.
-
Rapid Layer Curing: The printer handles layers at approximately 4.5 seconds each, making it ideal for those who need fast results for miniatures or small-batch production.
-
Precision Engineering: An 8K screen paired with plus or minus 15 micrometers accuracy ensures that every detail is captured exactly as designed.
-
Superior Surface Finish: Using an amber screen with high contrast, the printer manages light curing carefully to reduce overexposure, which results in much smoother surfaces than a 3D printing pen could ever achieve.
-
Simplified Workflow: Beginners will find the automatic slicing, model repair, and support generation features helpful for moving beyond the learning curve of manual tools.

Reflex 2 3D Printer
Engineering teams and professional studios often require even higher levels of dimensional stability and material versatility. The Reflex 2 serves as a premium solution for those creating commercial-grade parts or highly complex models that need to fit together perfectly.
-
OptiZone Light Engine: This system utilizes over 86,000 calibration zones to make sure light exposure stays uniform across the entire print area.
-
Advanced Motion Control: Reliability for long, complicated tasks is improved by the Dynamic Motion Algorithm 3.0 and force-sensor feed, which adjust printing speeds in real-time.
-
Industrial Build Quality: Along with a die-cast frame for stability, the unit includes a smart resin heating system to maintain optimal printing conditions for advanced materials.
-
Unmatched Uniformity: Featuring the Amber Screen Pro, this printer achieves ≥94% light uniformity, leading to cleaner edges and sharper corners on every project.

Step-by-Step Guide: Printing Your 3D Pen Model with a Resin Printer
Printing out your 3D pen models is not so hard, even though you have to follow a well-defined procedure using a resin printer. With a proper setup and a bit of care, you will have sharp edges, flat faces, and strong parts. Here, we’ll use the Reflex 2 3D Printer to print a high-detail miniature as an example to walk you through the process.
Step 1: Slice Your Model in Blueprint Studio
Load your model and use the layer height of 0.03 mm to detail in finer detail. Turn it to the position where small details are up. Auto-supports must be used first, and anything extraneous must be taken out. Use a spacing between models to prevent any printing issues.
Step 2: Print and Wash
Transfer the file over to the printer and begin to print. To remove uncured material, properly clean your resin prints with alcohol and water. A standard method uses 95% alcohol: submerge for an initial wash, then rinse in fresh alcohol. Ensure that the models are not touching. Allow them to dry and then cure.
Step 3: Cure, Remove Supports, and Finish
Allow the models to dry in the air and take about 30 minutes. Take off the supports using pliers or a knife. Sand the surface using medium-grit sandpaper. Gently cleanse to keep tiny details.
FAQ
How Long Does the Filament Take to Harden?
The plastic cools and hardens very quickly as it comes out of the pen. PLA sets almost immediately, while ABS takes a few extra seconds. Thicker lines may need a little more time, but most shapes firm up in moments.
What Type of Filament Does a 3D Pen Use?
The majority of 3D pens use standard PLA or ABS filament. If you are looking to explore material options for smoother drawing and better strength, learning the differences between PLA and PLA+ is a great starting point. Some of the newer pens can also use PETG. Never forget to check your pen's heat range when purchasing filament.
Is a 3D Printing Pen Safe for Kids?
PLA pens are generally safe at low temperatures, as children can use them, although the supervision of an adult should be conducted, particularly in the case of younger children. Hot pens are likely to burn when touched, hence supervision is a factor.
Conclusion
A 3D printing pen is ideally used for tracing out designs, creating miniature models, fixing up plastic objects, or adding simple ornaments. It fuses filament, which you roll with your hands, and therefore, a steady hand and a constant temperature are important.
Heat the pen completely before commencing, get the filament into position, run it slowly at first, and first practice on scrap material. Clean the tip and keep the pen somewhere it won’t be clogged.
You must also bear in mind that 3D pens are not very precise. Lines can be irregular and big, or finer models are time-consuming. For tiny, miniatures, prototypes, or parts that demand clean surfaces and precise dimensions, a resin printer is a reliable option.
Concisely, 3D pens are ideal for fast-paced projects, learning, and simple crafts. In order to get detailed, strong, and precise parts, switch to resin printing.
Share:
FDM vs. UV Resin Weight: Key Differences and Which to Choose
5 Best 3D UV Resin Printers in 2026