

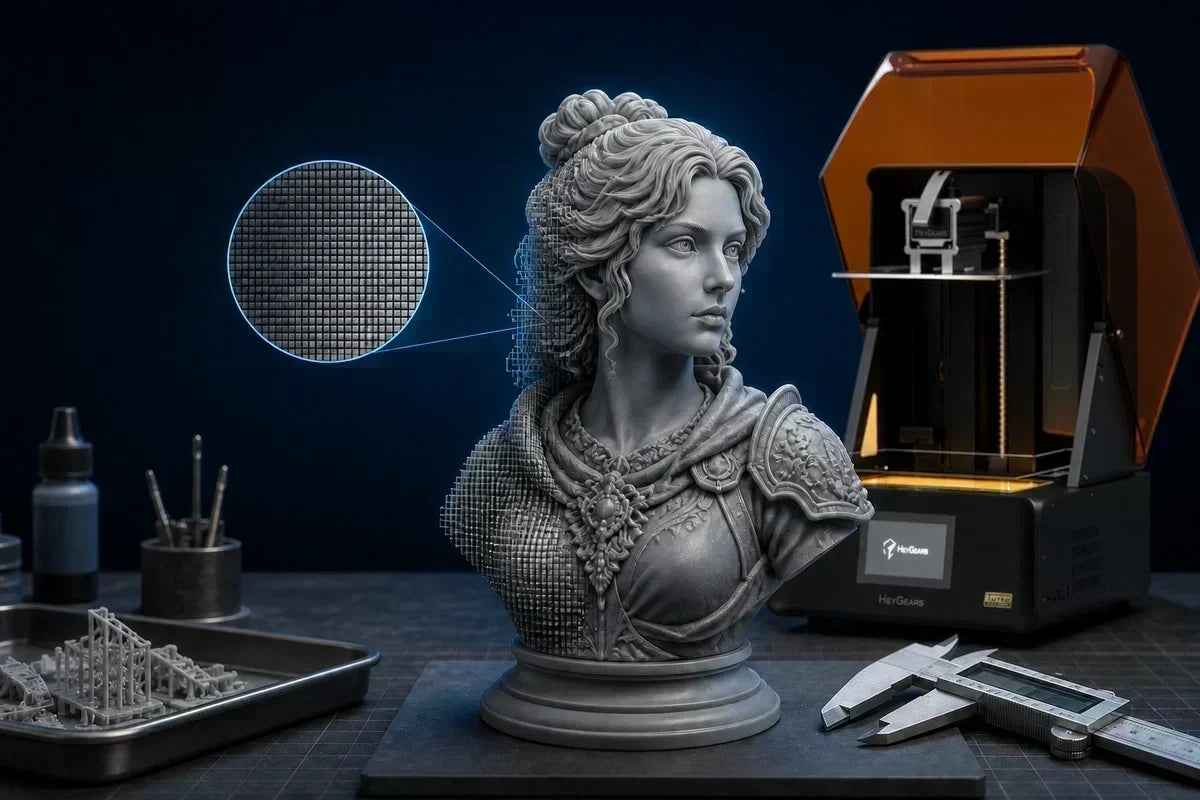
Resolution tells you how finely a printer can divide or address a print. Accuracy tells you how closely the finished object matches the intended dimensions and shape. A printer can have very small pixels and still produce an inaccurate part. That is why a 16K screen is not automatically better than an 8K or 12K screen.
When people compare 3d printer accuracy vs resolution, the two terms are often treated as synonyms. They are not. Resolution can help a printer reproduce fine textures and smooth curves, while accuracy depends on the complete printing system: optics, motion, exposure, material behavior, calibration, supports, orientation, and post-curing.
This guide is specifically designed to answer the practical buying question: What resolution do you actually need? We will focus on masked-LCD resin printers—where 8K, 12K, and 16K labels are common—then briefly explain how the same distinction applies to FDM printers.
Quick answer: Do not choose a resin printer by the “K” number alone. Compare its stated XY pixel size in microns, its build area, optical control, validated print samples, and dimensional calibration. For many miniatures, an effective XY pixel size around 30–50 µm is already capable of excellent results. Going smaller can help with tiny features, but the gain becomes subtle unless the model, resin, exposure, and workflow can preserve it.
3D Printer Accuracy vs. Resolution in Plain English
| Term | What it means | What it affects | Typical evidence |
|---|---|---|---|
| Resolution | The smallest addressable spacing or increment in XY or Z | Fine texture, edge stepping, thin gaps, small features | Pixel size, layer height, test-pattern detail |
| Accuracy | How close the printed geometry is to the intended geometry | Part dimensions, hole sizes, fit, flatness, angles | Measured calibration parts and tolerance data |
| Precision / repeatability | How consistently the printer produces the same result | Batch consistency and process reliability | Repeated measurements across multiple prints |
Imagine a printer that can place very small dots, but every finished part is 0.3 mm too wide because of overexposure or resin behavior. It has high nominal resolution but poor dimensional accuracy. Now imagine a second printer with slightly larger pixels that consistently produces a 20.00 mm calibration block at 20.02 mm. Its nominal resolution may be lower, but its dimensional accuracy is better.
There is one more useful distinction: precision means repeatability. If five copies all measure 20.25 mm, the process may be precise but inaccurate. If the copies vary from 19.8 to 20.4 mm, the process lacks repeatability. A good production workflow needs both accuracy and precision.
XY Resolution, Z Resolution, and Layer Height
XY Resolution on an LCD Resin Printer
In masked-LCD resin printing, the screen divides each layer into a grid of pixels. The physical size of one projected pixel on the build area is commonly described in microns (µm). A smaller XY pixel size can represent finer edges, but the effective cured feature is also shaped by light spread, exposure, anti-aliasing, resin response, and the condition of the optical system.
Approximate XY pixel size = printable width ÷ horizontal pixel count
Convert the printable width to microns before dividing. For example, a hypothetical screen with 16,000 pixels across a 300 mm-wide build area has an approximate pixel pitch of 18.75 µm. A 12,000-pixel screen across a 200 mm build area has a finer 16.67 µm pitch. In this example, the “12K” printer has the smaller physical pixels.

Z Resolution and Layer Height
Z resolution describes the printer's vertical positioning capability. Layer height is the slicing choice used for a particular print. They are related, but they are not identical. A machine may be mechanically capable of very small Z increments while a model is sliced at 50 µm layers.
Lower layers can reduce visible stepping on shallow curves, but they increase the number of layers and usually increase print time. They do not automatically sharpen XY detail. A 20 µm layer height cannot repair blurred pixels, poor exposure, weak supports, or an unstable Z axis.
Why a 16K Screen Is Not Automatically Better
The “K” label is an approximate description of pixel count along one screen dimension. It does not tell you the size of the screen, the physical pixel pitch, optical sharpness, exposure uniformity, or how accurately the printer moves. That makes it useful for marketing shorthand but incomplete for technical comparison.
1. Screen Size Changes the Meaning of Pixel Count
More pixels spread over a much larger build area may produce the same—or even larger—pixel pitch as fewer pixels on a compact screen. Always compare XY pixel size in microns. If it is not listed, calculate an approximation from the printable dimensions and native pixel count.
2. A Pixel Is Not the Same as a Cured Resin Feature
The LCD mask defines where light should pass, but the cured boundary depends on the complete light path. Optical focus, light collimation, scattering, exposure time, resin sensitivity, temperature, and neighboring illuminated pixels can make a cured feature wider or softer than the nominal pixel.
3. The Model May Not Contain Detail Fine Enough to Benefit
A pixel-size advantage matters only when the file contains printable features near that scale and the final viewing distance reveals the difference. For terrain, jigs, enclosures, and many larger models, build volume, reliability, material behavior, and dimensional compensation usually matter more than moving from an already-fine pixel pitch to a smaller one.
4. Resin, Exposure, and Post-Curing Can Hide the Gain
Overexposure can close narrow gaps and thicken small features. Underexposure can weaken edges and supports. Resin shrinkage and final curing can change dimensions after the screen has done its job. A well-calibrated lower-K printer can therefore outperform a poorly tuned 16K printer on the same model.
5. Resolution Does Not Guarantee Accuracy
A 16K screen cannot compensate for Z-axis play, a tilted build platform, uneven exposure, weak support placement, part deformation, or incorrect dimensional compensation. The screen is one component in a system.
How to Choose the Right 3D Printer Resolution
Step 1: Start With Your Smallest Important Feature
Do not start with the largest K number in your budget. Start with what must remain visible or functional on the finished object: a facial feature, engraved line, chain link, small gap, hole, snap fit, or embossed mark. Then consider the object's final size and normal viewing distance.
Step 2: Match Resolution to the Use Case
| Main use | Practical priority | Resolution guidance | Do not overlook |
|---|---|---|---|
| 28–32 mm miniatures | Faces, armor trim, cloth, clean support contact | About 30–50 µm XY can already be excellent; smaller may help demanding micro-detail | Resin profile, orientation, anti-aliasing, support strategy |
| Busts and display models | Smooth curves and surface texture | Fine XY pitch is useful, but tuned 30–50 µm layers often matter equally | Layer orientation, surface finishing, stable exposure |
| Dental, engineering, fit parts | Measured dimensions and repeatability | Choose enough resolution for the smallest gap or wall, then prioritize validated accuracy | Material qualification, compensation, calibration, process validation |
| Large props and terrain | Build area, speed, cost, reliability | Moderate pixel pitch is usually sufficient | Usable volume, material consumption, deformation |
The ranges above are practical starting points, not universal pass/fail limits. A 35 µm system with poor optics may reproduce less usable detail than a well-controlled 50 µm system. Judge the full workflow and request comparable prints made from the same file whenever possible.
Step 3: Compare Pixel Size, Not Just Screen Labels
- Find the stated XY pixel size in microns.
- Check whether it is square or different in X and Y.
- Confirm the native LCD resolution and printable area.
- Calculate the approximate pitch if the specification is missing.
- Be cautious when “resolution” refers only to the screen panel rather than effective print performance.
Step 4: Look at Controlled Print Evidence
Beauty shots are useful for inspiration but weak for comparison. Look for the same test file, same model scale, similar resin type, similar orientation, and close-up images under comparable lighting. Check thin gaps, recessed text, holes, diagonal edges, smooth curves, and support-contact surfaces—not only the sharpest front-facing texture.
Step 5: Give Accuracy Requirements Their Own Test
If parts must fit, specify a tolerance target and test it directly. Print a calibration object containing external dimensions, holes, slots, pins, walls, and clearances similar to the real project. Measure after the complete wash-and-cure workflow, because the final cured part—not the fresh print—is what must fit.
What Actually Controls Real-World Print Accuracy?

- Exposure: too much can thicken features and close gaps; too little can weaken edges and supports.
- Optical system: focus, light distribution, collimation, and uniformity affect the cured boundary.
- Z-axis mechanics: straightness, rigidity, backlash, and layer movement affect vertical geometry and repeatability.
- Resin behavior: viscosity, pigment, temperature response, shrinkage, and cure depth all influence size and detail.
- Orientation and supports: peel forces and inadequate support can bend, stretch, or flatten features.
- Calibration: dimensional compensation, build-platform alignment, exposure tuning, and a validated material profile matter.
- Post-processing: washing, support removal, drying, and final curing can change edges or dimensions.
Accuracy can also vary by feature type. External dimensions may print oversized while holes print undersized. A single “±” number rarely describes every geometry, orientation, location on the plate, material, and curing condition. For functional work, validate the features that matter to your design.
How the Difference Applies to FDM Printers
For FDM, resolution is discussed through nozzle diameter, extrusion width, layer height, and motion increments. A smaller nozzle and lower layer height can reproduce smaller features and smoother slopes, but they do not guarantee accurate dimensions.
FDM accuracy also depends on extrusion calibration, belt tension, frame rigidity, thermal expansion, material shrinkage, cooling, first-layer behavior, input shaping, and slicer compensation. A print made with a 0.2 mm nozzle can look detailed while still having inaccurate hole diameters or warped walls.
The same buying rule therefore applies: select enough resolution for the smallest meaningful feature, then verify accuracy and repeatability with relevant finished parts.
A Practical Buying Checklist
- Name your smallest important feature. Is it visual detail, a gap, a hole, a wall, or a fit?
- Write down your tolerance. “Looks sharp” and “fits within ±0.1 mm” are different goals.
- Compare XY pixel size. Do not rank resin printers by 8K, 12K, and 16K labels alone.
- Check build area. Smaller pixels are less useful if the printer cannot fit your regular models or batches.
- Review like-for-like samples. Prefer the same file, scale, resin class, and close-up lighting.
- Look for process information. Exposure uniformity, material profiles, calibration tools, and repeatability matter.
- Measure a finished test part. Complete the normal wash and final cure before judging dimensions.
- Choose the complete workflow. Buy the system that meets your real detail and tolerance needs consistently—not the largest number on the box.
Frequently Asked Questions
Is 3D printer resolution the same as accuracy?
No. Resolution is the fineness of the addressable print grid or movement. Accuracy is how closely the final part matches the intended geometry. High resolution can support fine detail, but it does not guarantee accurate dimensions.
Is a 16K resin printer always better than an 8K or 12K printer?
No. The physical pixel size depends on both pixel count and build-area size. Optical performance, exposure control, resin, mechanics, calibration, and workflow can outweigh the K label. Compare XY microns and controlled print results.
For example, the RS Turbo uses an 8K screen, yet its actual print detail and surface quality can outperform many 16K resin printers. In other words, a higher K rating does not automatically mean finer real-world results.
What XY resolution do I need for miniatures?
For many 28–32 mm miniatures, roughly 30–50 µm XY pixel size can already deliver excellent visible detail when the complete system is well tuned. Smaller pixels may help extremely fine features, but the improvement is not guaranteed and may be difficult to see after priming and painting.
Does a lower layer height improve accuracy?
It can reduce vertical stepping and better sample shallow curves, but it does not automatically improve XY dimensions. Exposure, resin behavior, Z mechanics, orientation, and compensation still determine the final result.
How should I compare 3d printer accuracy vs resolution before buying?
Use two separate checks. First, compare pixel size or nozzle/layer capability against the smallest feature you need. Second, compare measured, fully processed calibration parts against your dimensional tolerance. A printer must pass both checks for work that needs detail and fit.
Final Verdict
The best resolution is not the highest number available. It is the level that preserves the features your project needs without distracting you from build area, optics, materials, reliability, and dimensional performance.
When evaluating 3d printer accuracy vs resolution, remember the sequence: resolution defines the potential sampling detail; the full system determines the cured feature; calibration and process control determine whether the final part is accurate. A well-tuned printer with an honest 35 or 50 µm workflow can be a better choice than a 16K machine whose extra pixels do not translate into better finished parts.
Teilen:
3D Printer Build Volume Explained: How to Choose the Right Size
How to Reduce 3D Printing Waste: Resin, Supports, and Failed Prints?