

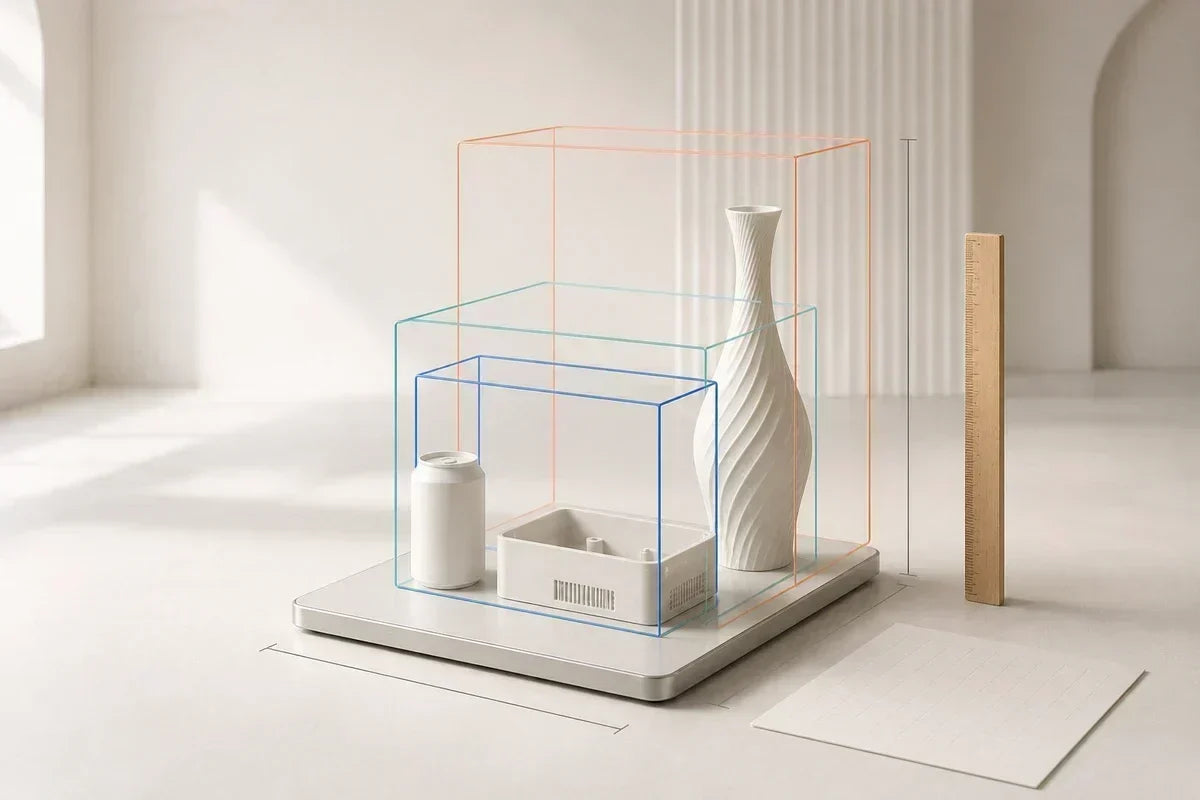
The right build volume is the smallest space that comfortably fits your regular projects—not the largest box you can afford. Measure the objects you actually plan to print, add working clearance, account for orientation and batch layout, and choose around your normal workload rather than a rare oversized idea.
A 3D printer's build volume defines the maximum three-dimensional space in which it can create a part. It is usually written as width × depth × height, such as 220 × 220 × 250 mm. Those numbers look simple, but choosing the right 3d printer build volume requires more than comparing specifications. You need to know which dimension limits your projects, how much of the stated space is practical to use, and whether your priority is one large object or many smaller parts.
This guide focuses only on print size. It does not compare printer categories or individual products. By the end, you will have a repeatable method for matching object dimensions, print area, build plate size, workspace, and future needs.
What Does 3D Printer Build Volume Mean?
Build volume is a three-dimensional envelope. Width (X) and depth (Y) describe the horizontal space over the build surface; height (Z) describes how tall a print can be. A machine with a 200 × 200 × 250 mm specification therefore has a nominal volume 200 mm wide, 200 mm deep, and 250 mm tall.
Build volume is not the same as the overall 3d printer size. The first tells you what can be printed. The second is the physical footprint and height of the machine, including its enclosure, moving parts, doors, cable space, and access area. A larger printable envelope normally needs more room around it, but the two measurements are not interchangeable.
| Measurement | What it tells you | Why it matters |
|---|---|---|
| Width (X) | Left-to-right printable distance | Often limits wide panels and batch columns |
| Depth (Y) | Front-to-back printable distance | Often limits long parts and batch rows |
| Height (Z) | Maximum vertical distance | Matters for tall objects and upright orientation |
| Machine footprint | Space occupied outside the print envelope | Determines whether the setup fits your room or bench |
Build Plate Size, Print Area, and Build Volume Are Related—but Different
The build plate size is the physical size of the plate. The print area is the X–Y region the machine is intended to reach. Build volume adds the Z dimension to that area. Marketing copy and specification sheets sometimes use these terms loosely, so read the actual X × Y × Z numbers and confirm which measurements are printable.
A physical plate may extend slightly beyond the stated print area. Clips, borders, calibration zones, movement limits, or software restrictions can also affect edge access. Never assume that the physical plate dimensions automatically equal the usable layout dimensions.

Treat the advertised volume as the outer boundary. A small inner margin makes placement, adhesion, calibration, and removal less demanding.
Nominal Volume vs. Practical Usable Space
A part that mathematically matches the maximum dimensions is not necessarily a comfortable print. If an object is exactly as wide as the stated X dimension, even a small brim, base, support, dimensional variation, or placement offset may push it outside the available area. Printing directly against every boundary also leaves no tolerance for workflow differences.
For planning, use a practical safe zone rather than assuming 100% access to every edge. A useful starting point is to keep routine projects within roughly 85–90% of each stated dimension. This is a planning allowance, not a universal machine rule; the exact usable region should always be confirmed in the printer documentation and slicing workspace.
How to Choose the Right Build Volume
Step 1: Measure the Objects You Will Actually Print
Start with the finished dimensions of real projects—not a vague idea that “bigger could be useful.” Write down width, depth, and height for at least five likely objects. If you already have digital models, inspect their bounding-box dimensions. If you are recreating an existing item, measure the physical object and add any missing protrusions, fasteners, or assembly features.
Do this in millimeters. It prevents conversion mistakes and matches the units commonly used in model preparation. Include both your largest regular project and your most frequent project; they answer different questions.
Step 2: Test Realistic Orientation
The model does not have to be printed in the same orientation in which it will be used. Rotating it can move the longest dimension into a larger axis or reduce the required height. A 260 mm-long object may fit within a smaller X–Y rectangle when placed diagonally, but only if its full rotated bounding box remains inside the print area.
Do not rely on diagonal placement from mental arithmetic alone. Import the model into your preparation software, rotate it to a sensible print orientation, and check the resulting X, Y, and Z dimensions. Orientation can change surface quality, stability, support needs, and print time, so a position that merely fits is not automatically a practical position.
Step 3: Add Clearance
Add space for placement tolerance and any process features surrounding the model. For early comparison, adding 10–15% to each oriented dimension is a useful rule of thumb. Projects that routinely need wide bases or surrounding structures may require more.
Planning dimension = oriented model dimension × 1.10 to 1.15
If an oriented enclosure measures 180 × 145 × 70 mm, a 10% allowance gives a planning envelope of about 198 × 160 × 77 mm. Compare that envelope—not just the raw model—to the available build volume.
Step 4: Decide Whether You Need One Large Part or a Batch
For one large part, all three axes matter. For repeated small parts, the X–Y print area usually matters more than extra Z height. A wider build plate can reduce the number of print runs even when no individual object is large.

The same build plate can solve two different size problems: fitting one broad object or increasing the number of small parts per run.
For a rough rectangular-grid estimate, use:
Batch count ≈ floor(usable width ÷ part pitch) × floor(usable depth ÷ part pitch)
Part pitch means the part dimension plus the spacing you intend to keep between neighboring parts. This estimate is deliberately simple. Irregular shapes may nest more efficiently, while brims, bases, supports, or access requirements may reduce the count. Confirm the final layout in software.
Step 5: Use the 80/20 Rule for Oversized Projects
Choose for the 80% of projects you expect to print regularly. If a rare object is larger, ask whether it can be divided into sections with hidden or easy-to-finish joints. Splitting can make a project fit, simplify orientation, and allow failed sections to be reprinted independently.
However, do not build your entire plan around splitting if seamless strength, alignment, appearance, or assembly time is central to your work. If several of your five representative projects need to be divided, the selected volume is probably too small.
Step 6: Check the External Space Cost
A larger build volume can increase the machine footprint, door or lid clearance, work-surface requirements, and the space needed to remove prints. Before settling on a desktop 3d printer, measure the full location where it will operate—not just the tabletop rectangle.
- Confirm bench width and depth.
- Allow room above and around any moving or opening panels.
- Leave access for loading, removal, cleaning, and maintenance.
- Check that the work surface can safely support the complete setup.
- Plan cable paths and ventilation space without blocking access.
A Simple Build Volume Decision Matrix
| Your pattern | Prioritize | Do not overvalue |
|---|---|---|
| Mostly single, compact objects | Comfortable clearance around the largest regular object | Unused extra plate area |
| Many repeated small parts | Usable X–Y area and efficient spacing | Height you rarely use |
| Long, flat components | Longest horizontal axis and realistic diagonal fit | Total cubic volume alone |
| Tall, narrow objects | Z height plus top clearance | A very wide plate |
| Mixed projects | The smallest envelope fitting 80% of planned work | One hypothetical maximum-size project |
Common Build Volume Selection Mistakes
Comparing Cubic Volume Instead of Individual Axes
Two machines can have similar total cubic capacity but very different shapes. A wide, shallow envelope and a narrow, tall envelope do not fit the same objects. Always compare X, Y, and Z separately.
Choosing the Largest Size “Just in Case”
Unused capacity still consumes workspace and may add cost or workflow complexity. Future-proofing is sensible when you can name the future projects. It is weak reasoning when “maybe something large someday” is the only requirement.
Forgetting Surrounding Features
The model's final dimensions may not include everything needed during printing. Account for any base, brim, support, fixture, or spacing that extends beyond the finished object.
Assuming Rotation Guarantees a Fit
Diagonal placement can help, but the rotated width and depth must both remain inside the boundary. A long rectangular part also becomes wider as it rotates. Validate the complete bounding box in software.
Using Maximum Dimensions as Routine Targets
A specification limit is not an ideal everyday project size. Selecting a little clearance makes setup more forgiving and leaves room for layout changes. When comparing build volume 3D printer specifications, the useful question is not “Can it touch the boundary?” but “Can my normal job fit comfortably?”
Your Five-Minute Size Worksheet
- List five objects that represent your expected work.
- Record the oriented X × Y × Z dimensions of each object.
- Multiply every dimension by 1.10–1.15 for planning clearance.
- Mark which objects can be split without unacceptable tradeoffs.
- For repeated parts, sketch or calculate a realistic plate layout.
- Identify the smallest envelope that fits at least four projects comfortably.
- Compare that requirement with your available bench and access space.
If the result fits your regular projects, your batches, and your room, you have a defensible size target. You can then compare machines against that target without being distracted by capacity you may never use.
Frequently Asked Questions
Is a larger 3D printer build volume always better?
No. Larger capacity is valuable only when it fits objects or batches you expect to print. The best size balances project fit, usable workspace, access, and budget.
How much margin should I leave around a print?
For initial planning, add about 10–15% to each oriented model dimension or keep normal projects within roughly 85–90% of the stated envelope. The exact margin depends on placement, surrounding features, and the machine's documented usable area.
Can a model longer than the build plate fit diagonally?
Sometimes. Rotation trades length in one axis for width in the other. The only reliable check is to rotate the real model and confirm its entire bounding box stays inside the available X–Y area with clearance.
Should batch printing change the size I choose?
Yes. If you regularly produce multiple small parts, the number that fits with safe spacing can matter more than the largest single object. Calculate a representative layout instead of comparing plate dimensions alone.
How do I choose between more plate area and more height?
Look at your five representative projects. Prioritize plate area when broad objects or batches dominate. Prioritize height when tall objects regularly exceed the Z dimension after sensible orientation. Avoid paying for an axis your work rarely uses.
Final Takeaway
The right build volume is a project requirement, not a status symbol. Measure representative objects, orient them realistically, add clearance, calculate batch layouts, and validate the result against your physical workspace. Choose the smallest envelope that handles most of your real work comfortably, then use splitting or occasional alternatives for true outliers.
That approach turns a confusing list of 3d printer size specifications into a practical decision—and helps ensure the space on your build plate is space you will actually use.
HeyGears Build Volume Comparison: RS Turbo vs. Reflex 2 vs. Reflex 2 Pro
If you are applying the sizing method above to the HeyGears lineup, compare each axis rather than total capacity alone. The RS Turbo has a 222 × 122 mm print area and 228 mm of height. Reflex 2 increases the horizontal area to 230 × 144 mm and offers 230 mm of height. Reflex 2 Pro keeps the same 230 × 144 mm plate area as Reflex 2 but extends the Z-axis to 350 mm for substantially taller objects.
| Model | Build volume (X × Y × Z) | Approx. capacity | Size takeaway |
|---|---|---|---|
| Reflex RS Turbo | 222 × 122 × 228 mm 8.7 × 4.8 × 9.0 in |
≈ 6.18 L | The narrowest Y dimension of the three; suitable when planned parts and batch layouts fit within a 222 × 122 mm area. |
| Reflex 2 | 230 × 144 × 230 mm 9.1 × 5.7 × 9.1 in |
≈ 7.62 L | Adds 8 mm of width and 22 mm of depth over RS Turbo, providing about 22% more X–Y print area. |
| Reflex 2 Pro | 230 × 144 × 350 mm 9.1 × 5.7 × 13.8 in |
≈ 11.59 L | Uses the same X–Y area as Reflex 2, with 120 mm more Z height for taller one-piece prints. |
Build-volume specifications verified from the official HeyGears product pages on August 25, 2026. Follow the linked model names for current product details and availability.
Share:
Resin vs FDM for Tabletop Miniatures: Which One Should You Choose?
3D Printer Accuracy vs. Resolution: What's the Difference?