
Craving smooth finishes, intricate details, and pro-level models right at home? A resin 3D printer is the smart pick for that. These bad boys are all about pinpoint accuracy, so one slip-up—tweaking settings wrong, hardware glitches, or setup snafus—can tank your entire print. In this blog guide, we'll break down the top 5 pitfalls with resin printers. You'll snag spot-on fixes for each one and uncover killer spots like HeyGears to score high-quality rigs.

First Steps in Troubleshooting: Understanding Why Resin Prints Fail
The first step? Get why resin prints fail, so you can nail the right fix. But first, let's break down how common glitches differ between resin and FDM printing.
The Core Differences: Common Problems in Resin Printing vs. FDM Printing
FDM printing defects usually happen because of clogged filaments, bed levelling issues, or wonky temperature settings. On the flip side, resin printing's a whole different beast from FDM. It relies on UV light to cure the liquid resin layer by layer. That means you gotta cure those layers right; if you don't, they won't stick together, leading to mid-print failures.
Your Basic Troubleshooting Checklist Before Every Print
Before every print, check if the build plate's level, mix the resin well, inspect the FEP film and make sure supports and orientation are spot-on.
Identifying the Symptom: How to "Read" Your Failed Print
These few symptoms will help you spot issues in your failed prints:
-
Layer separation (Delamination) indicates under-exposure or excessive lift speed (peel force) issues
-
Missing parts show weak supports
-
Cracks often signal trapped resin inside hollow models or over-curing
-
Soft areas point to under-curing
-
Warping hints at suction or orientation problems
In the next section, let's dive into the details of each 3D printing glitch and the best way to fix 'em.
Problem 1: Nothing is Sticking to the Build Plate
Common Causes
If your build plate isn't levelled correctly, that first layer might cure unevenly or just won't bond. Other usual suspects? Poorly mixed resin, low bottom-layer exposure, speedy lift adjustments, or a smooth/oily plate.
The Solutions
To fix this problem, re-level the build plate,and give the plate a good clean or light rough-up for better grip.
Pro tip: Always mix your resin thoroughly before hitting print, and slow down that initial lift speed.
Problem 2: The Print Detaches from Supports Mid-Print
Common Causes
Support failures happen when supports are misplaced or too thin in spots hit by heavy suction or those that bear weight. Layers can get weak from low exposure, and printing large, flat surfaces straight up ramps up suction, pulling the model off its supports. Brittle resins and zippy lift speeds can also cause mid-print detachments.
The Solutions
To fix this problem, look for high-stress zones and improve the supports by adding extras or thickening them. For smoother FEP peels, increase the lift height or slow the lift speed.
We suggest HeyGears PAWR10 Wear-Resistant Resin to lock in rock-solid supports, perfect for beefy, heavy-duty prints. With a 2H grade surface hardness, it’s highly wear-resistant, perfect for printing stuff that requires frequent contact.

Problem 3: Layer Separation, Splitting, or Cracking
Common Causes
Layer separation becomes an issue when layers get under-exposed, the resin's too cold or has separated/expired, or large hollow models without drain holes create a suction cup effect, trapping pressure and vacuum forces against the FEP film. Throw in incorrect layer heights, and that bonding just weakens.
The Solutions
To fix it, warm up the print zone, mix the resin well, and bump the exposure slightly. Lower pressure by hollowing big models and adding in drain holes. For stronger, more dependable layer adhesion, stick to fine heights (0.025–0.05 mm) and acquire a solid resin.
Problem 4: Warped, Distorted, or "Pancaked" Sections
Common Causes
Suction during lifts is the usual culprit for warped, squished, or flattened prints, especially big flat surfaces slapped parallel to the build plate. Distortion can also stem from weak supports, off exposure settings, and bad orientations, hitting thin or delicate spots hardest.
The Solutions
To correct warping, add strategically placed supports for stability and tilt the model 15–45 degrees to lessen suction. Ensure your bottom exposure time is sufficient for strong adhesion, slow down the lift speed for gentler layer peels, ensure sufficient lift height, and tweak exposure to keep edges crisp without over-curing.
Problem 5: Soft, Undercured, or Missing Fine Details
Common Causes
Soft, mushy prints often come from under-exposure, a cloudy FEP or LCD screen, thick layer heights, or cheap resin that's not built for fine details.
The Solutions
To fix this, gradually up the exposure time a bit and give the LCD or FEP a good clean. For finer details, reduce the layer height.
Preventing Future Problems in 3D Printing: Best Practices
Here are some helpful and practical tips that might help you anticipate and prevent problems in 3D printing before you even encounter them.
The Importance of a Perfect First Layer
The first layer is the foundation of your entire print; if it isn't perfect, the rest of the model is likely to fail. To nail it, you typically need to ensure sufficient bottom exposure, keep the build plate meticulously clean, and most importantly, ensure the plate is perfectly levelled.
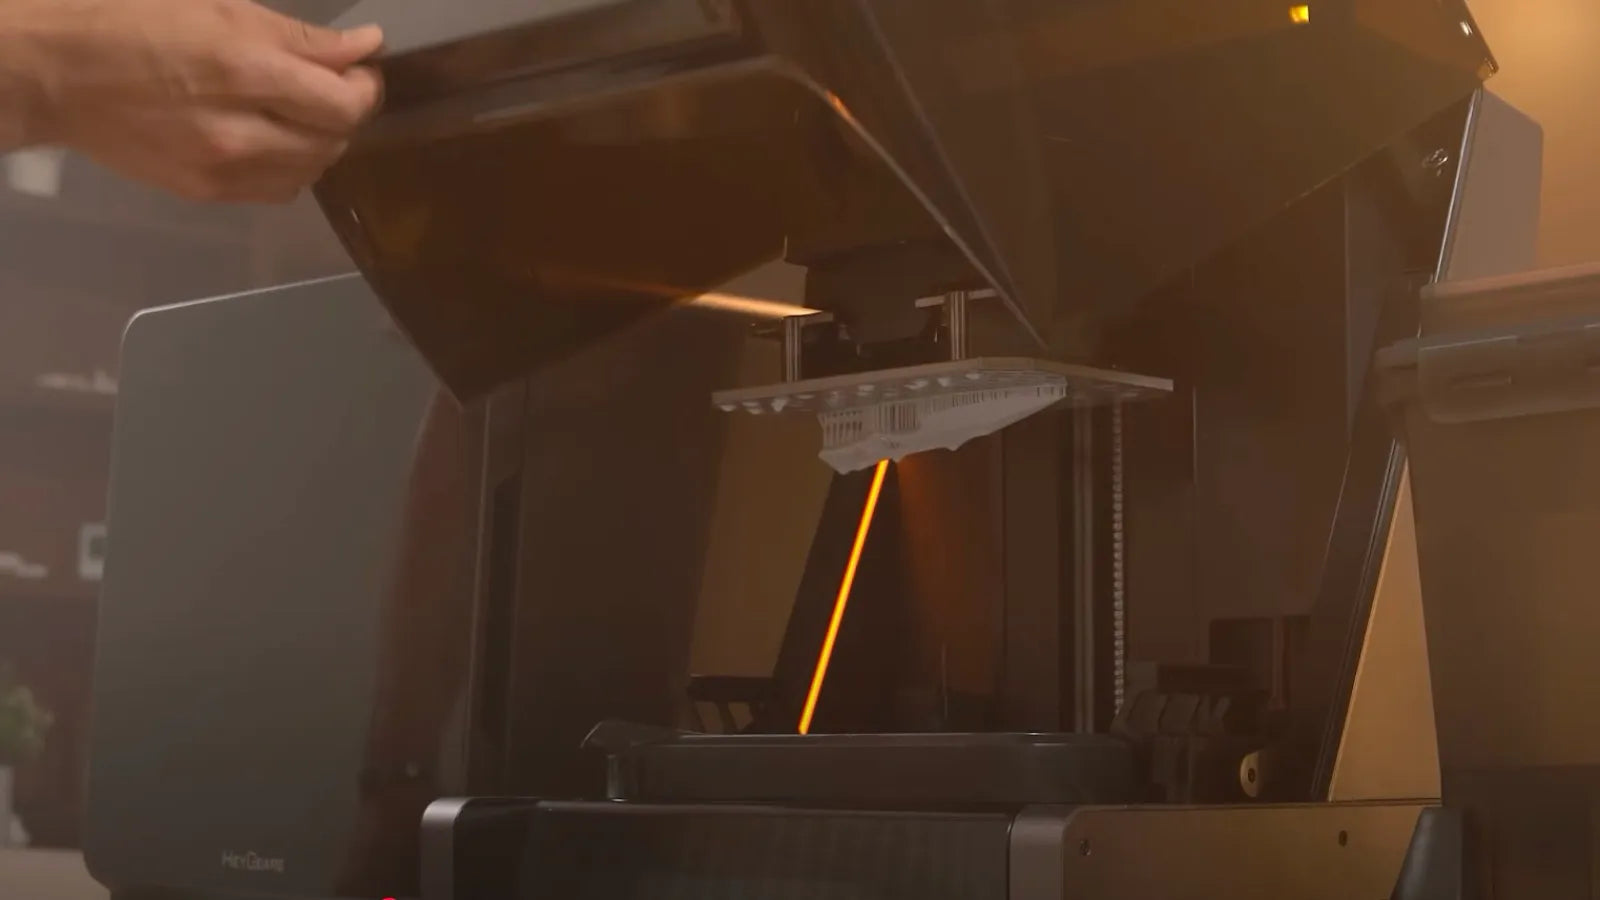
Traditionally, levelling is a manual, hit-or-miss process involving sheets of paper and subjective friction tests. However, the HeyGears Reflex 2 resin 3D printer eliminates this variable entirely. Featuring a true Auto-Levelling System powered by four precision strain gauges, it automatically detects and aligns the build plate. This ensures a perfectly parallel surface every time without any manual calibration, setting the whole model up for guaranteed success.
Regular Maintenance: Keeping Your Printer, Vat, and FEP Film Clean
One big reason resin prints fail? Unclean gear.
Filter your resin to ditch any residue or debris, which could puncture the FEP film or block those UV rays. Clean the vat regularly and swap the FEP film once it clouds up; that keeps layers curing strongly and evenly. A spotless LCD stays accurate too.
Check out the large-format 3D printer HeyGears Reflex 2 Pro for hassle-free upkeep. It boasts 6,000 hours+ of print life, enough for year-round action at about 16 hours a day.

Highlights for it include:
-
1032-Zone Precise OptiZone Light Engine, Pioneered by HeyGears
-
100x More Pressure Resistant, No Fear of Printing with High-Viscosity Resins
-
230x144x350 mm build volume
-
Modular Design, Infinite Possibilities and Effortless Replacements
Managing Environmental Temperature
Resin 3D printing relies on a chemical reaction that is highly sensitive to temperature. When the environment is too cold (typically below 20°C or 68°F), the resin becomes viscous and flows poorly, leading to incomplete curing, delamination, or print failures.
While traditional methods involve heating the entire room or using fermentation belts, direct resin heating is far more efficient. The Reflex 2 solves this with its optional Intelligent Temperature Control. By utilizing a specialized heating scraper, the printer actively warms the resin and maintains it at the optimal printing temperature throughout the entire process. This ensures consistent results even in cooler workspaces, eliminating the need for external space heaters.
Conclusion
Mastering resin 3D printing technology is not so much about luck as it requires an understanding of the delicate balance between calibration, maintenance and environmental control. By learning to identify the root causes of common malfunctions and developing proactive habits, we can control the uncertainty of problems and solve them. For instance, ensure that the first layer of printing is flawless and control the temperature. In this way, you can transform your frustration into high-precision resin 3D professional-grade prints.
Share:
Resin 3D Printing: What Materials Should You Use?
Top 3D Printing Ideas for Beginners with a Resin Printer