

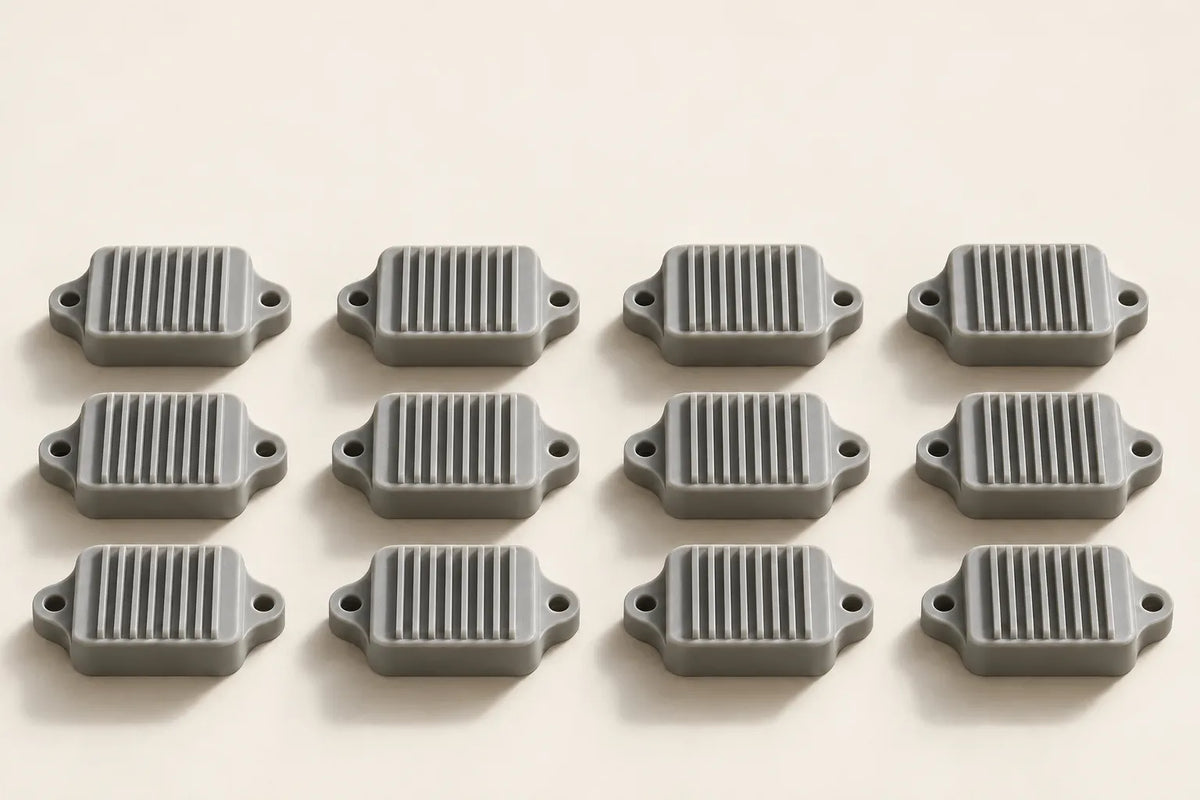
The best 3d printer for repeatable results is one that keeps the features you care about within agreed limits across repeated builds. For detailed resin work, the HeyGears RS Turbo is a strong candidate because its exposure system, motion hardware, and automated assistance address several sources of variation. Judge the complete process using your own finished parts.
One beautiful print proves that a result is possible. A repeatable 3d printing process asks whether you can obtain it again: on another plate position, in another batch, and after the same finishing steps. This matters when miniature sets must match, prototype housings must fit, or replacement components must work without repeated adjustment.
FIELD NOTE 01
Define what needs to stay the same.
Repeatability describes how closely repeated outcomes agree under the same defined conditions. Accuracy asks how close those outcomes are to the intended geometry. A process can repeatedly produce an undersized hole: it is consistent, but its bias still needs correction.
A change of operator, material lot, or environment broadens the question beyond strict repeatability. Record those changes separately so you can distinguish an unstable baseline from sensitivity to a new condition. For everyday production, both kinds of consistency matter.

Define consistent print quality in terms of the part. For a miniature, that may mean readable facial details, intact accessories, and similar support marks. For a housing, it may mean a mating edge and hole spacing that fit every time. Agree on the inspection method and acceptable limits before comparing printers.
FIELD NOTE 02
Control the chain, from file to finished part.
A reliable 3d printer helps reduce interventions and failures. Better print consistency also depends on how the job is prepared, the material is handled, and the finished parts are processed. A resolution number cannot describe that entire chain.
| Stage | Record and control | Why it matters |
|---|---|---|
| Digital preparation | File revision, orientation, supports, layout, and profile. | A different support plan can change distortion and contact marks. |
| Material and environment | Resin identity and lot, preparation, storage, and operating temperature. | A changed material condition can alter how the same file prints. |
| Exposure and motion | Screen condition, layer positioning, release behavior, and tank condition. | Stable hardware gives the process a more consistent starting point. |
| Finishing and inspection | Wash, dry, support removal, cure, conditioning time, and measurement method. | The delivered part must be assessed after the same finishing sequence. |
Start with a proven material profile, then save the exact version you used. If you tune settings, change one factor at a time and repeat the comparison. Keep a reference sample and photographs taken under the same lighting so subtle surface changes are easier to spot.
For a resin 3d printer, washing and curing belong in the process record. Use the resin maker’s instructions and keep timing, equipment, and inspection stage consistent. Measuring one part before cure and another after cure does not give a useful printer comparison.
FIELD NOTE 03
Ask for a repeat test, not a showcase print.
Use a representative model with the details or interfaces that determine success in your work. The following is a practical screening plan, not a qualification standard or proof of long-term capability. Critical applications need a sampling plan and measurement method suited to their risk and tolerance requirements.
Set acceptance criteria.
Choose a few critical dimensions and visible defects. Define a pass before printing, using the fit or finish the job actually requires.
Establish a baseline build.
Print copies at documented locations, including the center and near the edges of the usable area. Keep orientation and support geometry comparable.
Repeat the same job.
As an initial screen, run three builds with five copies per build. Keep the file, material, and procedure fixed; log any intervention. This small sample can reveal problems but cannot establish a production failure rate.
Inspect every finished copy.
Use the same finishing sequence and the same documented inspection stage. Label each copy by build and plate position; include failures in the record.
Compare variation and drift.
Review the spread within each build and changes between builds. A good average can hide one consistently poor plate location or a later batch drifting away from the reference.
Use a measuring tool appropriate to the feature and tolerance; a fine display resolution alone does not establish measurement accuracy. Re-measure a reference part to check that your technique is stable. If the inspection itself varies too much, improve the method before blaming the printer.
When assessing a production 3d printer, also log accepted parts, restarts, hands-on time, and consumable changes. Reliable throughput means usable finished parts per working period. The quickest layer cycle is less valuable if the batch needs repeated rework.
FIELD NOTE 04
Why RS Turbo belongs in a repeatability evaluation.
For fine-detail models and small resin batches, RS Turbo combines several controls relevant to repeatable output. The features below are documented by HeyGears; their practical value should be confirmed with your model, resin, and finishing process.

CONTROL 01
Exposure control
The high-contrast Amber Screen helps limit unwanted curing around fine features.
What to check: Look for matching edges, shallow textures, and small gaps across copies.
CONTROL 02
Stable layer motion
A C5-grade Z-axis module supports consistent positioning; Dynamic Motion Algorithm 3.0 adapts motion to layer difficulty.
What to check: Inspect repeated surfaces and thin features under the same layout and profile.
CONTROL 03
Assisted setup and resin management
Floating Screen Auto Leveling, residue detection, and automatic resin refill reduce some recurring setup and monitoring tasks.
What to check: Record interventions and investigate every rejected part.
CONTROL 04
Temperature and material workflow
Automatic heating requires the separately purchased RS Heated & Pulsing Release Resin Tank. Open Material Mode permits compatible third-party resin tuning.
What to check: Qualify the actual tank, resin, and profile you plan to use; save the approved configuration.
These controls make RS Turbo a compelling choice when your work depends on repeated detail, consistent surfaces, and fewer routine adjustments. They provide a basis for a controlled workflow; your acceptance results determine whether it meets the job.
FIELD NOTE 05
Keep the approved result repeatable.
After approving a build, keep its file, profile, material, and finishing instructions together. Check the tank, film, platform, and accessible optical surfaces according to the manufacturer’s maintenance guidance. Use a small reference part to check the process after a screen or film replacement, a major software change, or a new resin lot.
Investigate patterns before adjusting exposure. A defect that follows one plate location suggests a different investigation from a change affecting every copy after curing. Compare the batch record with the last accepted run, identify the changed condition, and verify the correction with another repeat test.
Reading & product references
- HeyGears RS Turbo: official features and accessory requirements
- NIST: repeatability and reproducibility in additive manufacturing studies
Product information checked October 28, 2026. The screening plan is editorial guidance, not a reported printer test.
共有:
樹脂3Dプリンティングによる迅速なプロトタイピング:デザインコンセプトから最終プロトタイプまで