
When utilizing a resin 3D printer, printing the model is just the beginning. After printing, the object must undergo a vital process known as curing. If adequate curing is not applied, the printed model may be soft, sticky, weak, or even hazardous to touch.
Curing aids in fortifying the print, enhances the surface finish, and helps ensure its durability. Whether it is a basic figure or a complex component, it is the curing that imparts ultimate strength and quality to your model.
In this article, we will explain what the curing process is, how long it usually takes, what factors affect curing time the most, and what methods can be used. We will explore the best curing machine with a one-click task sending system that simplifies the entire procedure, making it faster and more dependable.

What Is Curing in Resin Printing?
Cure
Curing is the process of using UV light to harden the printed resin model. The object is not fully solid right after printing, it’s partially cured, which means sticky to some extent. Applying UV light helps bring balance to the hardened parts and fully solidify the exterior of the model.
Post-Curing
Post-curing ensures that the inner portion of the print is fully hardened as well. This process helps increase the parts' durability and their strength, in addition to resistance to chemicals and heat. It also helps in painting and finishing touches to the model.
This step is very important for users of resin 3D printers. If neglected, the prints might be fragile, vulnerable to deformation, or show a significantly reduced functional lifespan.
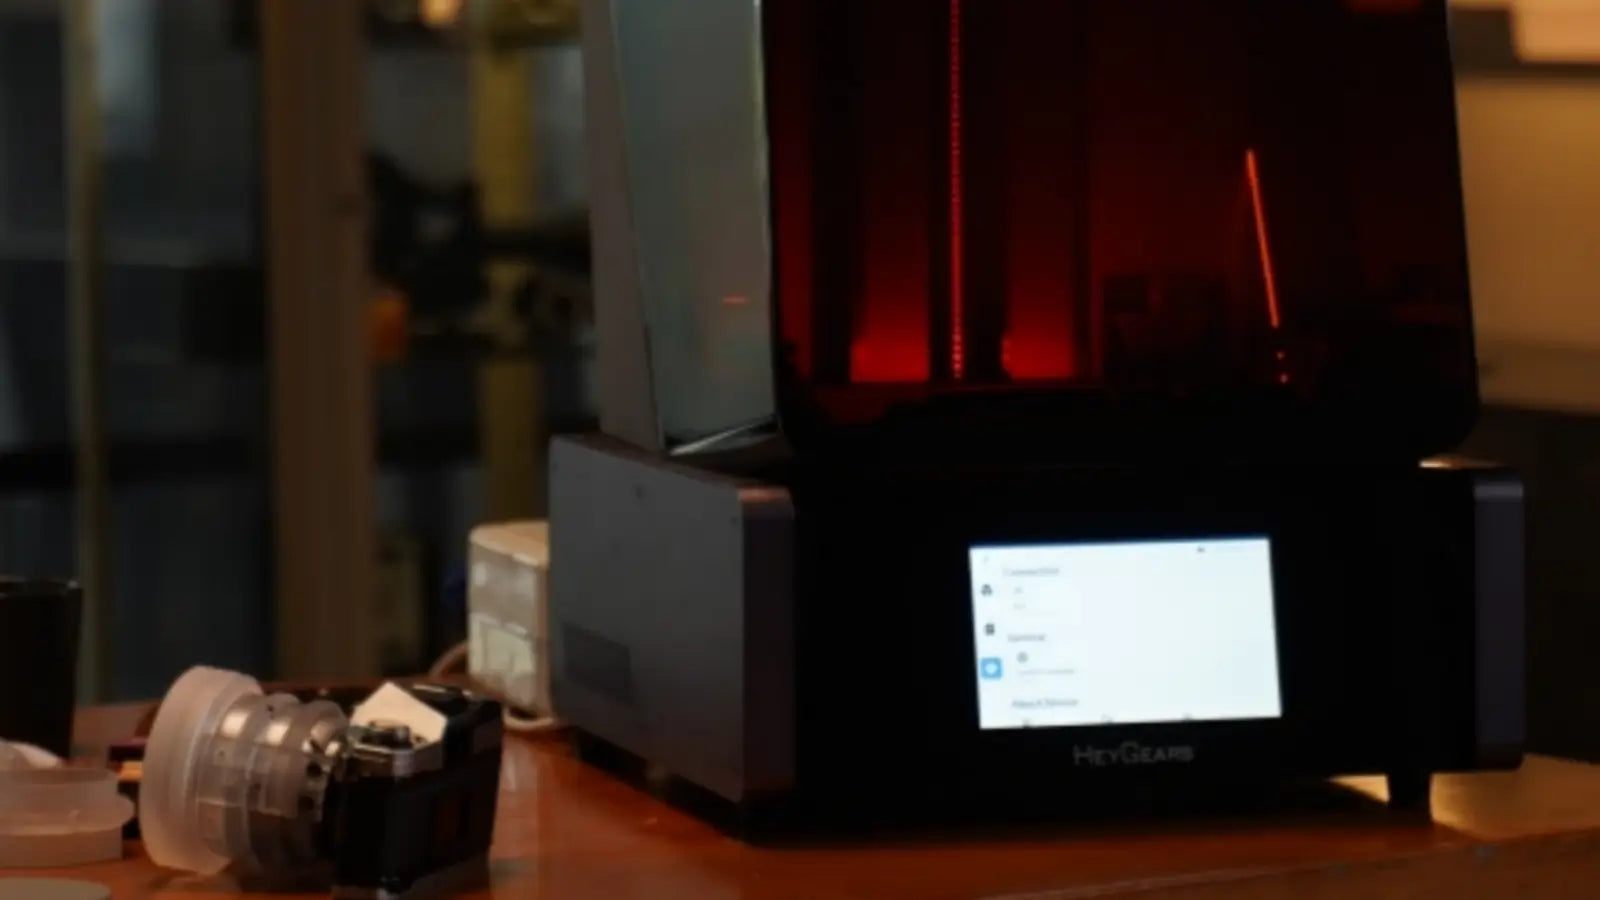
Curing Machine Features
To make the curing process easier and more efficient, curing machine has the following features:
· One-Click Task Sending System: Curing can be initiated with a single button without any complex configurations.
· 360 Degree UV Exposure: During curing, the machine rotates and applies UV light from every direction. This guarantees even curing of the entire print.
· Adjustable Timers: Curing time can be set according to the print dimensions and the resin used.
These features make it a perfect companion for every 3d printing resin operating in either hobbyist or professional environments.
Average Curing Time for Resin Printed Models
The duration for curing resin prints is determined by the print dimensions, the specific resin type, and the post-processing techniques used. In most cases, smaller and less detailed prints cure more quickly than. Also, the UV light source, for example whether from a curing station, the sun, or some other DIY means, affects both the rate and uniformity of the model’s curing.
Here’s a comprehensive table that outlines the average curing time for models of different sizes for various curing methods and times.
| Model Size | UV Curing Station | Direct Sunlight | DIY UV Lamp Setup | Notes |
| Small (e.g., miniatures, rings) | 1–2 minutes | 2–3 hours | 2–4 minutes | Make sure to rotate manually if the machine or setup doesn’t turn on the print. Ideal for light-colored resins. |
| Medium (e.g., figurines, toys) | 3–5 minutes | 4–6 hours | 5–8 minutes | Opaque or pigmented resins may need extra time. Use gloves to avoid leaving marks. |
| Large (e.g., mechanical parts, prototypes) | 6–10 minutes | 6–10 hours | 10–15 minutes | May require repositioning during curing for full exposure. Ensure even light distribution on all sides. |

Factors That Affect Curing Time
Different factors can change how long it takes to cure a model:
· Model Size and Thickness: The time required for curing a model increases with the thickness as well as the size of the model, since the UV light used has to reach the inner parts.
· Type of Resin: Different kinds of resin require different curing times. Some resins take time to cure while others cure rapidly. It is always better to check the label.
· UV Light Power: Stronger lights work better since they can cure models faster. Weak lights may take longer and yield unfavorable results.
· Color of the Resin: Light-colored or clear resin cures faster. Opaque or dark-colored resins take longer to cure.
· Temperature and Environment: Cold environments slow down curing time, while warmer places speed it up.
Putting together the right curing method with the best resin 3D printer will yield excellent results.
What Are the Different Curing Methods?
The three most common ways to cure resin models include:
1. UV Curing Machine
UV curing machines do the job fastest and most reliably. They have built in UV lights, which ensure the even curing of the print.
Most machines rotate the model during the curing process, exposing all sides to the light. For achieving a sleek, sophisticated look, this is the optimal choice. Moreover, it is one of the safest choices, particularly for indoor applications.
2. Direct Sunlight
Sun’s rays have the capability to cure resin prints, it is a slow process. Depending on the weather, this can take between 2 to 8 hours. It may provide value, but it is not very reliable or safe. Too much exposure may lead to warping or discoloration.
3. DIY UV Light Setup
If you don’t have a curing machine, you can use UV light bulbs or LED strips to make your own stations. While less expensive than ovens, these still require manual rotation for even exposure.
FAQs
1. How do I know when a resin print is fully cured?
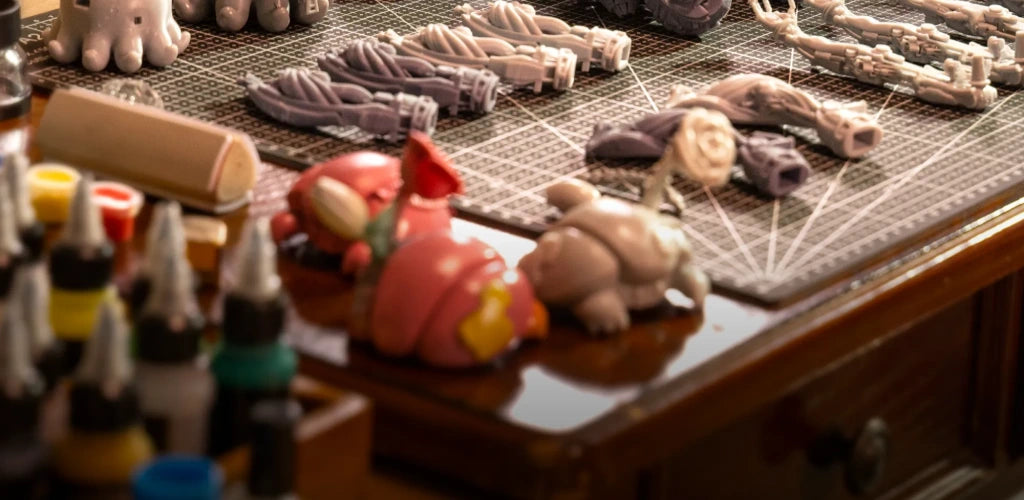
A resin print is fully cured if it feels dry, firm, and not sticky at all. The surface looks matte, and there are no soft or flexible spots. If it feels tacky, then more UV exposure is needed.
2. Should I sand before or after curing?
It is best to sand post-curing. Prints that have fully cured are stronger and able to maintain shape during the sanding process. Sanding before curing is possible, but the soft resin is fragile and can easily be damaged, especially on intricate details.
Conclusion
The last and arguably the most critical step in the process of resin 3D printing is the curing process. Properly executing this step guarantees that the printout is as hard as possible, ready for functional use, artistically smoothed, and polished to perfection.
Even with small figurines, a good output is attainable with tools ranging from professional UV curing stations to DIY setups. To a certain extent, these adjustments can be made, although we suggest modifying only the time based on the type of resin used, model dimensions, and the light source.
With a well-set resin 3D printer and optimized curing processes, the reliability and precision of the resin prints will always be ensured.
Related articles:
共有:
SLA vs MSLA:2つの3Dプリント技術の比較と選択
How to Convert 3MF to STL?