
Diving into the world of resin 3D printing can feel like learning a futuristic new craft. You see incredible, high-detail models online and wonder, "Can I actually make that?" The answer is a definitive yes. While the technology is advanced, the process of how to 3D print with a resin printer is a series of clear, manageable steps.
Think of this guide as your friendly instructor, here to walk you through the entire journey—from a digital file on your computer to a stunning physical object in your hands. We'll demystify the process, explain the essential tools, and give you the confidence to start your first print.

Step 1: Digital Preparation - From 3D Model to Slicer
Before your printer whirs to life, the magic begins on your computer. This digital preparation stage is arguably the most important part of the process, as it lays the foundation for a successful print.
Finding or Creating Your Digital Design
Every 3D print starts with a 3D model, which is the digital blueprint for your object. You have two main paths to get one:
-
Find a Model: For beginners, this is the easiest way to start. A massive online community of artists and designers shares their work on top alternative websites for Thingiverse, like Thangs. You can find everything from intricate fantasy miniatures to practical household gadgets, many of which are free and optimized for printing.
-
Create Your Own Model: If you have a specific vision, you might wonder how to create 3D models for printing. You can start with free and user-friendly software like Tinkercad or dive into more powerful, professional-grade programs like Blender and ZBrush. This path has a steeper learning curve but offers limitless creative freedom.
Understanding Slicer Software: The Key to a Successful Print
Once you have your 3D model file (usually an .STL or .OBJ file), you can't just send it directly to the printer. You first need to process it with the "slicer" software.
A slicer is a crucial piece of software that acts as a translator. It takes your 3D model and digitally "slices" it into hundreds or thousands of ultra-thin horizontal layers. It then creates a new file containing the precise instructions for the printer to follow, telling it exactly what shape to cure for each individual layer. Many premium resin 3D printer brands, like HeyGears, come with their own highly optimized slicer software, Blueprint, which can simplify the learning curve by providing pre-tuned profiles designed specifically for their machines and resins.

Essential Slicer Settings: Orientation, Supports, and Exposure Times
In your slicer, you'll have control over a few settings that are critical for print quality.
-
Orientation: This is the angle at which your model is placed on the build plate. It's rarely a good idea to print a model standing straight up. Tilting it (often backwards at a 30-45 degree angle) helps to minimize visible layer lines on important surfaces and reduces the peel forces on the model as it's lifted from the vat film, drastically increasing your chance of success.
-
Supports: Most models have "overhangs"—parts that would be printing in mid-air without anything beneath them (like an outstretched arm or a chin). Supports are tiny, removable scaffolding structures that the slicer generates to hold up these overhangs during printing. You can adjust their size and density to ensure delicate features are held securely without damaging the model's surface.
-
Exposure Times: This is the single most important setting. It dictates how long the printer's UV light source stays on to cure each layer. Too short, and the layers will be weak, and your print will fail. Too long, and you'll lose fine details. The correct exposure time depends entirely on your specific printer and the type of resin you are using. Reputable resin manufacturers will always provide recommended starting settings to get you in the right ballpark.
Step 2: Machine Setup and The Printing Process
With your digital file sliced and ready, it's time to move to the printer itself. This is the hands-on part of the process where safety and careful preparation pay off.
Essential Safety Precautions (Gloves, Goggles, and Ventilation)
This is the most important rule of 3D resin printing: always prioritize safety. Liquid photopolymer resin is a chemical and should be handled with respect.
-
Nitrile Gloves: Always wear nitrile gloves when handling liquid resin, the resin vat, or fresh prints. It is a skin irritant, and repeated exposure can lead to allergies.
-
Safety Goggles: Protect your eyes from accidental splashes.
-
Ventilation: Resin has a distinct odour, and its fumes should not be inhaled in a closed-off space. Work in a well-ventilated room or use a printer enclosure with a carbon filter.
Preparing Your Resin Printer: Levelling the Build Plate and Filling the Vat
Before every print, there are a few quick checks.
-
Level the Build Plate: The build plate must be perfectly parallel to the LCD screen to ensure your print's first layer sticks properly. This process, called levelling, is usually done once when you first set up the printer and only needs minor adjustments later. While the conventional method involves manually leveling the plate using a piece of paper for resistance, some printers, like those by HeyGears, automate this process with micro-adjustments to ensure the platform and resin vat are perfectly parallel before every print.
-
Prepare the Vat: Give the resin vat a quick check to make sure the transparent FEP film at the bottom is clean and free of any cured bits from a previous print.
-
Fill the Vat: Shake your bottle of resin thoroughly to mix the components. Then, carefully pour the resin into the vat, being careful not to fill it past the max-fill line.
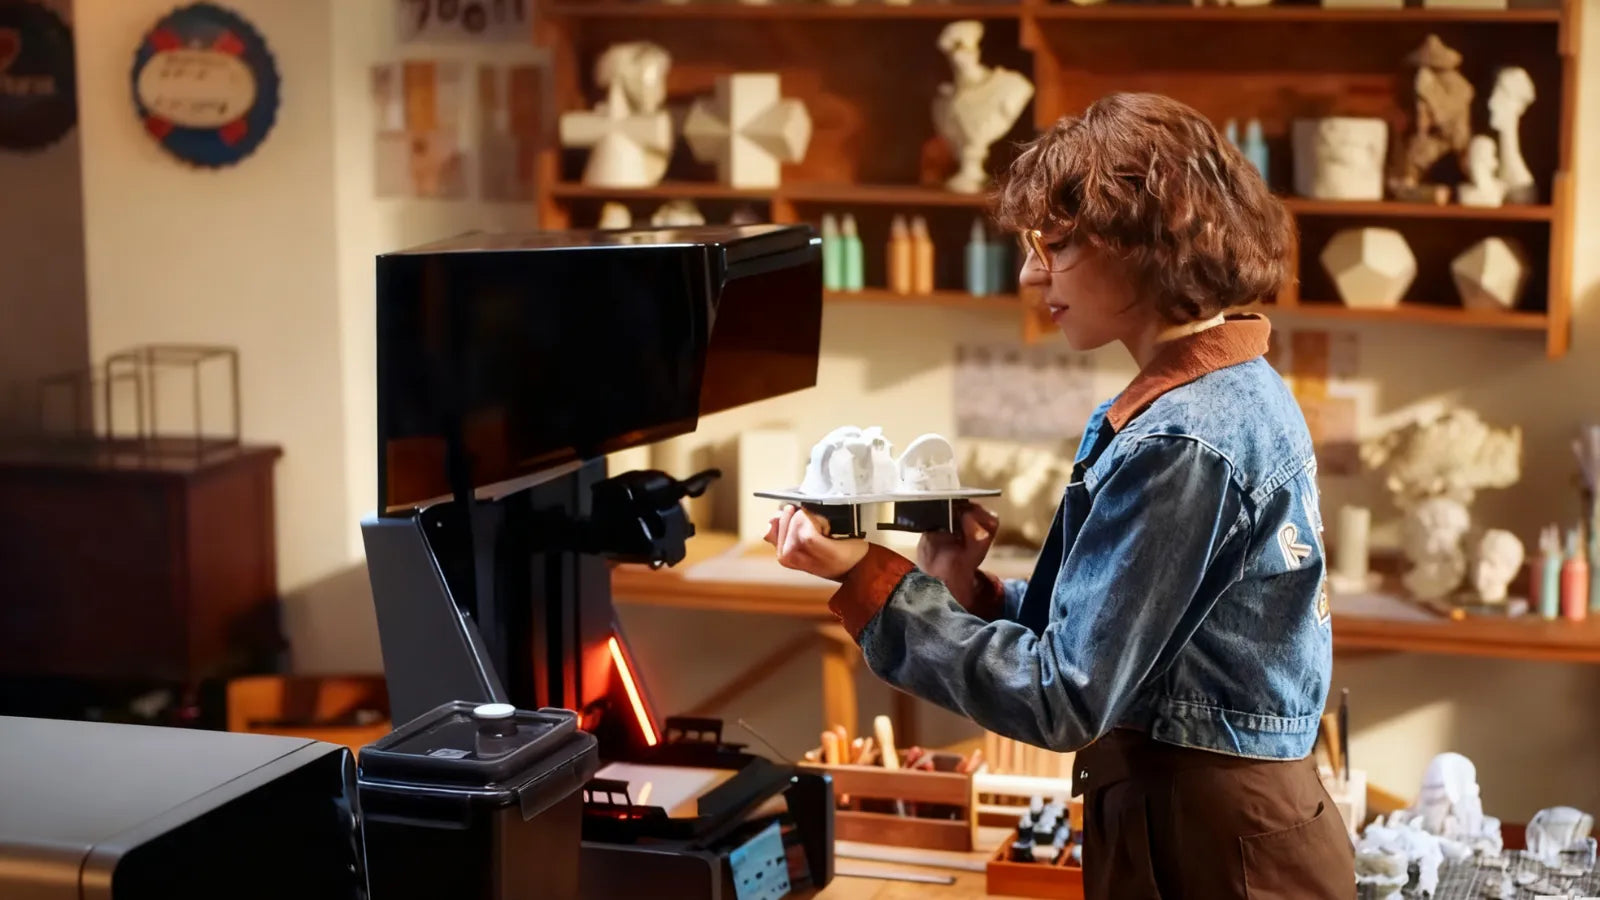
Transferring Your File and Starting the Print
Transfer your sliced file to the printer, which is usually done via a USB drive or a Wi-Fi connection. Navigate the printer’s touchscreen menu, select your file, and press "Print." The printer will lower the build plate into the resin and begin the layer-by-layer curing process. It's a good practice to watch the first 10-20 minutes to ensure the initial layers are adhering to the build plate correctly.
Step 3: Post-Processing - From Raw Print to Finished Object
When the printer finishes its job, you don't have a finished object just yet. You have a "raw" print that needs a few final steps to become a clean, strong, and durable part.

Safely Removing Your Print from the Build Plate
Your model will be firmly attached to the metal build plate. Using a scraper (often included with the printer), carefully work an edge under the model's base or supports and gently pry it off. Try to use a plastic scraper if possible to avoid scratching the metal build plate.
Washing Your Print to Remove Uncured Resin
The newly removed print is still covered in a sticky layer of uncured liquid resin. This needs to be thoroughly washed off. The most common method is to submerge and agitate the print in a container of 90%+ isopropyl alcohol (IPA) for 5–10 minutes—lower concentrations (e.g., 70%) leave residue and are less effective. For a cleaner and more effective process, many creators use a dedicated Wash & Cure station, which automates this step with a magnetic stirrer in a sealed container.
Curing Your Print with UV Light for Final Strength and Durability
After washing and drying, your print will be clean but not yet at its maximum strength. The final step is to post-cure it with UV light. This fully hardens the resin, making the object strong, durable, and safe to handle without gloves. While you can use direct sunlight (for 1–2 hours on a bright, sunny day), it is inconsistent (intensity depends on weather and location) and may cause uneven curing—a dedicated UV curing station is far more effective, as it bombards the model with UV light from all angles for a fast and consistent cure.
Conclusion: You Now Know How to 3D Print with Resin
And that's it! From a digital concept to a physical reality, you now understand the core workflow of how to 3D print with resin. The process is a methodical and incredibly rewarding journey through three main stages: Digital Preparation, Printing, and Post-Processing.
As you can see, the key to turning this knowledge into stunning results lies in the reliability and precision of your equipment. From user-friendly software that simplifies slicer settings to consistent hardware that ensures every layer is perfect, choosing a high-quality, well-engineered printer streamlines this workflow. An integrated ecosystem, such as that offered by HeyGears, empowers you to focus on your creativity, not on troubleshooting your tools, making it the perfect platform to bring your imagination to life.
Now that you understand the complete process, are you more interested in learning about specific types of resins and how they can be used for different projects, like creating flexible parts or ultra-durable mechanical prototypes?
Share:
Crafting Lifelike Resin 3D Printed Animals: Tips and Design Ideas
Unique and Practical Ideas to Resin 3D Print for Every Hobbyist