
3D printing has been widely applied in maker design, medical modeling, industrial prototyping, and even educational projects. However, many users find that even with a perfectly designed model, the printed product can still suffer from warping, visible layer lines, weak structures, and other issues.
The print quality directly affects both the lifespan and visual appeal of the final product. This article focuses on common problems, improvement methods, surface treatments, and post-processing reinforcement to help you optimize your printing process step by step.

Common 3D Printing Problems
In practice, print failures are frequent, though they manifest in various ways. Most issues can be categorized as follows:
-
Poor Layer Adhesion
Finished prints may fracture along the layer lines under slight pressure. Common causes include low nozzle temperature, excessively high cooling fan speed, or material moisture absorption. -
Warping
The print base lifts and distorts structural accuracy. This often results from insufficient bed temperature, improper bed leveling, or large environmental temperature fluctuations. -
Stringing and Clogging
Stringing leads to fine filament strands sticking between parts, while clogs can interrupt printing or damage the nozzle. Causes include excessive nozzle temperature, unstable extruder pressure, or nozzle contamination. -
Blurry Details
Small features and intricate textures may become blurred or lost. Common reasons are large layer height settings, overly fast feed rates, or nozzles with too large a diameter. -
Print Interruptions or Layer Shifting
Printing may stop unexpectedly or layers may become misaligned. Causes include loose platforms or mechanical parts, unstable voltage, or slicing parameter errors.
How to Improve Print Quality?

Print Parameter Optimization
Setting appropriate layer heights, feed rates, and temperatures is fundamental to stable print quality. Especially important are the layer thickness and nozzle temperature, which must be finely adjusted based on the material used.
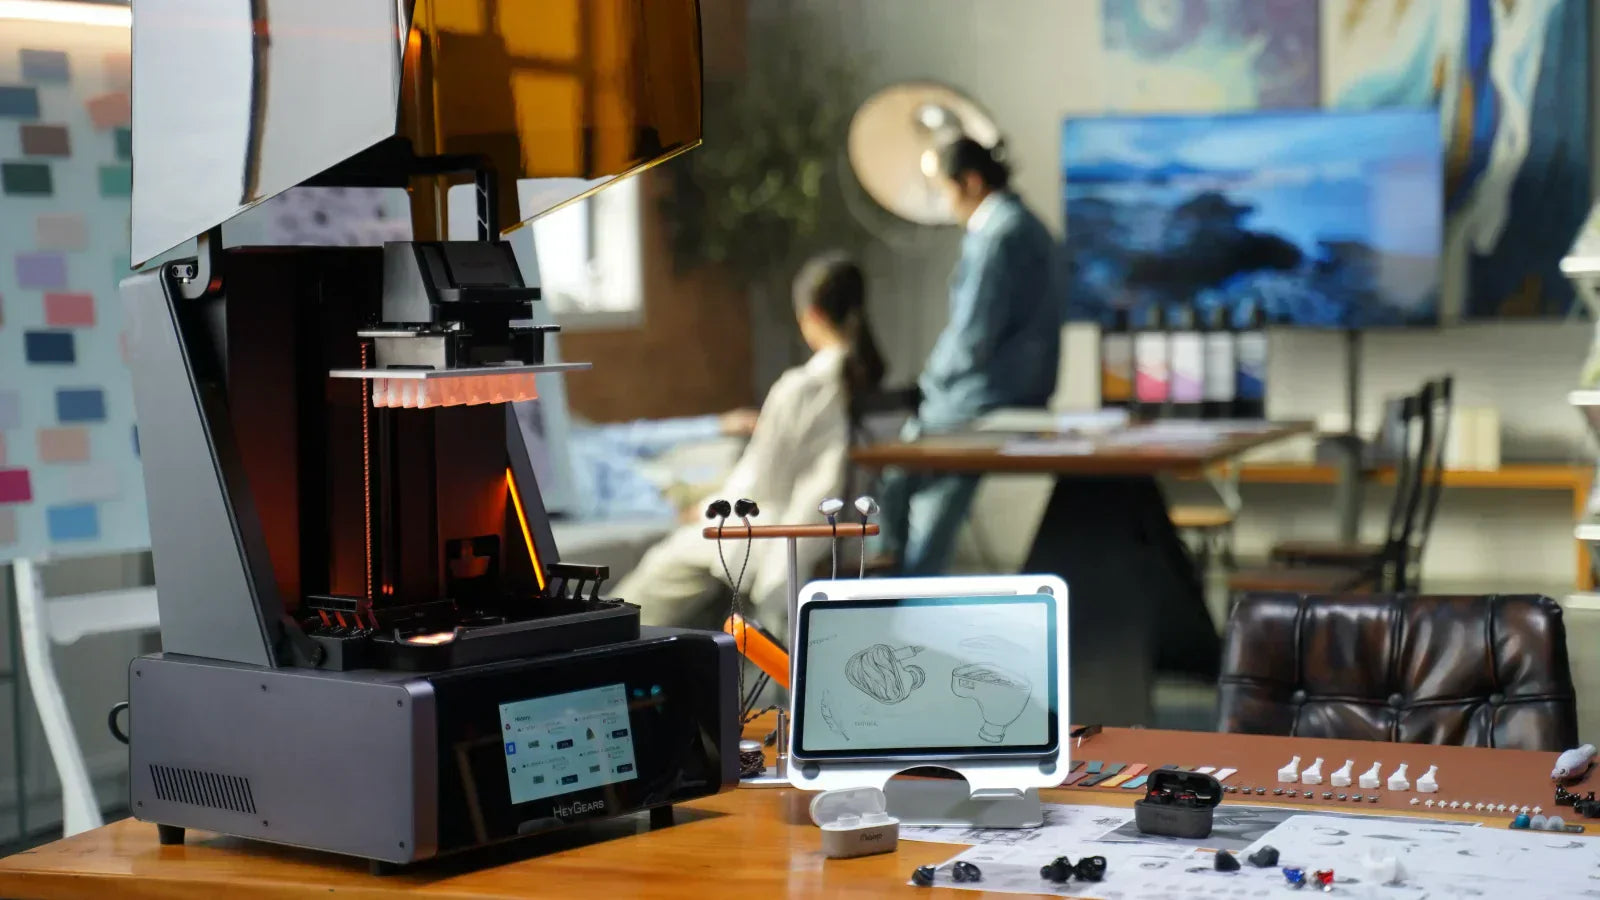
For example, using the UltraCraft resin 3d printer, its C5-grade Z-axis module controls layer thickness deviation within ±2 microns, and full-screen calibration ensures uniform light exposure, effectively reducing deviations and improving detail reproduction, making it ideal for high-precision printing needs.
Equipment Maintenance
Regularly check whether the build plate is leveled, the rails are lubricated, and the nozzles are clean. The machine's condition directly affects print stability.
Material Selection
The properties of the material largely determine the stability of the forming process and the strength of the final product.
Taking 3D printer resin as an example, different resin formulations vary in viscosity, curing speed, and mechanical performance.
Choosing the right resin material is crucial to ensuring the quality and overall performance of printed parts.
Controlled Printing Environment
Large temperature fluctuations during printing can severely impact quality. Using an enclosed printer or a DIY enclosure helps protect prints from drafts, which is particularly important when printing ABS or other temperature-sensitive materials.
How to Improve Surface Appearance?
Even if the structure prints well, rough surfaces or visible layer lines can diminish the overall appearance. Here are some methods to enhance surface finish:
-
Reduce Layer Height
Finer transitions between layers lead to a smoother surface. -
Use a Finer Nozzle
Ideal for printing small, detailed parts. Although it increases print time, it significantly improves detail resolution. -
Sanding
Using sandpapers ranging from 180 to 1000 grit can progressively smooth surfaces and remove layer lines. -
Chemical Treatment
For ABS prints, acetone vapor smoothing can make surfaces glossy. Always prioritize safety when performing chemical treatments. -
Painting and Coloring
Applying a primer coat before painting helps cover layer lines and enhances the final texture and color vibrancy.

Post-Processing: Can I Bake 3D Prints to Make Them Stronger?
Yes, but conditions must be carefully controlled. Heating printed parts in an oven can reorganize internal structures, improving compressive strength and durability. For example:
- PLA: Heat at 70–80°C for 30–60 minutes, then allow to cool slowly.
- PETG, Nylon, and similar materials require higher temperatures but come with a greater risk of deformation.
It’s advisable to test with a small sample piece first to determine whether any warping or dimensional changes fall within acceptable limits before applying the process to critical parts.
Conclusion
Improving print quality involves attention to design, parameters, materials, and equipment. Planning structures carefully, using high-precision equipment and stable materials, recording your print settings, and learning from experience are all crucial.
Mastering finishing techniques such as sanding and chemical smoothing can enhance both appearance and functionality.
3D printing is a continuous optimization journey — the key lies in problem-solving and adapting methods.
Share:
Top Alternatives Websites for Thingiverse
Best Resin 3D Printer for Jewelry