

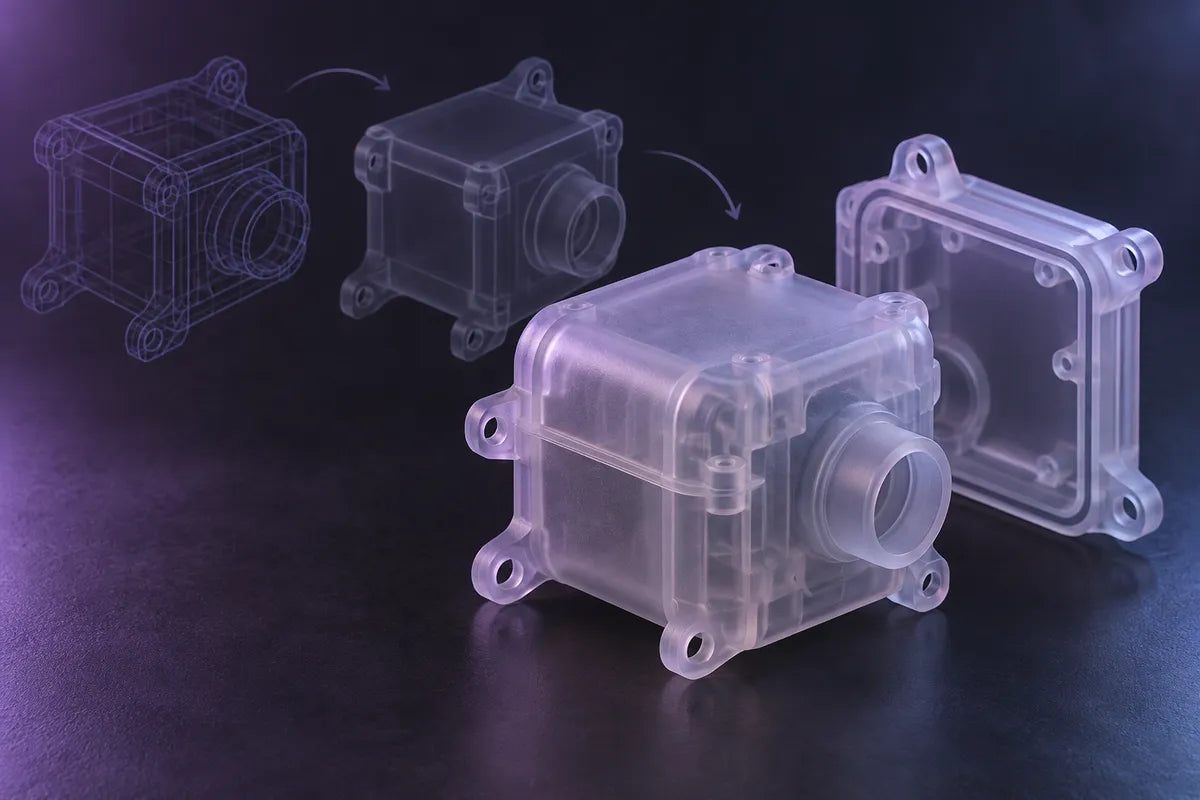
Rapid Prototyping with Resin 3D Printing: From Design Concept to Final Prototype

A resin prototype is most useful when it answers a specific design question. Before printing, decide whether you need to check appearance, fit, movement, or a material behavior. Then choose geometry, resin, and inspection steps that match that question. A polished-looking part can help assess form, but it does not by itself validate strength, heat resistance, long-term wear, or production readiness.

Start with the decision, not the printer
Write one sentence: “This prototype will tell us whether ___.” Examples include whether a control fits a housing, whether a clip can be assembled by hand, whether a surface communicates the intended shape, or whether two parts align. Avoid combining unrelated questions in one build. If a prototype is meant to inspect appearance and another is meant to test a snap-fit, treat them as separate experiments: the preferred resin and inspection criteria may differ.
Record the requirement in observable terms. For fit, note the mating parts, reference dimensions, and acceptable gap or interference. For an ergonomic mockup, identify the grip area and who will handle it. For a moving assembly, list the motion, load, and number of cycles the prototype must survive. If no acceptance threshold exists yet, the first iteration can help establish one, but label it as exploratory rather than passing a formal test.
Choose the right prototype fidelity
A useful 3D printing prototype can move through stages:
- Form check: Is the size, silhouette, button placement, or overall arrangement understandable? A rough, fast print may answer this.
- Fit check: Do interfaces line up? Print the relevant geometry and measure the actual printed part. Account for printer, resin, orientation, supports, washing, curing, and measurement method; CAD dimensions alone do not establish finished dimensions.
- Functional check: Does a feature behave under a defined load, motion, temperature, or exposure? This requires a resin whose current technical data and post-processing instructions fit that condition, plus a test setup that represents intended use.
- Appearance sample: Does the finish, translucency, or surface support the design review? Control color, orientation, layer appearance, support contact, and finishing. A visual sample is not automatically a functional surrogate.
Rapid prototyping with 3D printing can use digital models to produce physical iterations without tooling, which can help designers assess concepts and revise a design. However, the printed resin is a particular photopolymer, not a generic stand-in for an injection-molded plastic. The Formlabs guide to choosing a 3D printing material explains that material properties depend on the specific formulation and the conditions under which a property is measured. Apply that general principle to any resin: use the selected resin’s own current technical data sheet, including whether values apply before or after the specified post-cure.
Select resin for the question
For an appearance model, surface and color may matter most. For a flexible hinge or snap feature, elongation and fatigue behavior may be relevant, but a single tensile value cannot predict real cycle life. For a fixture or housing, stiffness, impact behavior, temperature, chemical exposure, and assembly loads may matter. “Engineering resin” and “functional resin” are categories, not proof that a material matches a production plastic.
Use the current data sheet for the exact resin and color where possible. Compare test method, cure condition, specimen geometry, and units before treating two values as comparable. If the supplier does not provide evidence for the property you need, narrow the prototype’s purpose or plan a test; do not infer safety or performance from the label.
The HeyGears Reflex RS Turbo product page lists a 222 × 122 × 228 mm build volume and identifies compatible resins on the page. Its Open Material Mode is described as adjustable for broader resin options. Those are manufacturer statements, and compatibility remains specific to printer, resin, settings, software, and current instructions. Check the page and resin documentation for the configuration you plan to use. The machine’s listed 405 nm optical wavelength and nominal specifications do not determine whether a prototype is fit for a particular load.
Design for the print and the inspection
Build the part around the question. Include datum faces, alignment features, or a sectioned area when they make measurement easier. Print a small coupon beside the part if it helps compare material behavior or process changes, but do not assume the coupon represents every geometry. Thin walls, holes, long spans, enclosed cavities, and broad flat surfaces may need orientation and support review before slicing.
Before committing to a full build, inspect the layer preview for isolated islands, unsupported starts, abrupt cross-section changes, trapped cavities, and surfaces where supports could obscure a critical feature. For a hollow model, consider how uncured resin and wash liquid will drain; a sealed cavity can make both printing and post-processing difficult. These checks reduce avoidable uncertainty, but they do not certify a design.
When dimensional fit matters, print a small interface sample or a few controlled variants rather than scaling a whole assembly by guesswork. Change one dimension at a time and record what changed. Keep the CAD revision, slicer project, machine, resin batch, orientation, support approach, layer profile, and finishing steps together so another person can interpret the result.
Treat post-processing as part of the prototype
A resin part is not evaluated in the same state at every stage. Washing, drying, support removal, and post-curing can affect its surface, dimensions, or mechanical response. Follow the exact material maker’s instructions and record the process actually used. Do not borrow exposure, washing, or curing values from another brand’s resin or from a different machine profile.
If the prototype will be measured, define when measurement happens—for example, after the specified wash and cure and after the part has cooled and stabilized. Use the same measuring instrument, locations, and method for variants. For a functional check, state the test conditions and acceptance rule before testing. If a feature breaks, distinguish design failure from print or post-processing variation before changing the CAD.
Use each iteration to reduce one uncertainty
A disciplined cycle is simple:
- State the decision and its acceptance rule.
- Select geometry, resin, and finishing instructions that fit it.
- Save the model and process inputs with a revision identifier.
- Print the smallest useful sample or prototype.
- Inspect or test using the predefined method.
- Record the result, including failures and deviations.
- Change one meaningful variable and repeat only when the next decision needs it.
This makes rapid prototyping valuable even when the first print is imperfect: the value comes from learning that changes a design decision, not from assuming every print is representative. For a short list of HeyGears resin options, browse UltraPrint resins; check the exact resin’s current documentation before assigning it a functional role. For a printer choice, compare the required part envelope, material compatibility, and complete post-processing setup.
When a printed prototype is not enough
Use a more representative process or a qualified test when the decision involves long-term fatigue, regulated use, safety-critical loads, chemical exposure, high temperature, food contact, or medical use. A visual fit check can reveal interference; it cannot establish a service-life claim. A resin prototype can inform a production design without proving the behavior of the eventual production material or manufacturing process.
FAQ
Can a resin prototype predict how an injection-molded part will perform?
Only for questions where the resin sample and test conditions are sufficiently representative. Similar appearance or a marketing label does not establish equivalent mechanical, thermal, or chemical behavior.
Should I print the whole product for each iteration?
Usually start with the smallest geometry that answers the current question. Include enough surrounding structure to preserve the relevant interfaces and loads; avoid printing unrelated features that do not affect the decision.
Can a printer’s accuracy specification replace a fit test?
No. A nominal specification is not a guarantee for a particular resin, geometry, orientation, or finished part. Measure the actual sample with a method suited to the tolerance you need.
Share:
SLA vs MSLA vs LCD Resin 3D Printing: Which Technology Should You Choose?
What Is the Best 3D Printer for Repeatable Results?