
Resin printing has proven to be the technology that designers use when they need precision, smoothness, and details. Whether resin is required to create miniatures, material prototypes, or models that are functional, resin 3D printing delivers the highest level of detail over filament-based approaches.
In this guide, we will discuss things that make resin the best choice when printing high-fidelity items, the settings of the slicer that are the most critical, and post-processing being the key to perfection. We will discuss two professional-grade printers from HeyGears, the Reflex RS and the Reflex RS Turbo, to demonstrate how sophisticated equipment can allow you to perfect this art.
Why Resin Excels at High-Precision Prints
Here, we will analyze how resin printing can achieve more refined printing from several aspects.
Voxel-Based Curing vs. Traditional Layer Lines
Unlike FDM printing, which creates visible lines by depositing melted filament, resin printing (LCD, DLP) cures liquid resin by projecting the image of an entire layer at once. This process, combined with extremely fine layer heights and high XY resolution, results in exceptionally smooth surfaces and sharp details with virtually no visible layer lines. This voxel-level precision is a key advantage of resin 3D printing for high-fidelity applications.
How LCD, DLP, and SLA Technologies Render Fine Features
The process of light projection, LCD screens, DLP projectors, or laser-based SLA influences the result. LCD printers are inexpensive and offer high resolution, whereas DLP technology yields quick results with high-quality projection. SLA involves a high level of accuracy, especially with the use of accurate lasers, but typically at a lower speed.

The Impact of Native Printer Resolution (2K vs. 4K vs. 8K)
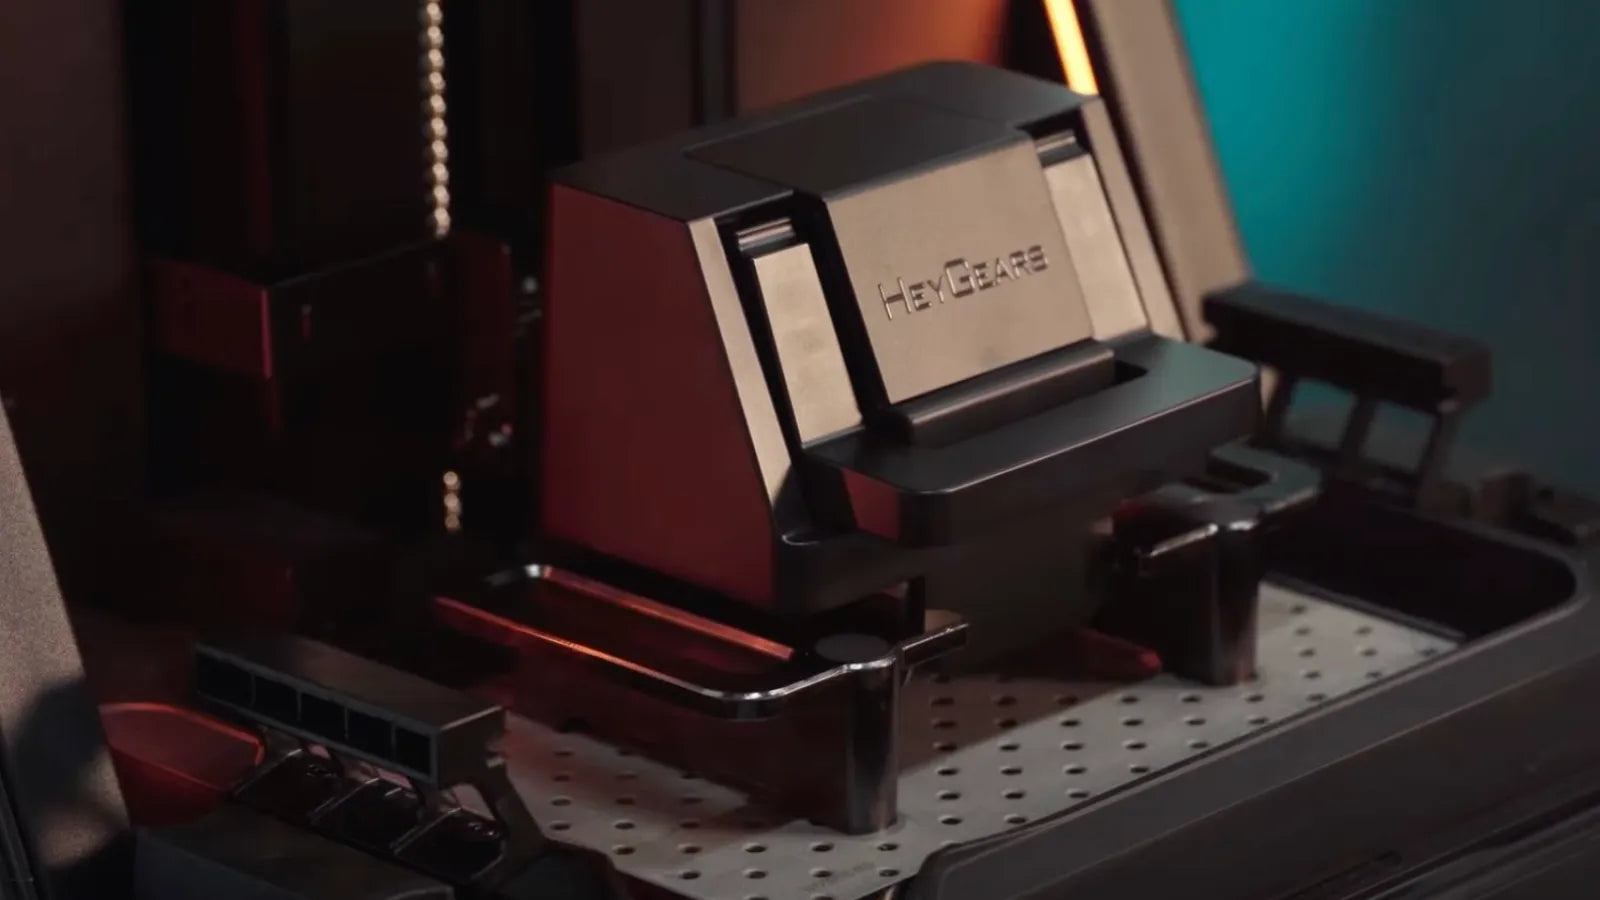
The quality of detail is directly related to the resolution of the printer. A 2K machine is capable of working with small details, although 4K and 8K models take their capabilities to the edge of precision. A good example is the HeyGears Reflex RS 3D Printer, which uses professional precision.
Its C5-grade Z-axis module has design capabilities for layer positioning errors as low as ±2 μm, and a full-field precision screen with calibration in 60 zones with a light intensity variation maintained at ±3%.
It guarantees the engravings of a particular feature, such as miniature armour decorations or lattice design, in prototypes to be printed with unparalleled sharpness. The Reflex RS also employs Adaptive Z-axis Compensation, employing 180 parameter combinations to reduce deformation, resin pooling, and surface roughness.
Critical Slicer Settings for a Flawless Finish
Mastering your slicer settings is the single most important step for achieving a high-quality 3D print. The right adjustments can eliminate common flaws like layer lines and uneven surfaces, ensuring your final part has a truly flawless finish.
This is why the HeyGears Reflex RS Turbo can be regarded as a sophisticated option for professionals and serious hobbyists. Its high-resolution 8K amber screen, with a 566:1 contrast ratio, works to minimize light leakage and achieve sharper details. Coupled with a high-precision C5-grade Z-axis module that ensures ±2µm motion accuracy, the printer guarantees stable layer stacking.
This combination of an advanced light engine and a stable mechanical system works in harmony to drastically reduce or even eliminate the visible layer lines that other printers struggle with, producing complex models with a remarkably smooth, mirror-like finish directly off the print bed.
Layer Height: The Number One Factor for Surface Smoothness
The finer the layer height, the smoother the surface. Typical settings are between 0.025 and 0.05 mm for high-detail models. Although this will consume more time printing, it is necessary, especially when dealing with miniature figures or models that have organic curves.
Anti-Aliasing (AA): Digitally Smoothing Slanted and Curved Edges
Anti-aliasing smooths the sharp edges by blurring the light sources on exposure. The resin 3D printers are not only AA compatible but are made to cure the sharp edges of pixels in practice, which, when resin is curing, the success of anti-aliasing is highly dependent on the accuracy of the hardware used to print.
The optical layers and the light projection with high contrast minimize the pixelation on the voxel and promote a smoother transition between cured areas. This method of hardware precision enables AA to make digital algorithms leaner, with surfaces that are seen to be finer and smoother, even in difficult curved geometry.
Optimizing Exposure Times to Prevent Light Bleed and Detail Loss
Exposure needs to be carefully tuned; too much light erases details, while too little weakens adhesion. Correct timing ensures layers cure consistently and models maintain both accuracy and strength.
From Supports to Post-Processing: The Final Steps to Perfection
Post-processing is what makes a difference between good and professional prints, despite great hardware and slicer settings.
Strategic Use of Spherical Contact-Shaped Supports to Minimize Surface Marks
The support positioning and type are essential for a professional finish. Sphere contact supports are used in place of fine-tipped ones, which leave behind small pits when taken off. These supports have a rounded tip which will easily make a clean break at the junction, leaving behind a small bump that can be easily sanded, rather than a deep, canyon-like notch.
Reflex RS series gives the process further refinement by using intelligent auto-support generation, which makes use of the model geometry to strategically position sphere supports. This minimizes the risk of detachment and also smooths out the surface and gives minimal blemishes.
The Importance of a Proper Washing and Curing Workflow
After the model is printed, uncured resin should be removed thoroughly, preferably with water-cleanable resins such as PAWW10 of HeyGears. Strength and durability are then provided by proper UV curing. HeyGears even offers Wash and Cure systems, specifically to do a clean-up or post-curing resin in a direct workflow to make sure that less time is spent on messy steps and more on design.
Techniques for Removing Support Nubs for a Glass-Like Finish
Support nubs might cause flaws unless dealt with utmost care. Marks can be removed by light sanding using fine-grit sandpaper, or with polishing or a coat of a thin layer of UV resin. In the case of clear resins such as HeyGears PAT10 Transparent Resin, polishing the product once it has dried prevents the loss of optical clarity, which is ideal in electronic cases, jewelry, or translucent miniatures.

Conclusion: Mastering High-Detail Resin 3D Printing
To ensure perfect outcomes in resin 3D printing, it is necessary to have an appropriate blend of technology, slicer options, and finishing methods. Voxel-based curing, extensive anti-aliasing, and even post-processing can guarantee high-quality and professional output.
HeyGears Reflex RS is ideal for creators with precision-oriented tasks where printing of objects with stability and precision is required in professional prototyping and miniature applications.
While the HeyGears Reflex RS Turbo goes one step further with a more advanced amber display, increased processing speed, and increased life expectancy, it is good when making complex models or larger volumes of work.
When you want to achieve smooth surfaces and finer details, it is worthwhile to invest in the appropriate workflow and sound hardware, which makes your resin 3D printing projects appear as smooth as they should.
Related articles:
Resin 3D Printer Materials Compared: ABS-Like vs Standard Resin
How to Use Tree Supports in Cura
How to Wash and Clean 3D Resin Prints
When & Why to Replace FEP Film
Share:
Resin 3D Printing vs CNC Machining: Which is Right for Your Project?
What Is Resin 3D Printing? A Guide to the Technology and Its Uses