
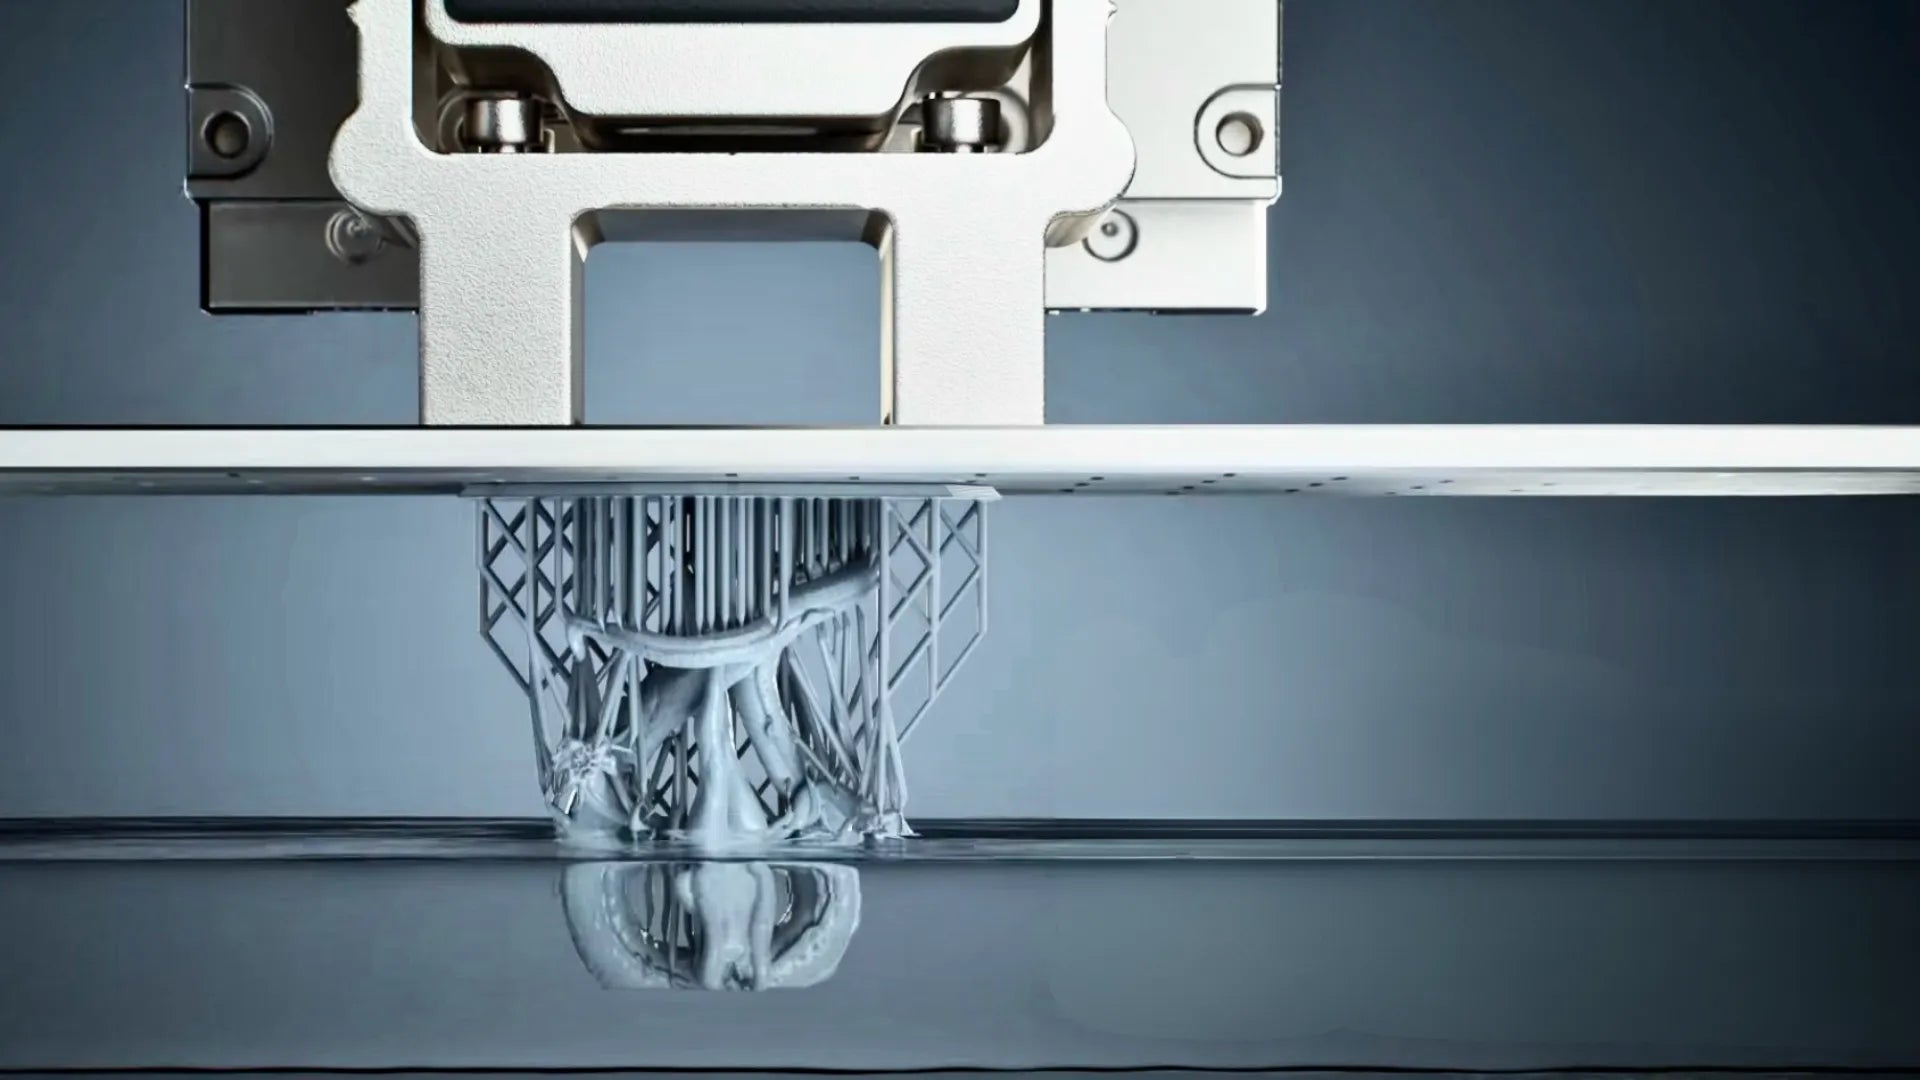
One of the most interesting methods of producing accurate models, figurines, and prototypes is resin 3D printing. But, as with any technology of that cutting edge, there are its own problems. The most vexing problem is when your print begins to slide, droop, or fall off in the middle of the process. Have you ever wondered what to do when a 3D printer is slowly running out of resin? The problem has a step-by-step solution, and these steps will assist you in getting the perfect outcomes.
Understanding Why Your Resin 3D Print is Falling
Resin prints do not fail because of just one cause; there are many possible culprits. The first step towards the solution of the problem is to understand them.
Build Plate Adhesion Issues: The Foundation of Failure
When your print does not adhere to the build plate properly, it will eventually be pulled down in the resin vat by gravity. The most common suspects are improper levelling, dirty surfaces, or inadequate exposure to the first layer.
Incorrect Exposure Settings: Curing Calamities
Underexposure does not allow the cure of layers, and excess exposure may lead to the distortion of details. The two scenarios undermine the structure so that the prints fall.
Print Orientation and Support Structure Weaknesses
Wrong angles or insufficient supports may expose your print to peeling off. These slender supports or improper positioning place excessive pressure on fragile parts.
Resin Quality, Viscosity, and Environmental Factors
Very viscous resin, expired resin, or low-quality resin will not create powerful layers. Similarly, printing at low temperature changes the rate of cure and destabilizes bonding.
Printer Maintenance and Component Health
Contaminated FEP films, inaccurately positioned build plates, and aging LCDs are also the cause of print failures. Failure to maintain a printer reduces its capability to produce consistent results.
Step-by-Step Solutions: How to Fix a Sinking Resin Print
After you are aware of the reasons, now, what to do when 3D printing is slowly falling, practical steps to the problem at hand.
Optimizing Build Plate Adhesion
Wipe your build plate with isopropyl alcohol and re-level. The adhesion can be enhanced by lightly sanding the surface. The foundation is safe through increasing the exposure time on the first layer.
Fine-Tuning Exposure and Movement Settings
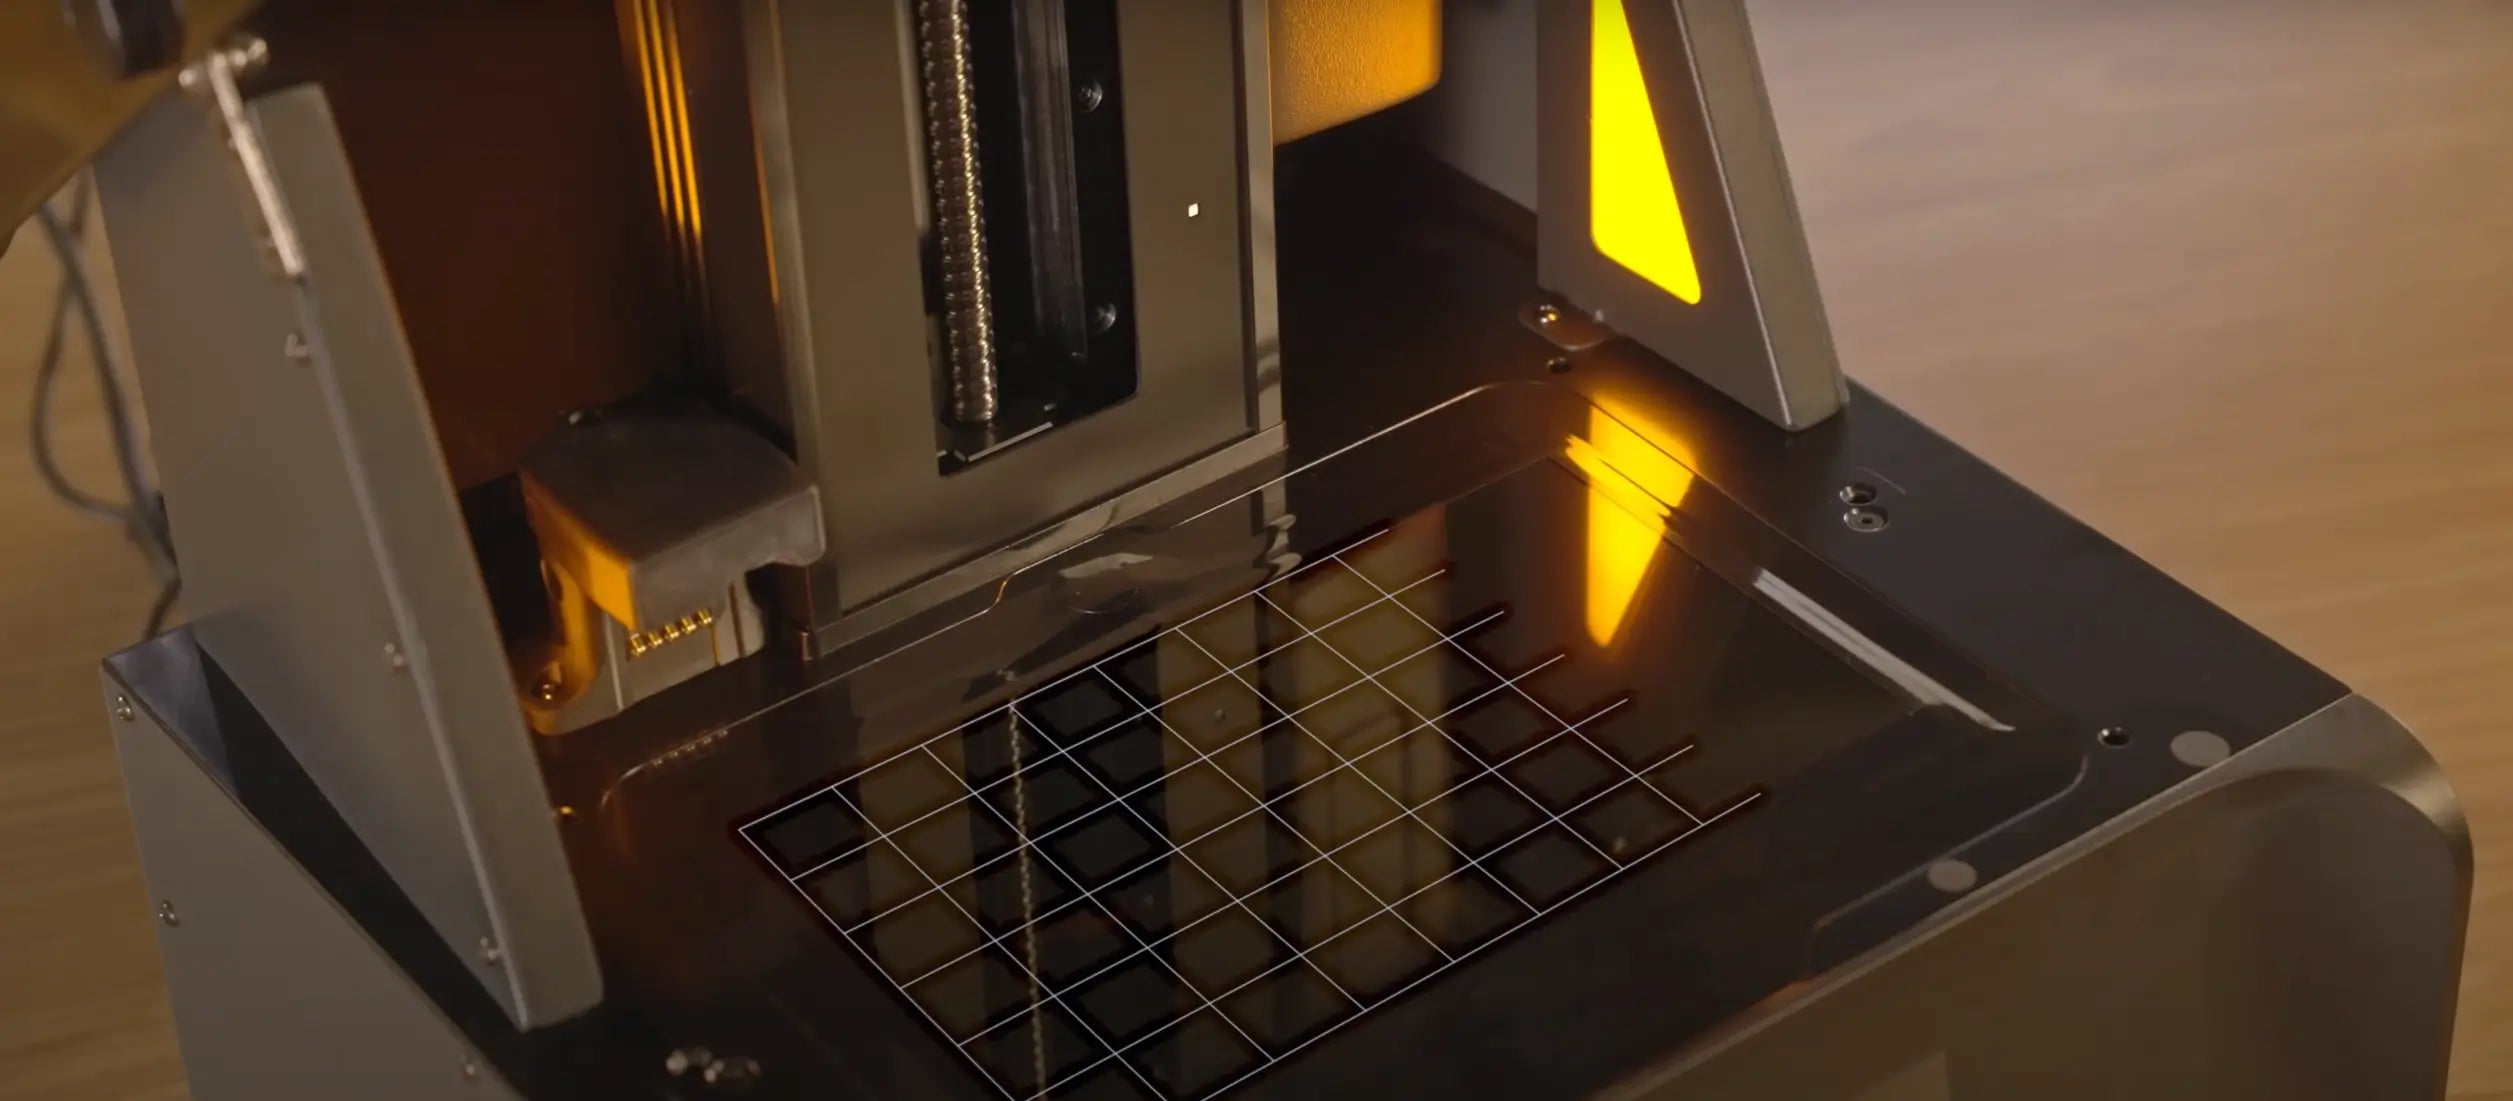
One of the most vexing aspects of resin printing is getting exposure times correct. Too fast cure prints are brittle or ridged, and those that are not over exposed may collapse, or not bond. The HeyGears Reflex 3D Printer replaces much of this experimentation with the process.
The printer plans and controls curing and peeling settings automatically on each layer using its smart peeling control system and smart regional exposure system, and AI-assisted peeling force management. It helps to give finer details the correct amount of light, but supports and other structural parts are well-built, so the makers can spend more time designing than adjusting the parameters. In addition to exposure control, the Reflex 3D Printer also integrates a number of technologies to provide steadier print quality. Its 385+ nm COB UV light source has better curing uniformity, and its C5 Z-grade module has the highest permitted repositioning of +-2um, which eliminates visible gaps in layers. Combined with the auto-supports provided by Blueprint Studio and defect recognition, the process is effortless throughout slicing to the final print. HeyGears 3D printing resins, including the PAWW10 Water Washable Resin and easy post-processing, and PAP10 Precise Detail Resin for complex miniatures, also print without hours of hand-trial, and produce high-quality printed outcomes in a diverse variety of applications.

Improving Print Orientation and Support Structures
To minimize suction and stress distribution, make your model at an angle. Place heavy-weight supports that are thick and well-laid over heavy parts and fine supports over finer parts. A slicer such as the HeyGears' Blueprint Studio can save time and add some order by using the auto-support tools.
Managing Resin and Environmental Conditions
Keep your resin at room temperature. When your operating area is chilled, the resin heating system of the Reflex printer will automatically warm the resin to the error-free temperature without the danger of viscosity problems. The selection of high-quality resin, including Water Washable Resin PAWW10, also makes a big difference. Its low odour, high toughness, and ultra-low water sorption reduce the likelihood of failure and make it easier to clean.
Printer Maintenance and Calibration for Preventing Sinking Resin Prints
View your FEP film periodically to check whether it is experiencing scratches or cloudiness. Should replace worn parts and look at resin leftovers. In the Reflex printer, this is facilitated through the high-sensitivity residue detection and automatic build plate levelling that makes the calibration constant and reduces the number of failed prints.
Proactive Measures to Prevent Future Print Failures
Instead of always trying to mitigate the problem by troubleshooting, it is better to take preventive measures to avoid the headache in the long run.
Develop a Consistent Maintenance Routine
Clean resin tanks, change release films, and verify the build plates. A printed machine is much less likely to give falling prints.
Log Print Settings and Outcomes
Maintain a basic record of models, exposure times, and types of resin utilized. This record can also serve as a beneficial tool over time to troubleshoot and improve results.
Control Environmental Conditions
Constant temperature and humidity are required. The heating feature of the Reflex resin is useful, but it is equally essential to store the resin bottles in moderately high temperatures.
Read Your Printer’s Technical Documentation
Manufacturers also tend to give recommended settings and maintenance procedures. Post-processing minimizes experimentation and eliminates expensive errors.
Utilize Online Communities
The forums, Discord, and Reddit threads are crowded with users who have had some experiences and solutions to them. By interacting with these communities, you are able to avoid pitfalls.
Conclusion: Achieving Flawless Resin 3D Prints
When trying to figure out what to do when a 3D printer is slowly falling resin, the solution can be found in adhesion, exposure, resin quality, and maintenance. Flawless prints are completely attainable with the proper care, adjustments, and the correct equipment.
When you select high-performing Resin 3D printers and reliable Resin materials, you reduce the possibility of failure and maximize creativity. You will significantly reduce technical setbacks and can devote more energy to realizing your ideas.

Frequently Asked Questions about Falling Resin Prints
Why is my resin print not adhering to the build surface?
This is normally due to inappropriate levelling or a lack of exposure at the first layer. The problem is usually fixed by cleaning and re-levelling the build plate.
What causes my 3D print to slowly fall in resin mid-process?
The commonest culprits are weak adhesion, poor exposure settings, or under-supports. It also depends on the quality of resin and on environmental conditions.
How do I prevent delamination in my resin prints?
Make sure the resin is sufficiently cured and the resin temperature remains constant, and use tough resin with high quality, such as PAWW10, to avoid cracking or peeling.
How can I fix rough surfaces or “ragging defects” on my resin print?
This is usually caused by wrong exposure or contaminated optics. Set curing time, wash up FEP, and keep LCD screen clean.
Is resin temperature important for preventing sinking resin prints?
Yes. Cold resin makes the curing irregular because it is viscous. Printers such as the Reflex automatically heat resin to the ideal temperature, eliminating the dangers.
Related articles:
Guide to HeyGears PVC-Like Resin PAF10
Share:
What Is Water-Washable Resin? A Comprehensive Explanation
How Long Do Resin 3D Prints Last? Factors and Durability Insights