

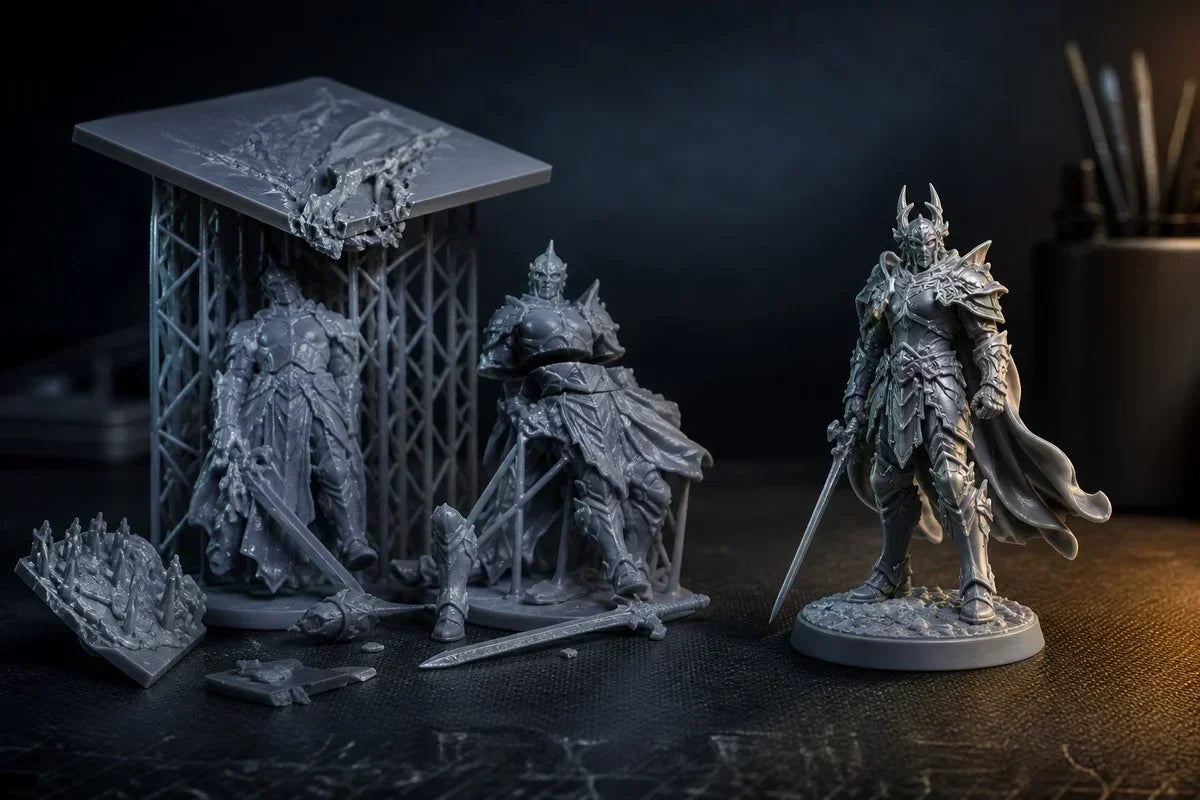
A failed miniature is rarely random. The position of the failure—on the build plate, at the supports, across one layer, or after curing—usually points to a specific cause. Learn to read those clues and you can fix the process instead of wasting resin on guesswork.
Resin printing can reproduce tiny faces, chainmail, feathers, and weapon edges that are difficult to achieve with other desktop processes. That detail also makes miniatures demanding: a small error in adhesion, orientation, exposure, temperature, release force, or post-processing can ruin an otherwise excellent model.

Safety first: Wear suitable nitrile gloves and eye protection when handling liquid resin or contaminated parts. Ventilate the workspace, follow the resin maker's safety data sheet, and fully cure resin waste before disposal according to local rules.
1. The First Layers Do Not Grip the Build Plate
What it looks like: the raft is missing from the plate, a thin cured sheet is stuck to the release film, or only one side of the print remains attached.
The first layers are the foundation for every support and every part above them. Contamination on the plate, an incorrect plate position, insufficient base exposure, or a raft with too little contact area can let the print detach as release forces build.
How to prevent it:
- Clean and dry the build plate without touching the print surface afterward.
- Confirm that the plate and resin tank are seated correctly.
- Use the 3d printer and resin manufacturer's validated base-layer profile before changing settings.
- Inspect the first few layers or use the printer's monitoring features when available.
- After any failure, filter the resin and inspect the tank before starting again.
2. Supports Are Too Weak—or the Model Is Oriented Poorly
What it looks like: the raft and support forest print successfully, but the miniature is missing, partly formed, shifted, or separated at a cluster of support tips.
Supports must hold the growing cross-section while each cured layer peels away from the film. A nearly flat shield, base, cape, or torso can create a sudden area increase that overwhelms light supports. Unsupported islands may appear as missing details or stray cured fragments.
How to prevent it:
- Tilt the miniature so the cross-section grows gradually—often backward and slightly to one side.
- Place stronger anchor supports at the earliest load-bearing points.
- Use lighter contacts on faces, hands, weapon edges, and presentation surfaces.
- Run an island check and inspect long weapons, capes, fingers, and dangling accessories.
- Avoid making every support thinner simply to reduce cleanup; reliability comes first.

3. Exposure Is Too Low or Too High
Underexposure produces weak support tips, soft edges, splitting layers, or parts that tear during peeling. Overexposure can thicken fine features, close small gaps, make supports harder to remove, and blur engraved details.
How to prevent it: begin with a profile validated for the exact printer, resin, layer height, and application. If calibration is necessary, change one variable at a time and judge small negative details, support-tip strength, surface texture, and dimensional fit—not only whether a test model remained on the plate.
4. Resin Temperature, Mixing, or Storage Is Wrong
What it looks like: intermittent failures, weak layers, inconsistent color, detail that varies across a batch, or a profile that worked yesterday but not in a colder room.
Resin viscosity changes with temperature. Cold resin flows and levels more slowly, while pigment can settle during storage. Old, contaminated, or improperly stored resin may no longer behave like the material used to validate the profile.
How to prevent it:
- Use the material within the manufacturer's recommended temperature range.
- Mix the bottle as directed and gently stir resin that has sat in the vat; avoid introducing excessive bubbles.
- Keep bottles sealed, away from sunlight and excess heat.
- Do not casually mix different resin types, colors, or old and new materials.
- Let a cold bottle reach a stable working temperature before printing.
5. Peel Forces and Suction Are Too High
What it looks like: layer shifts, repeated splits at similar heights, torn supports, cupping, or a hollow model that fails near a trapped cavity.
Every layer must release from the tank film. A large cross-section increases the force required. Hollow parts can also trap resin or air, creating a cup-like cavity that fights release and later leaks uncured resin.
How to prevent it: reduce abrupt cross-sections through better orientation, hollow large models with appropriate wall thickness, and add drain/vent holes so cavities do not become sealed cups. Place holes where they can drain during printing and be thoroughly washed afterward. Never hollow a small miniature automatically; sometimes a solid part is safer and simpler.
6. The Vat, Release Film, or Optical Path Is Contaminated
What it looks like: failures repeat in the same area of the build plate, vertical bands appear, or individual models fail while neighboring models succeed.
Cured fragments in the vat can block light or be pressed into the film. Clouding, deep dents, resin under the tank, or debris on an optical surface can create localized defects.
How to prevent it:
- After a failure, do not scrape blindly inside a full vat. Follow the printer's tank-cleaning procedure.
- Filter the resin before reusing it and inspect the film under good light.
- Remove cured debris with tools and methods approved by the manufacturer.
- Keep the tank bottom, screen area, and surrounding seals clean and dry.
- Replace damaged consumable film rather than compensating with more exposure.
7. Washing and Curing Damage an Otherwise Good Print
What it looks like: a white or chalky surface, cracks, sticky recesses, warped weapons, brittle supports, or a hollow model that leaks days later.
Over-washing, dirty cleaning liquid, curing before the part is completely dry, excessive heat, uneven UV exposure, or trapped resin can turn a successful print into a failed miniature.
How to prevent it: follow the resin-specific wash time, use clean enough washing liquid, clear all cavities, allow the model to dry completely, remove supports at the recommended stage, and cure for the specified time and temperature. Treat water-washable resin wastewater as resin-contaminated waste—do not pour it down the drain.
Why the HeyGears RS Turbo Can Feel Shockingly Reliable

Many resin 3d printers hand the user a long list of exposure, lift, and motion settings and expect them to build a profile by trial and error. The HeyGears Reflex RS Turbo takes a more integrated approach. HeyGears develops fine-tuned resin profiles and process packages around its printers, its own resins, and specific applications—including detailed figures and intricate miniatures.
That matching matters. When the printer's light output and motion behavior, the resin's cure response and viscosity, and the software's layout/support strategy are validated together, several major failure variables are removed from the user's plate. In practice, the success rate can feel shockingly high compared with a manually tuned, mix-and-match setup—especially when using a supported HeyGears resin and its corresponding process package.
This is not a promise that every file will print perfectly. Poor model geometry, damaged film, debris, unsafe handling, or incorrect post-processing can still cause failures. The advantage is a controlled starting point: use the matched profile first, keep the hardware and material in the recommended condition, and only customize settings when the model truly requires it.
A Fast Failure-Diagnosis Checklist
| Symptom | Check first | Then check |
|---|---|---|
| Nothing on the plate | Plate cleanliness and seating | Base profile and cured sheet in vat |
| Supports print; model does not | Orientation and anchor contacts | Normal exposure and temperature |
| Horizontal split or shift | Cross-section and suction | Supports, film, and motion profile |
| Failure repeats in one location | Vat debris and film damage | Optical path and screen test |
| Soft or swollen details | Correct resin profile | Exposure, resin mixing, and temperature |
| Warping or chalky surface after printing | Wash and drying procedure | Cure time, heat, and hollow-part drainage |
Final Takeaway
The quickest route to reliable resin miniatures is not changing five settings after every failure. Start with a validated printer–resin profile, inspect the physical system, orient the model to manage cross-section and suction, support the earliest load-bearing areas, and follow the material's wash-and-cure instructions.
When a print fails, record the resin, profile, room temperature, orientation, plate position, and exact failure location. Change one factor, test again, and keep the successful setup. That simple discipline—and a tightly matched ecosystem such as the HeyGears RS Turbo with HeyGears resin and process packages—turns resin printing from guesswork into a repeatable miniature-production workflow.
Share:
First Resin Print Workflow: From Unboxing to a Successful Miniature
Resin vs FDM for Tabletop Miniatures: Which One Should You Choose?