

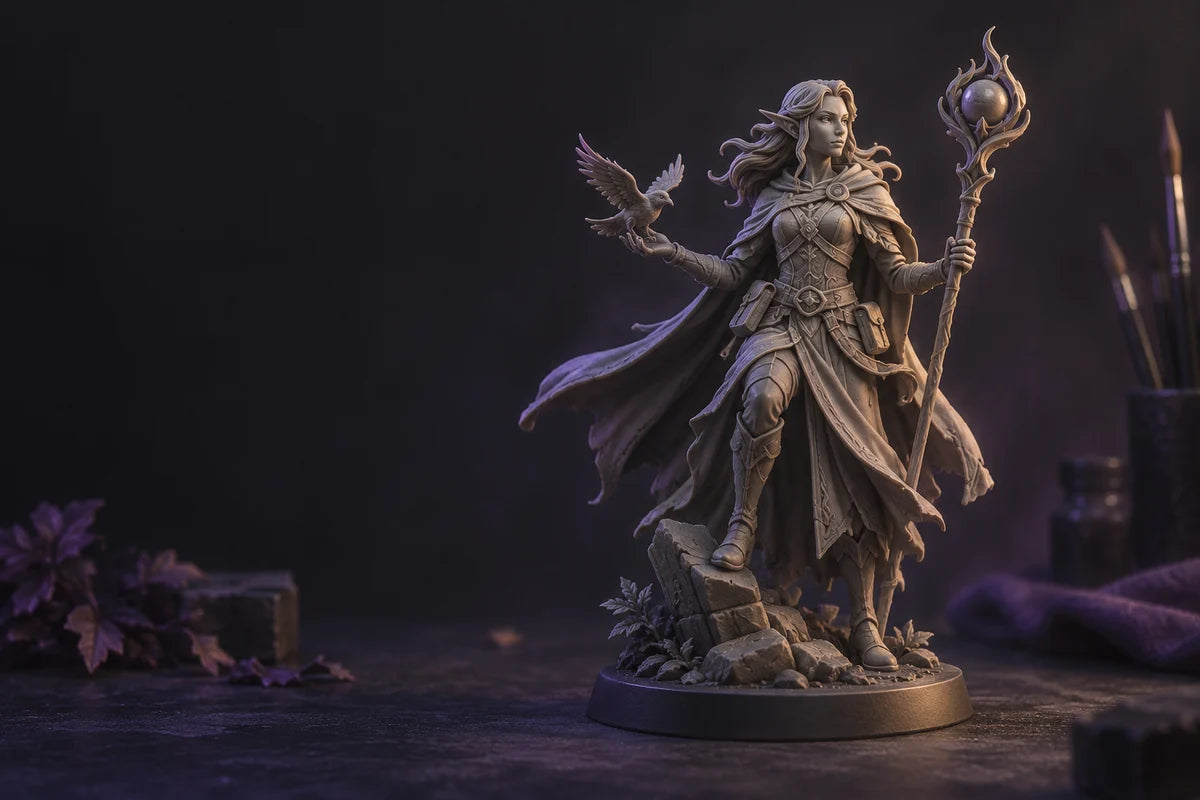

AI-generated concept illustration; it is not a photograph, a printed sample, or a printer test.
Choosing the best resin 3D printer for miniatures starts with the models you plan to make, not the largest “K” number on a product page. A useful shortlist for a resin 3D printer balances the detail you need, the build area your files require, the resin and software workflow you can support, and the full cost of finishing each print.
There is no single best resin 3D printer for every miniature maker. A painter producing 3D printed miniatures, such as small character figures, may prioritize sharp, paintable details and easy cleanup. A creator printing large creatures, scenic bases, or many parts at once may care more about build space, batching, and a repeatable workflow. Use the checks below to compare machines and identify the best 3D printer for miniatures for your own files.
Start with the miniature, not the spec sheet
Make a short list of representative models before comparing printers: a typical figure, the largest model you expect to print, and the smallest feature you want to preserve. Include bases, alternate parts, and any model that needs to fit as one piece. A miniature 3D printer that accommodates a single hero may still be awkward for a whole party or a creature with a long wingspan.
Look at the actual files in your slicer. Measure their dimensions after scaling, account for orientation and supports, and leave room for the plate layout your workflow requires. A headline build-volume figure describes the machine’s nominal workspace; it does not tell you how many supported models will fit comfortably. For a deeper guide to interpreting dimensions, see how to choose a 3D printer build volume.

Follow the branch that matches your work, then check whether the full resin workflow fits before comparing equipment.
Read resolution in context
Screen resolution, XY pixel size, layer thickness, and dimensional accuracy describe different aspects of a printer. An “8K” label tells you a screen’s pixel count category; by itself, it does not establish the physical size of each pixel, the accuracy of a finished model, or how well a tiny face or weapon will reproduce. Compare pixel size and other relevant specifications, then look for comparable sample prints with the resin, layer settings, orientation, and finishing steps stated.
When evaluating a high detail resin printer, a lower nominal pixel size can be useful when fine XY features matter, but it is not a complete print-quality score. Optics, exposure control, resin behavior, orientation, support contact, and post-processing also affect the visible result. Z-layer thickness is a separate setting direction; choosing a thinner layer does not automatically fix soft XY details or make every surface smoother. See resolution versus accuracy for the distinction.
As one specific example, the current Reflex RS Turbo product page lists an 8K screen, 29.7 μm native XY pixel size, ±15 μm accuracy, and 30–100 μm layer thickness. These are separate manufacturer specifications, not a promise that every miniature will reproduce at those dimensions. Use them to understand what is listed, then judge sample output that resembles the work you intend to print.
Check the whole build area and your batch plan
Build volume matters in three ways: the largest object, the shape of the plate, and the number of parts you can arrange while keeping supports and clearances workable. A taller build volume will not help if a broad base or outstretched pose exceeds the other axes. Similarly, fitting more models on screen does not automatically mean the batch is well supported or easy to clean.
For a meaningful check, import a typical file, orient it, add supports, and see whether your common batch layout fits within the slicer’s printable area. Repeat with the largest model. If you print pieces that need to remain separate for painting or assembly, include those in the layout. Treat advertised speed as a machine or profile claim until you have comparable full-workflow timings; resin choice, layer settings, model height, and cleanup affect elapsed work.
Match the printer to resin, software, and finishing
Before buying, confirm that the printer supports the resin you plan to use and that the slicer can prepare and send a compatible job. Check what the maker’s profile includes, what settings remain your responsibility, and whether the resin’s technical data sheet and safety data sheet match your intended use and workspace. Resin formulations differ, so settings and post-cure instructions from one material should not be copied to another without the manufacturers’ guidance.
Count the whole setup: resin, wash supplies or equipment, curing equipment, gloves and other PPE required by the SDS, ventilation, storage, replacement parts, and waste handling. These needs are part of choosing a resin printer, even if they are sold separately from the machine. If you cannot provide the required handling and cleanup area, pause the purchase decision and resolve that constraint first.
Also compare the support path: current user guides, software access, compatible materials, replacement consumables, and a clear way to get technical help. A printer that looks attractive on paper may be a poor fit if the required workflow or support channel does not match how you work.
Evaluate features by the work they remove
Automation is useful when it reduces a repeated setup task you actually face. Ask what a feature does, what it still leaves you to check, and whether it requires an extra part or configuration. Do not treat automation as a guarantee against failed prints or material-handling steps.
The RS Turbo product page lists floating-screen auto leveling and automatic resin refill as assisted-printing features. It also lists automatic resin heating, with a condition: the heated function requires the separately purchased RS Heated & Pulsing Release Resin Tank. The page lists Open Material Mode for Reflex RS and RS Turbo, with adjustable settings for experienced users working with compatible third-party UV-curable resins. That flexibility means you need to select and validate material settings; it does not make every resin a tested plug-and-play match.
These details make the RS Turbo a candidate to evaluate if its listed build space, resin workflow, and optional equipment match your workload. The product page’s features are manufacturer claims, not an independent comparative test. Compare them with the features and conditions of the other machines on your shortlist, and check the current product configuration before purchase.
Compare total ownership needs, not only the printer price
Use a simple checklist for each candidate:
- Initial setup: printer, included tank or platform, required software, wash and cure equipment, and any separately purchased options.
- Materials: the resins you plan to use, their profiles or settings, SDS/TDS requirements, and typical part size.
- Routine upkeep: consumables, cleaning, replacement components, storage, and support availability.
- Finishing effort: washing, drying, support removal, curing, inspection, and any painting preparation.
- Space and handling: ventilation, PPE, spill control, and a safe route for resin-contaminated waste.
Do not assign a made-up cost-per-miniature or payback period. If ownership cost is decisive, record the current prices and quantities for your own setup, then estimate material use from your actual sliced files and include failed or unusable prints only when you have a defined record. Prices and product bundles change, so verify the live configuration at the point of purchase.
A quick way to choose
Choose a printer after you can answer these questions:
- Does my largest representative model fit after orientation and supports?
- Can the printer and resin preserve the specific features I care about, based on relevant specifications and comparable samples?
- Can I use the supported software and safely complete the full resin workflow?
- Which setup tasks are automated, and what accessories or manual checks remain?
- Does the complete setup fit my budget, available space, and maintenance tolerance?
If you are comparing the RS Turbo with another option, use the current RS Turbo specifications and configuration as a dated reference point, not a universal winner. For a shortlist centered specifically on Warhammer-scale 28–32 mm batch printing, the store also has a Warhammer miniature printer guide. This broader checklist helps you decide whether those criteria—or a different workload—fit your own miniature files.
The best resin printer for miniatures is the one whose verified detail, usable build area, materials, workflow, support, and full setup requirements fit the models you actually plan to make. Make the shortlist with your files and your post-processing plan beside you; the right choice becomes much easier to see.
Share:
What Makes a Good 3D Printer for Everyday Use?