
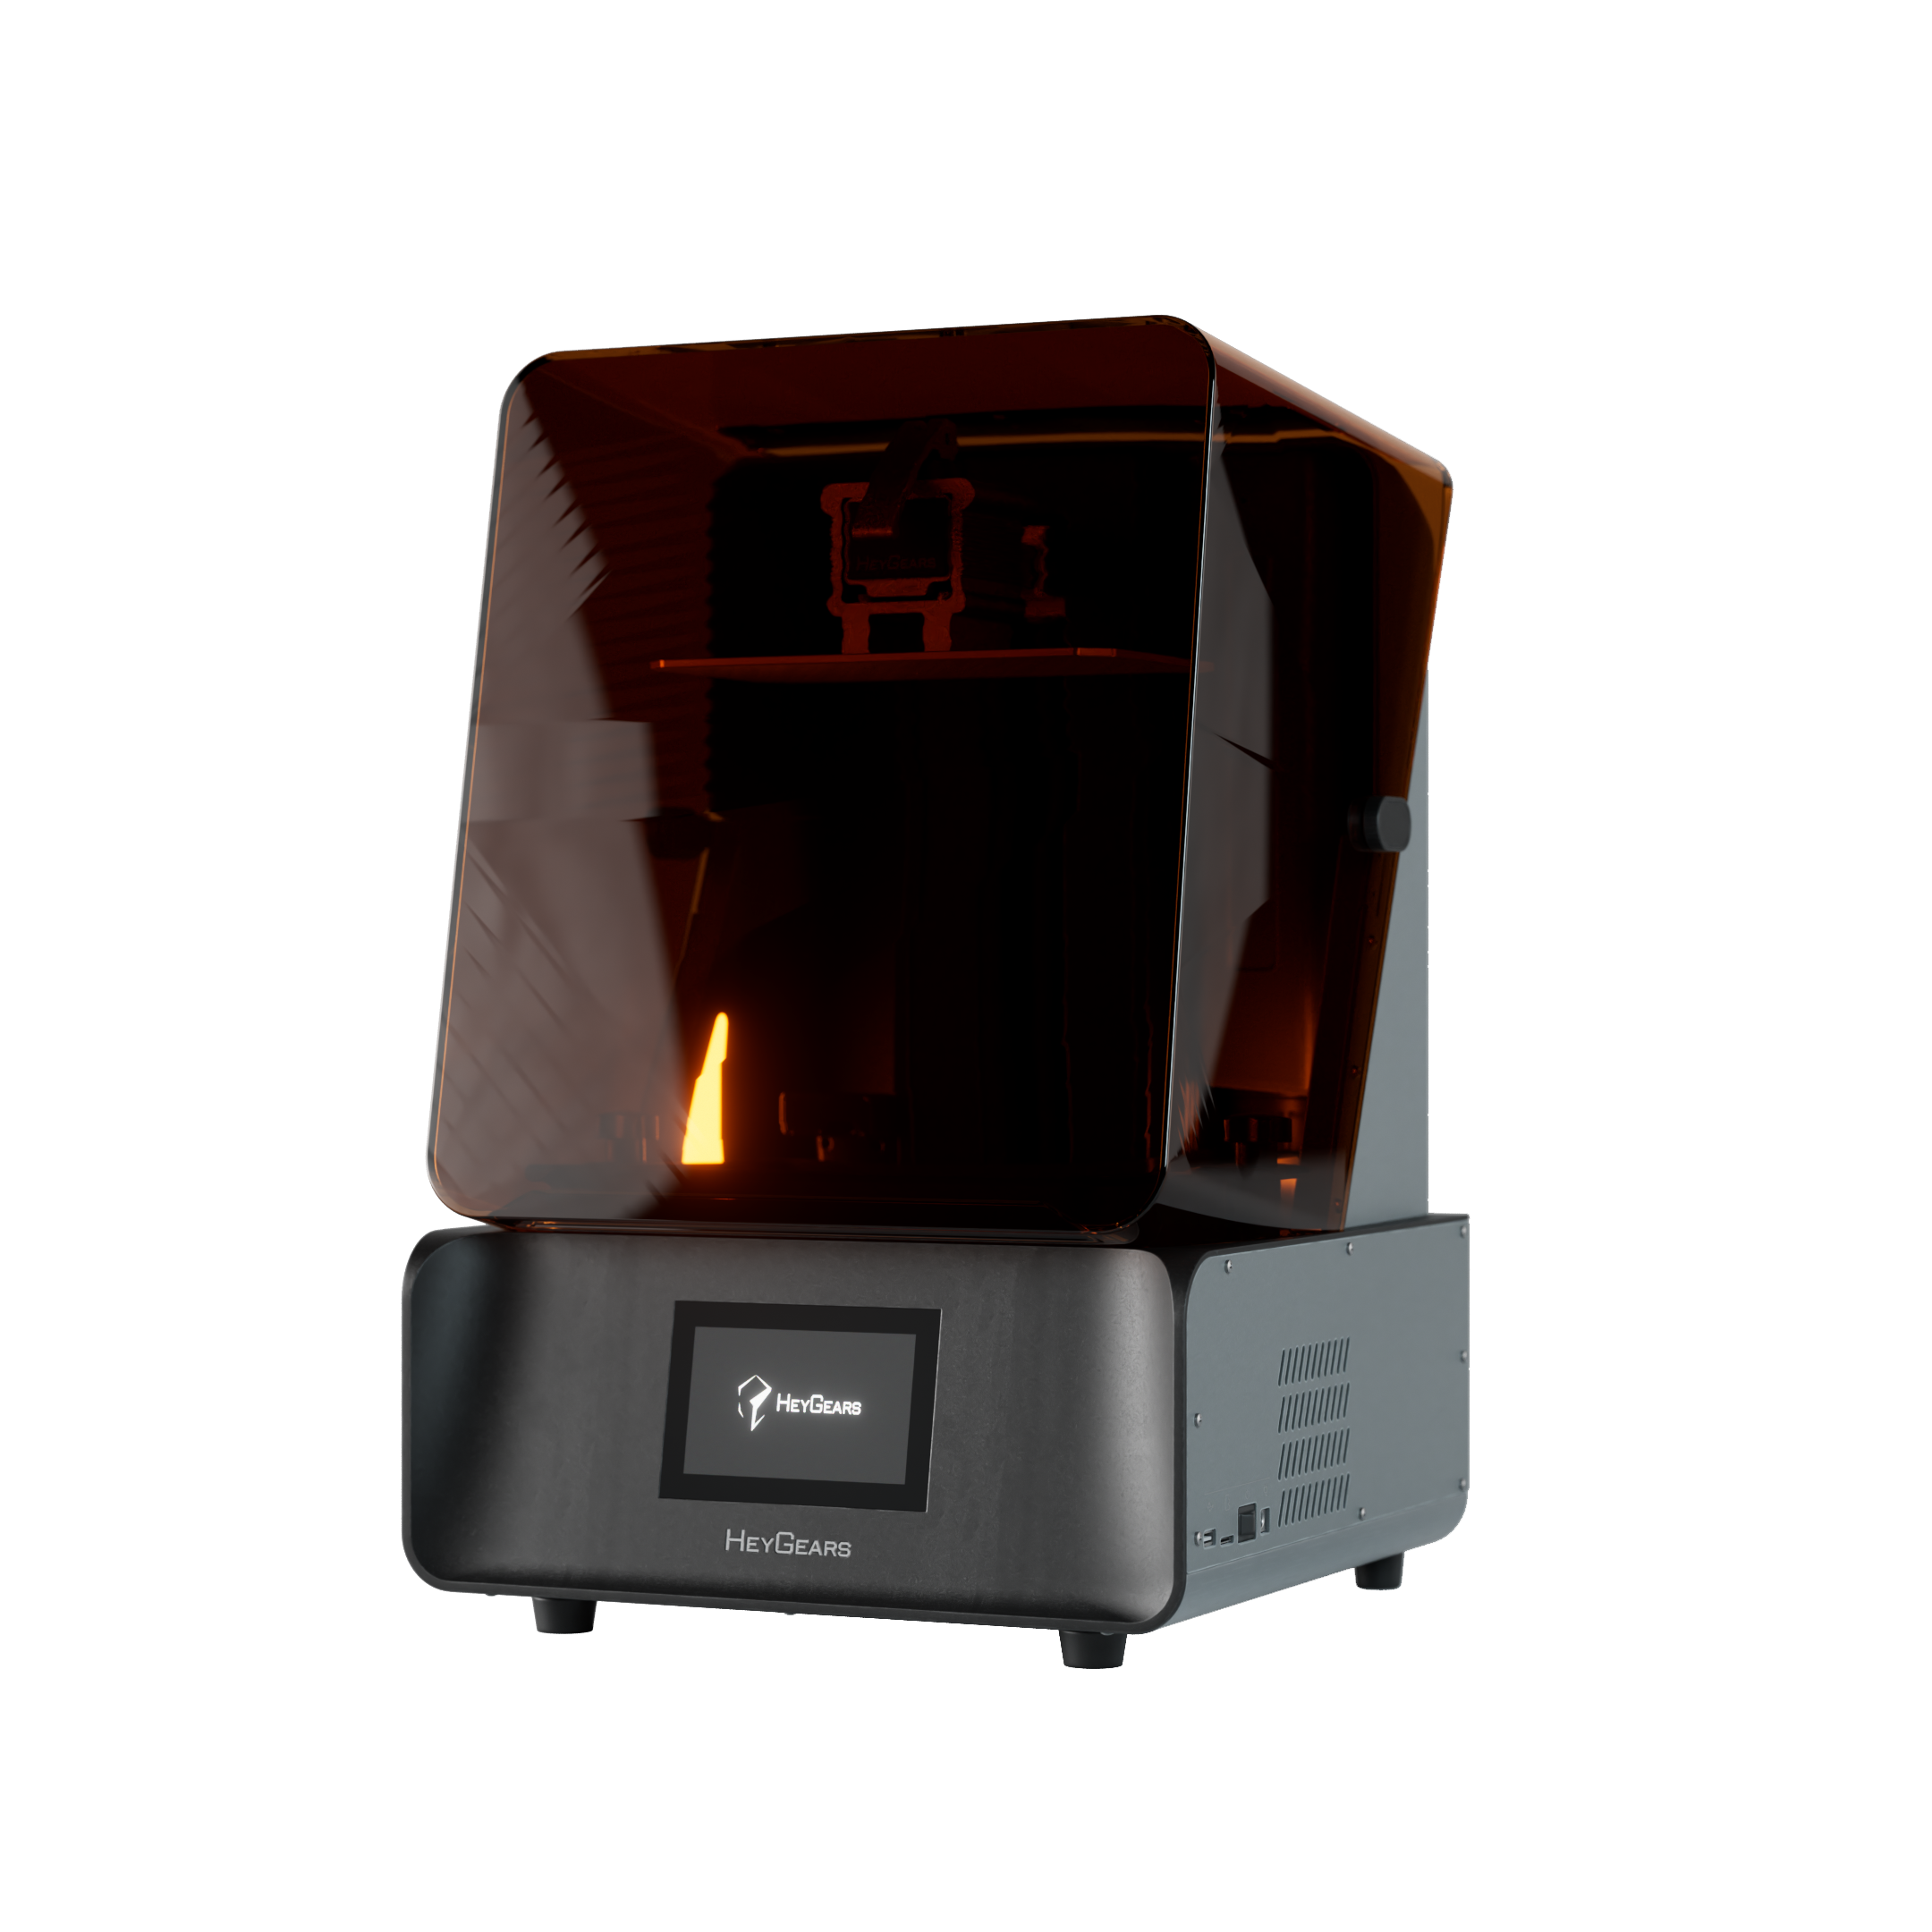
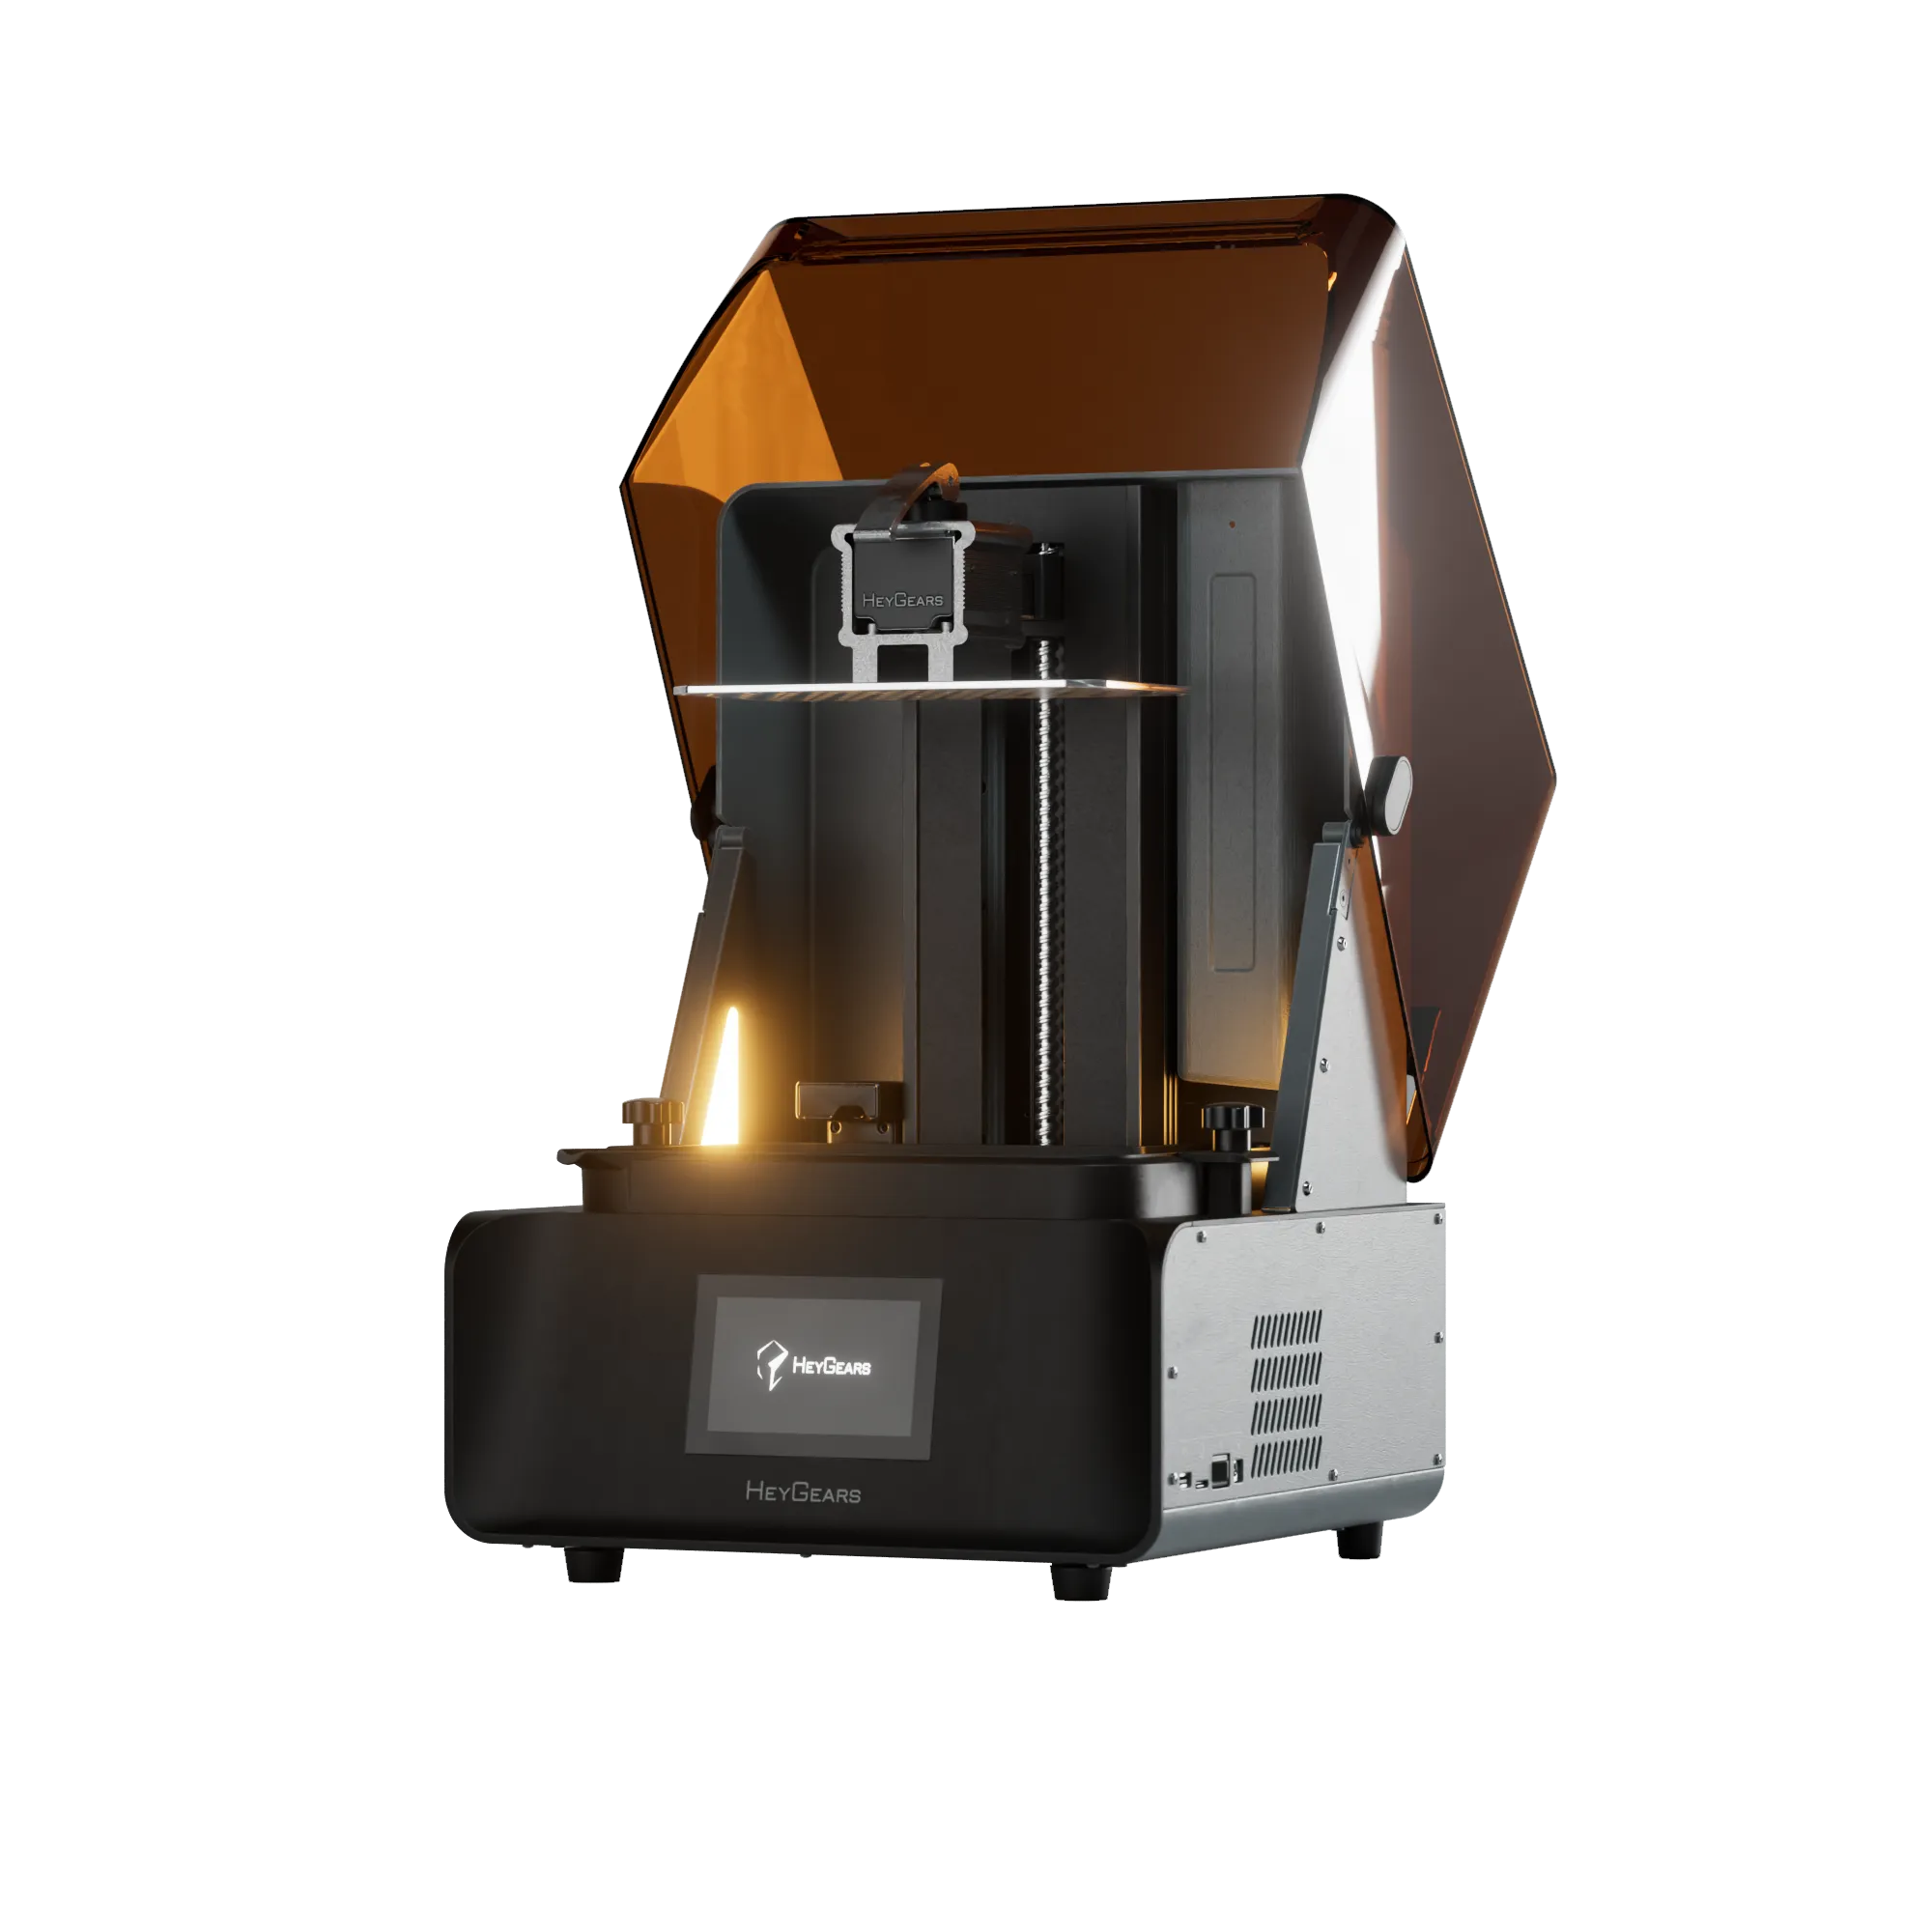
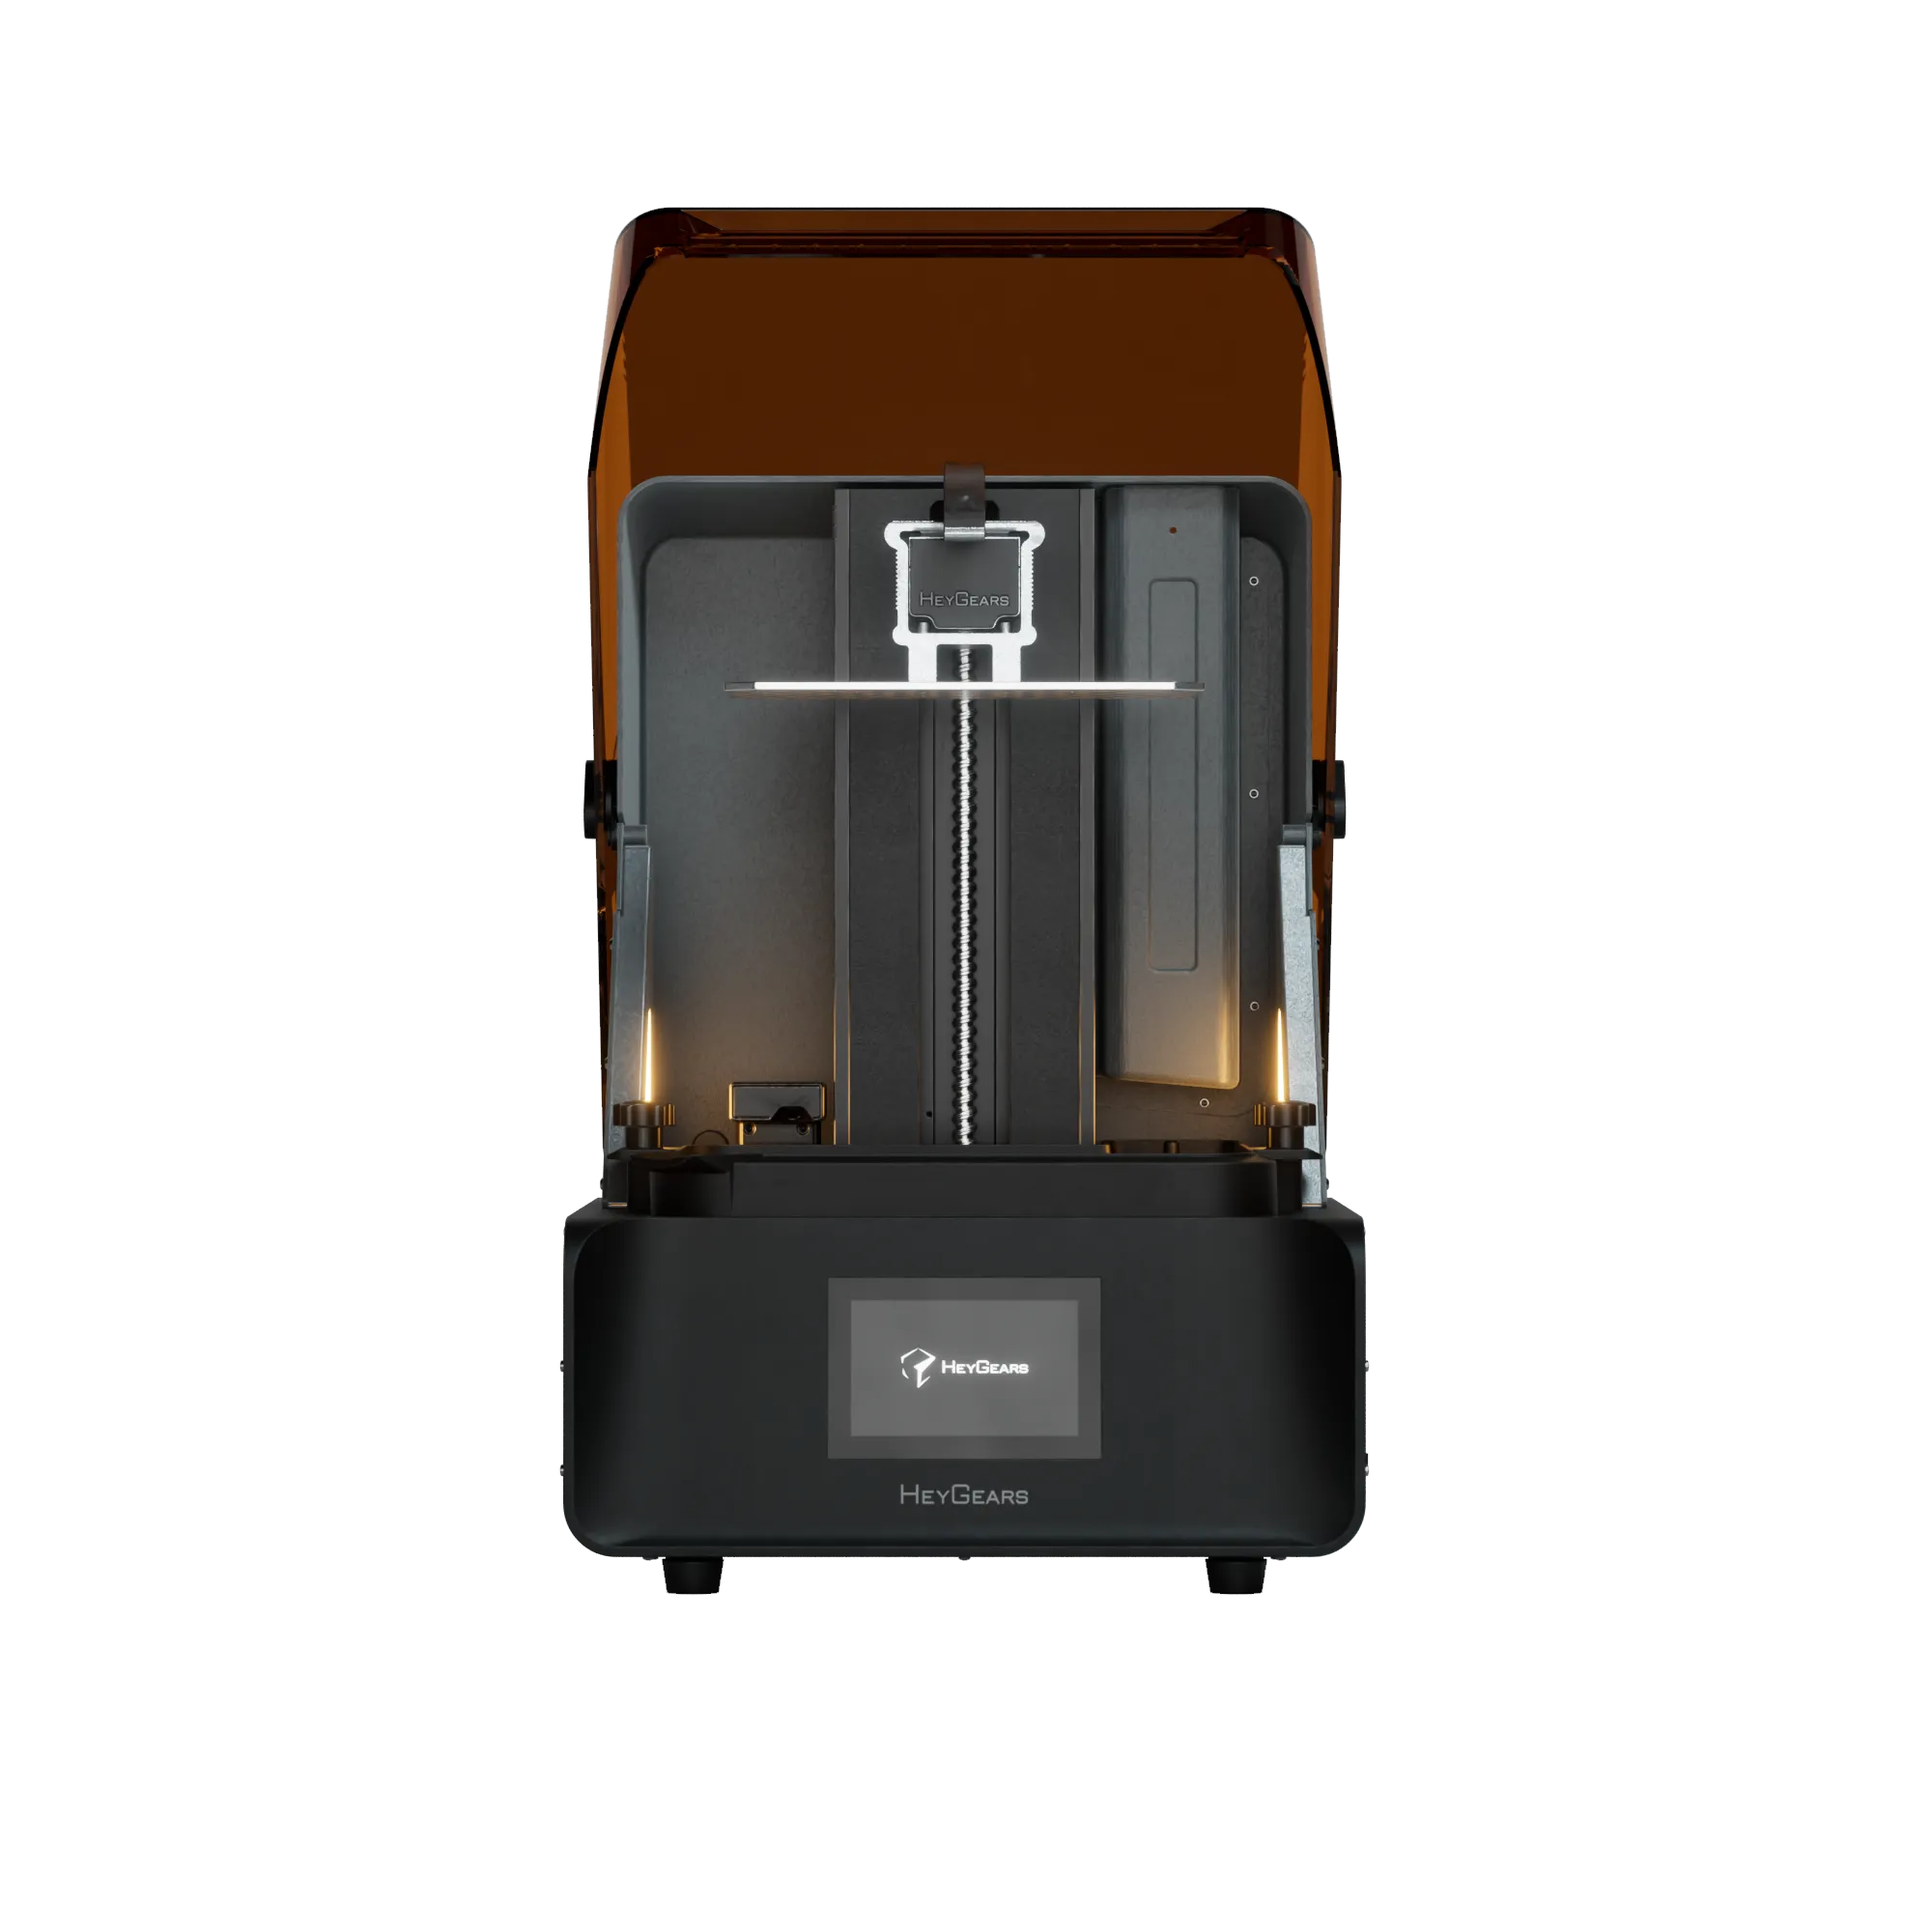
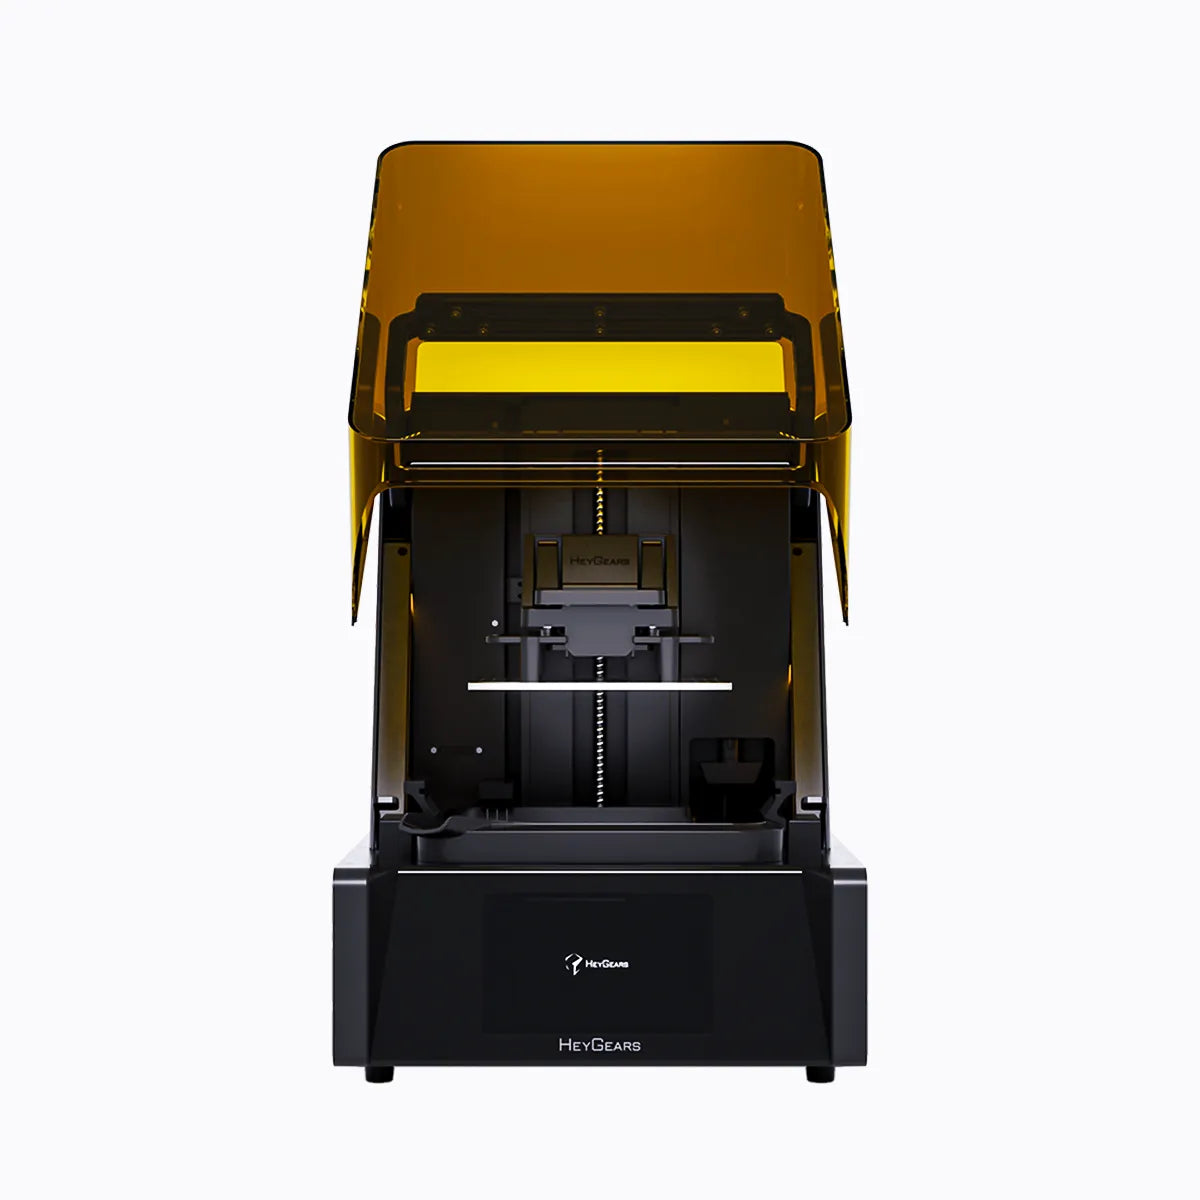
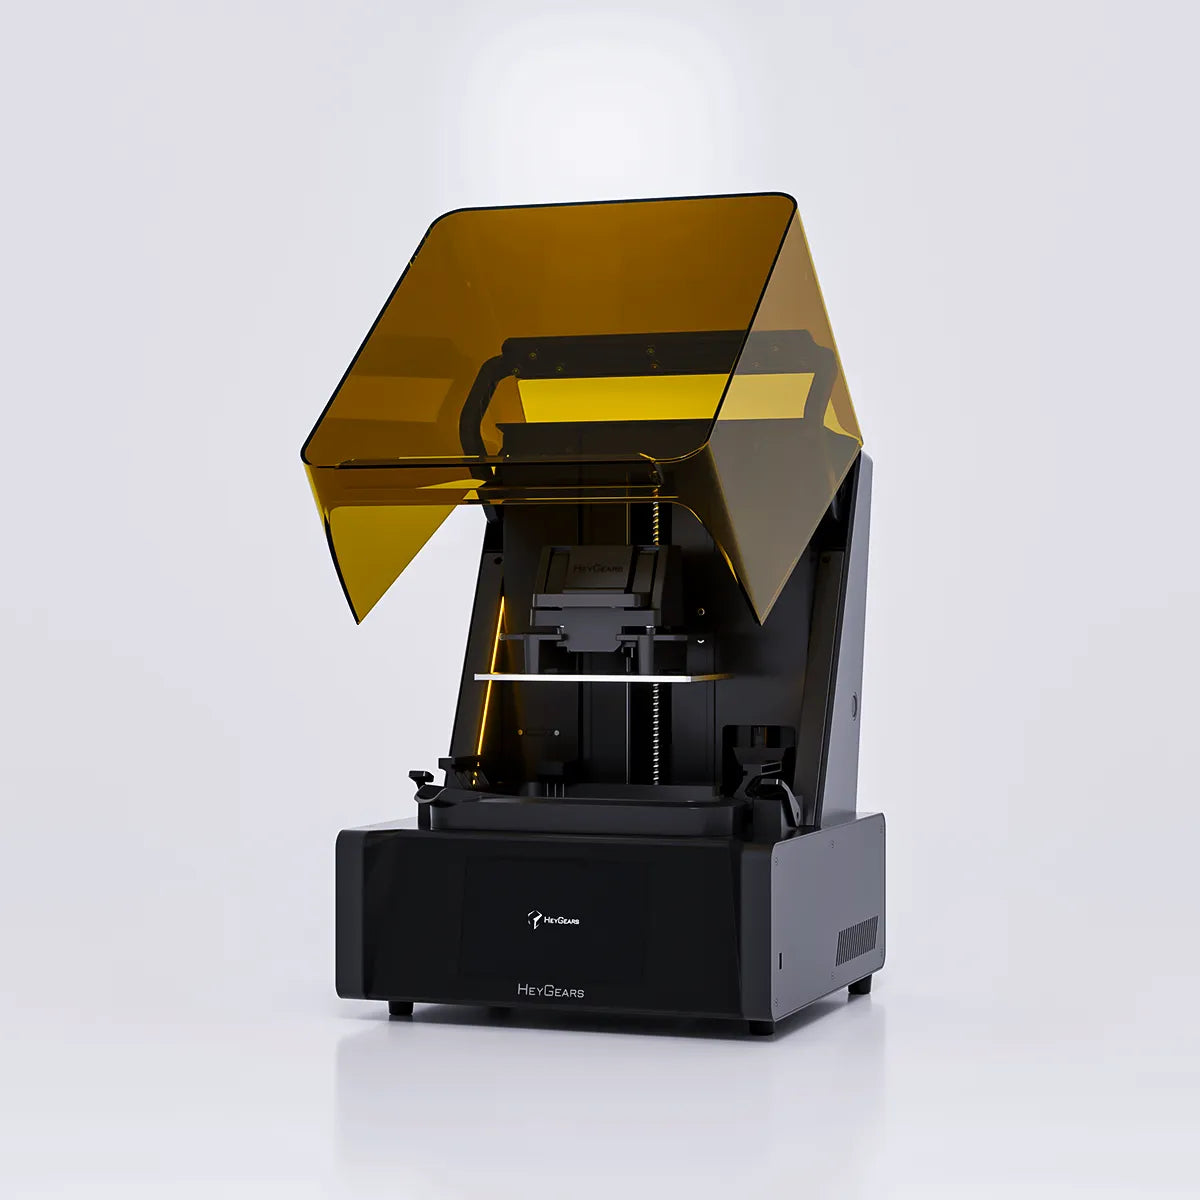
UltraCraft Reflex RS 3D Printer
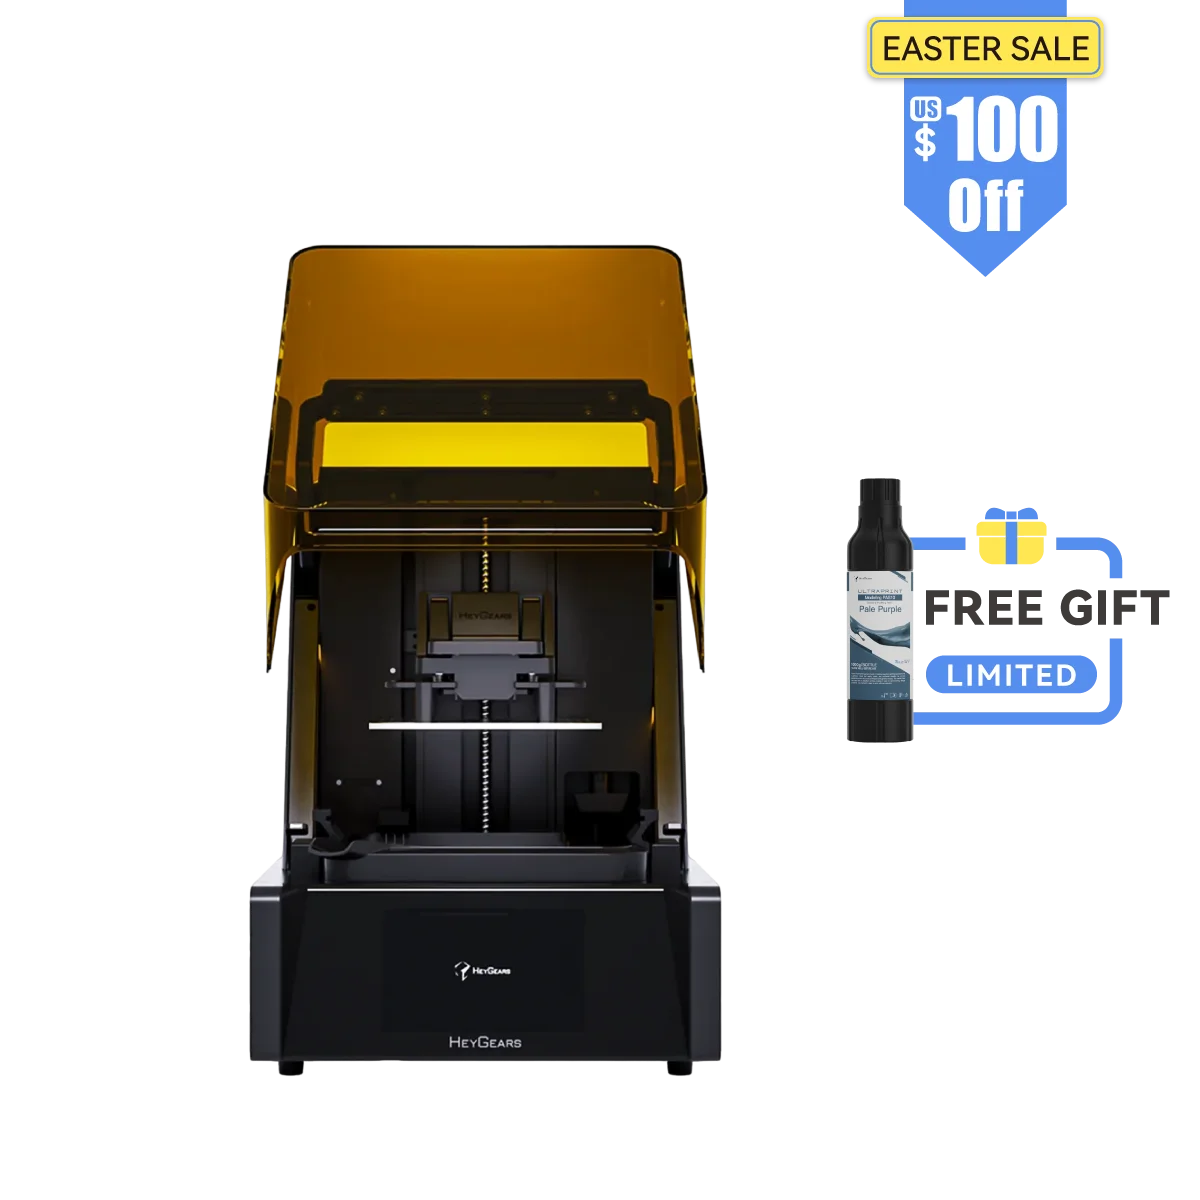
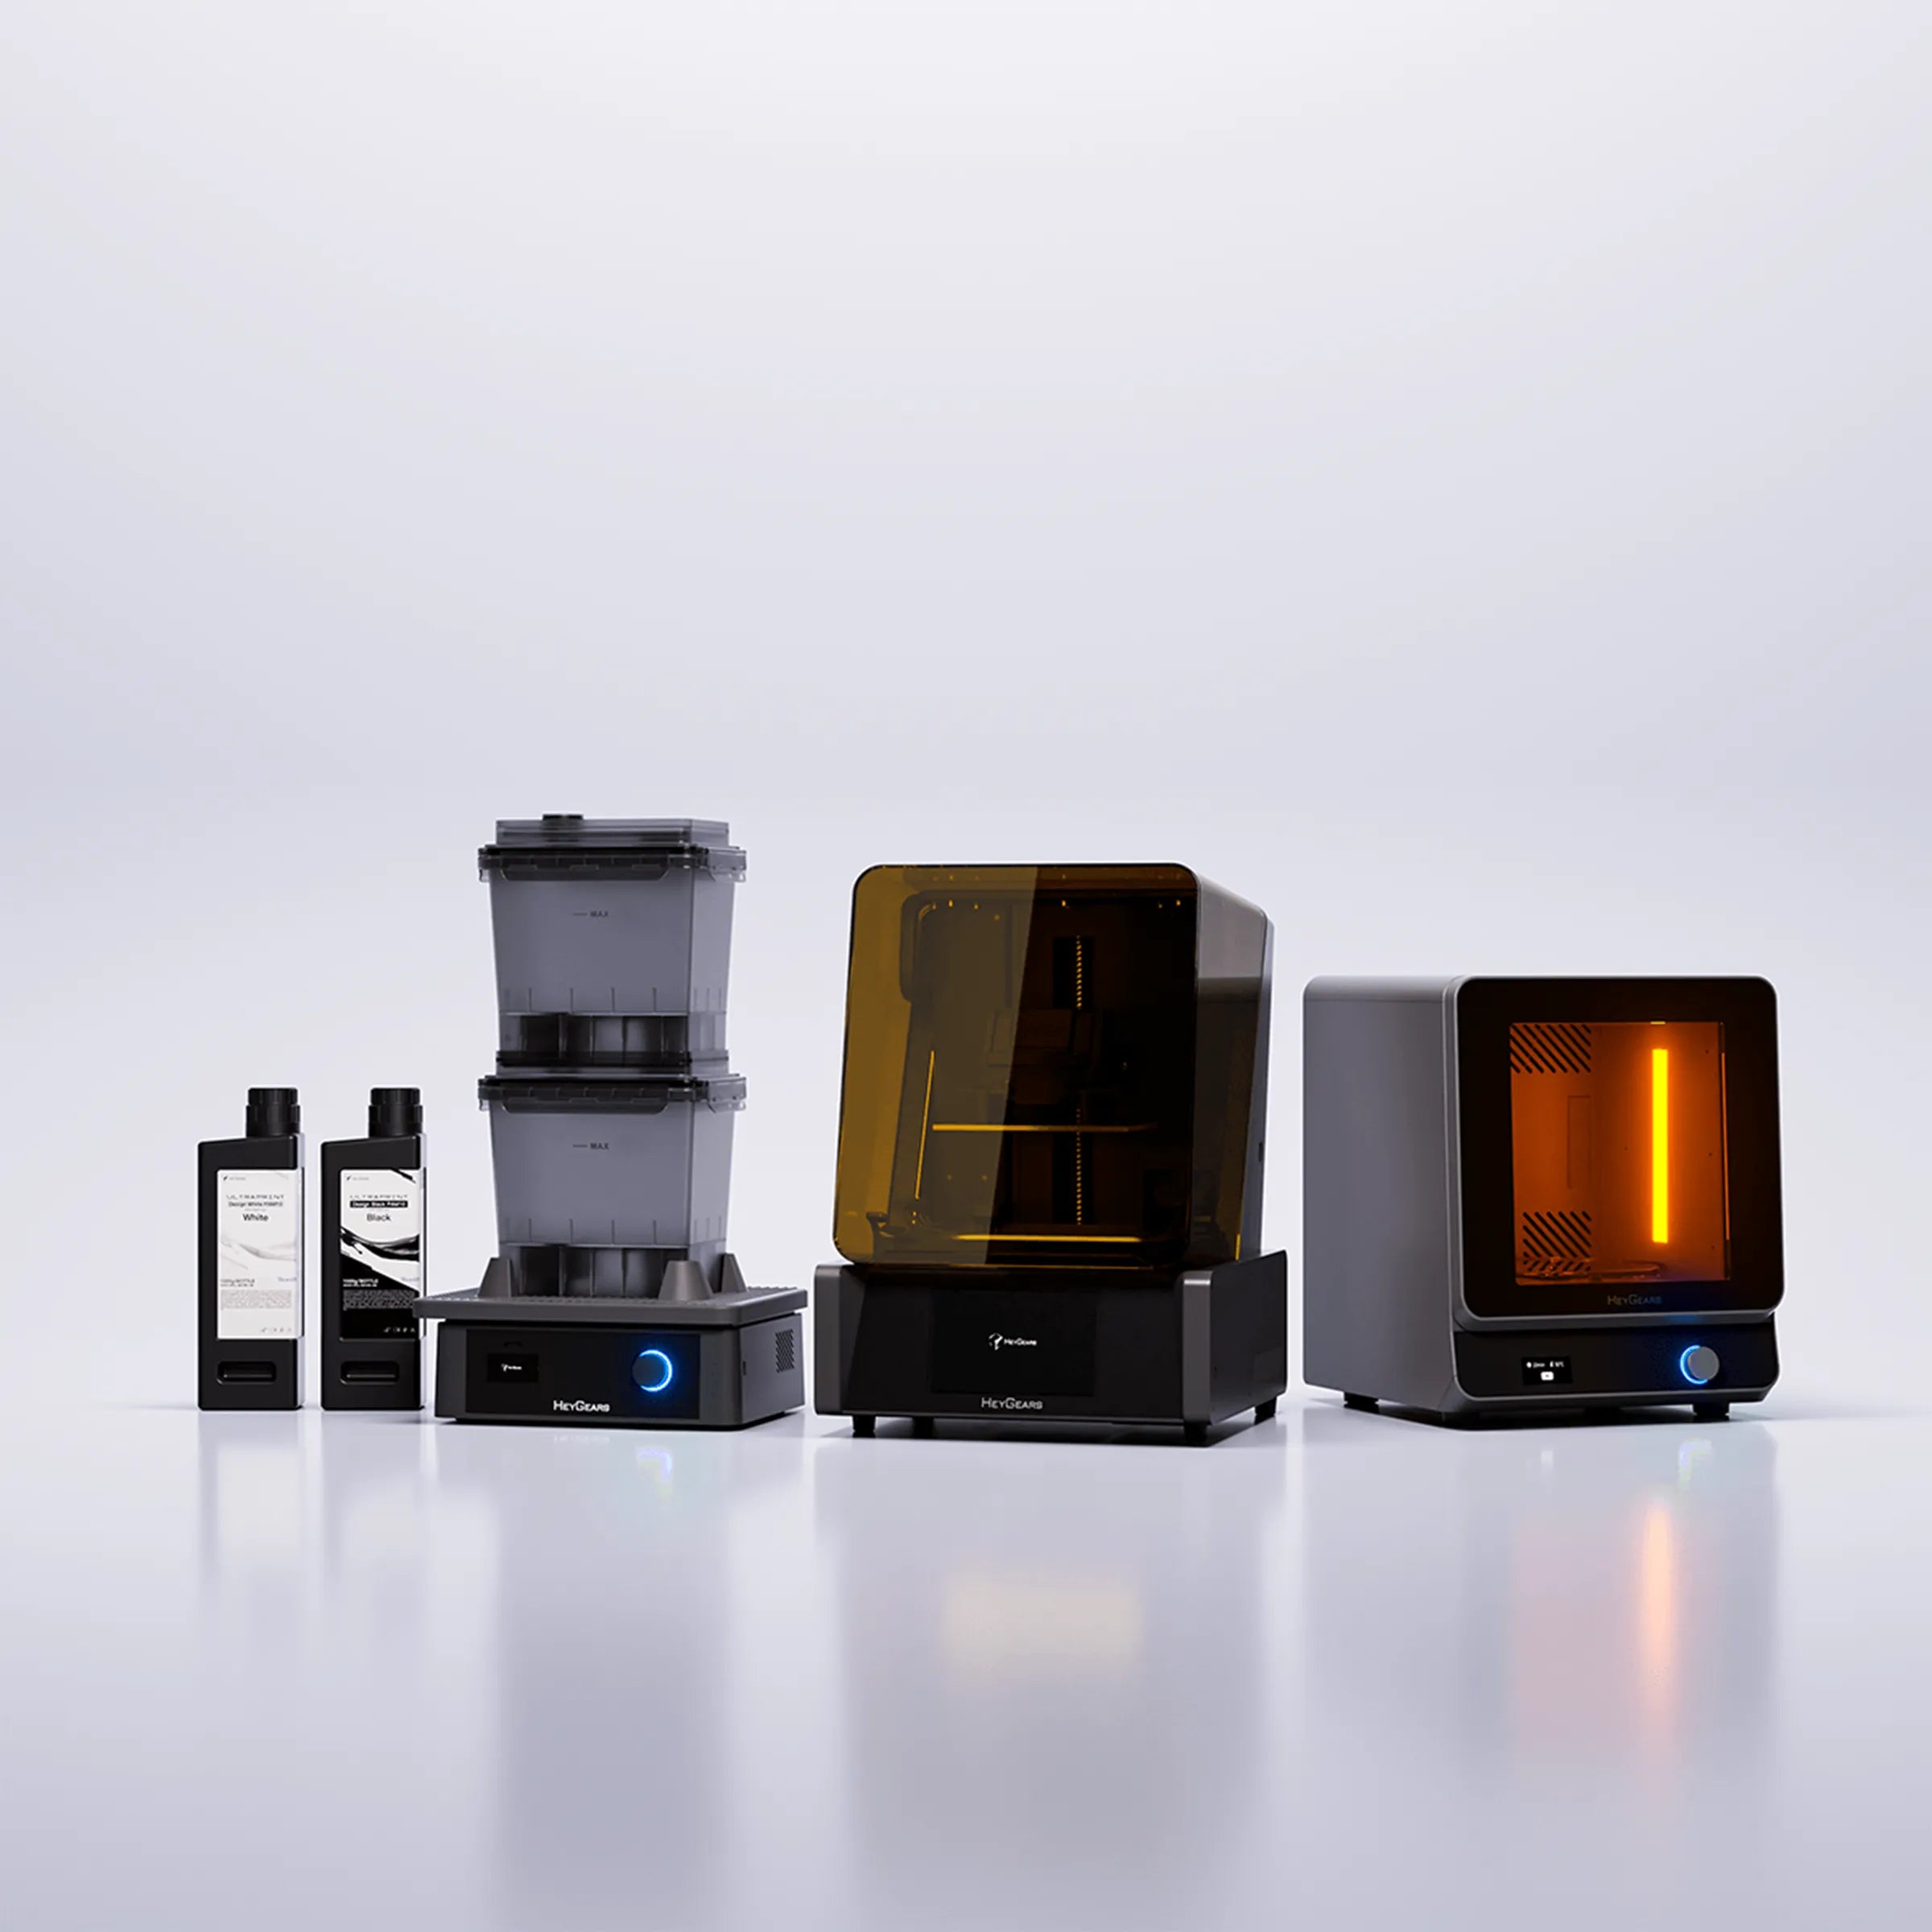
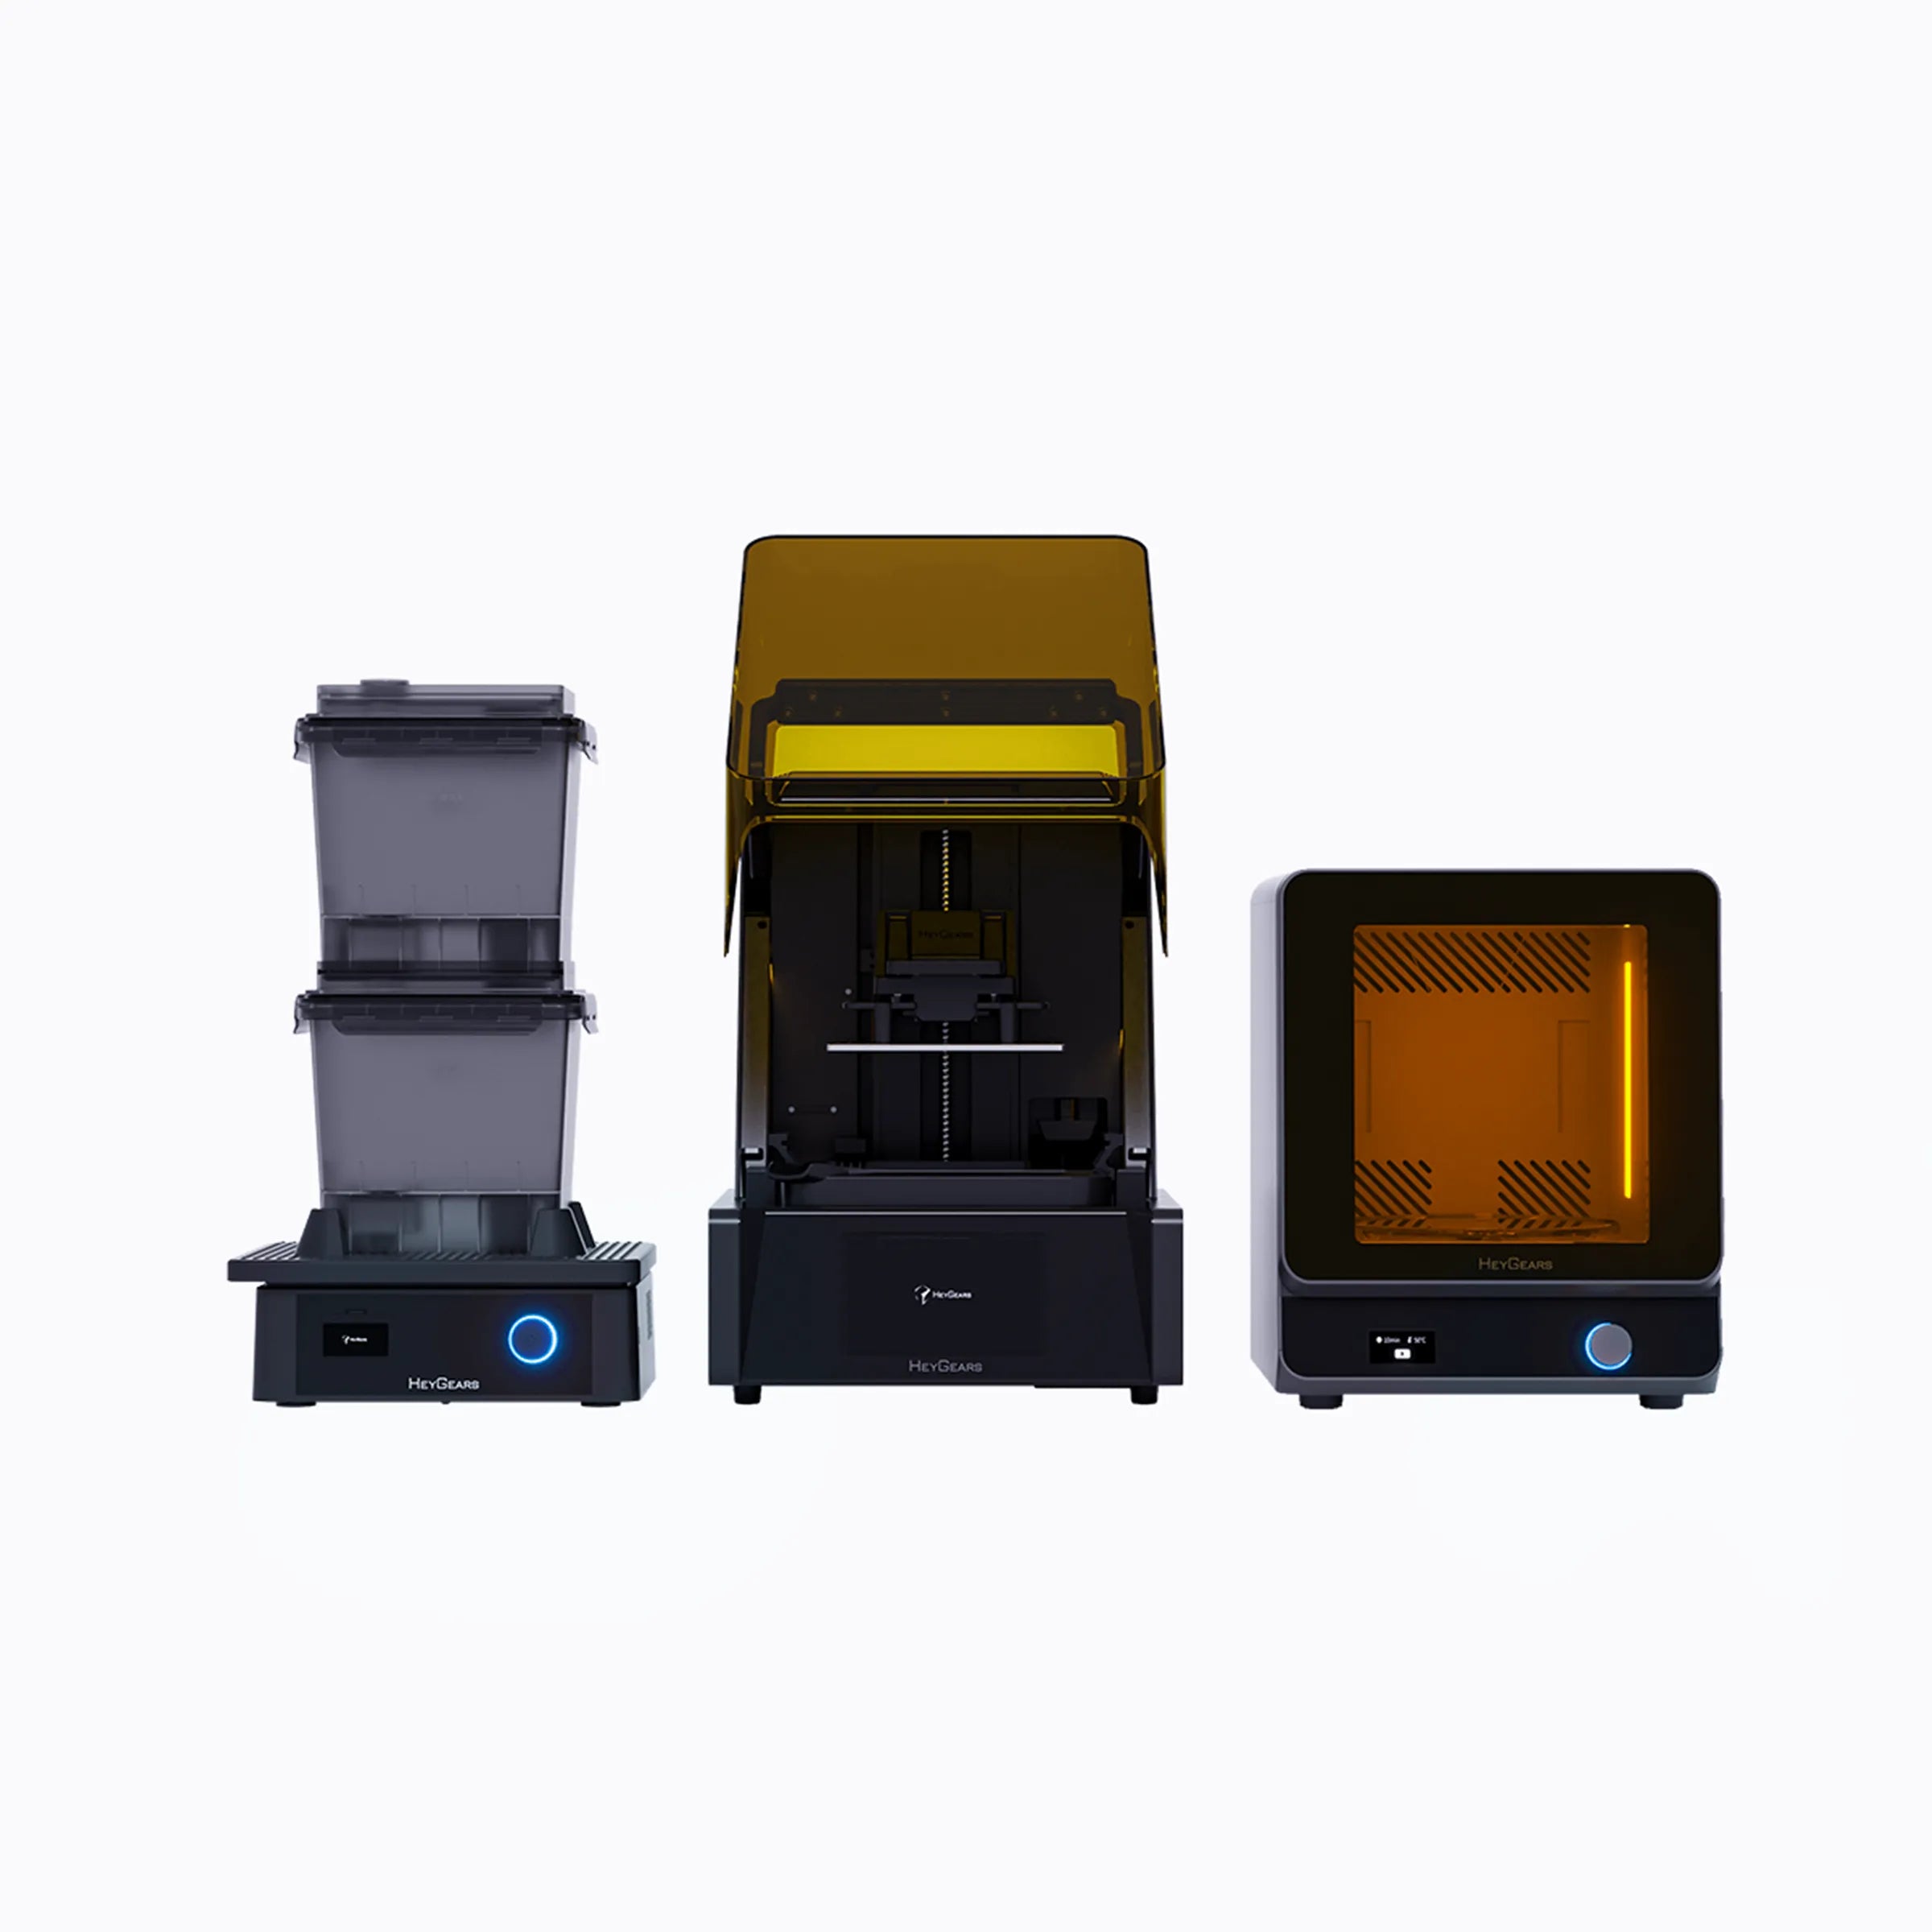

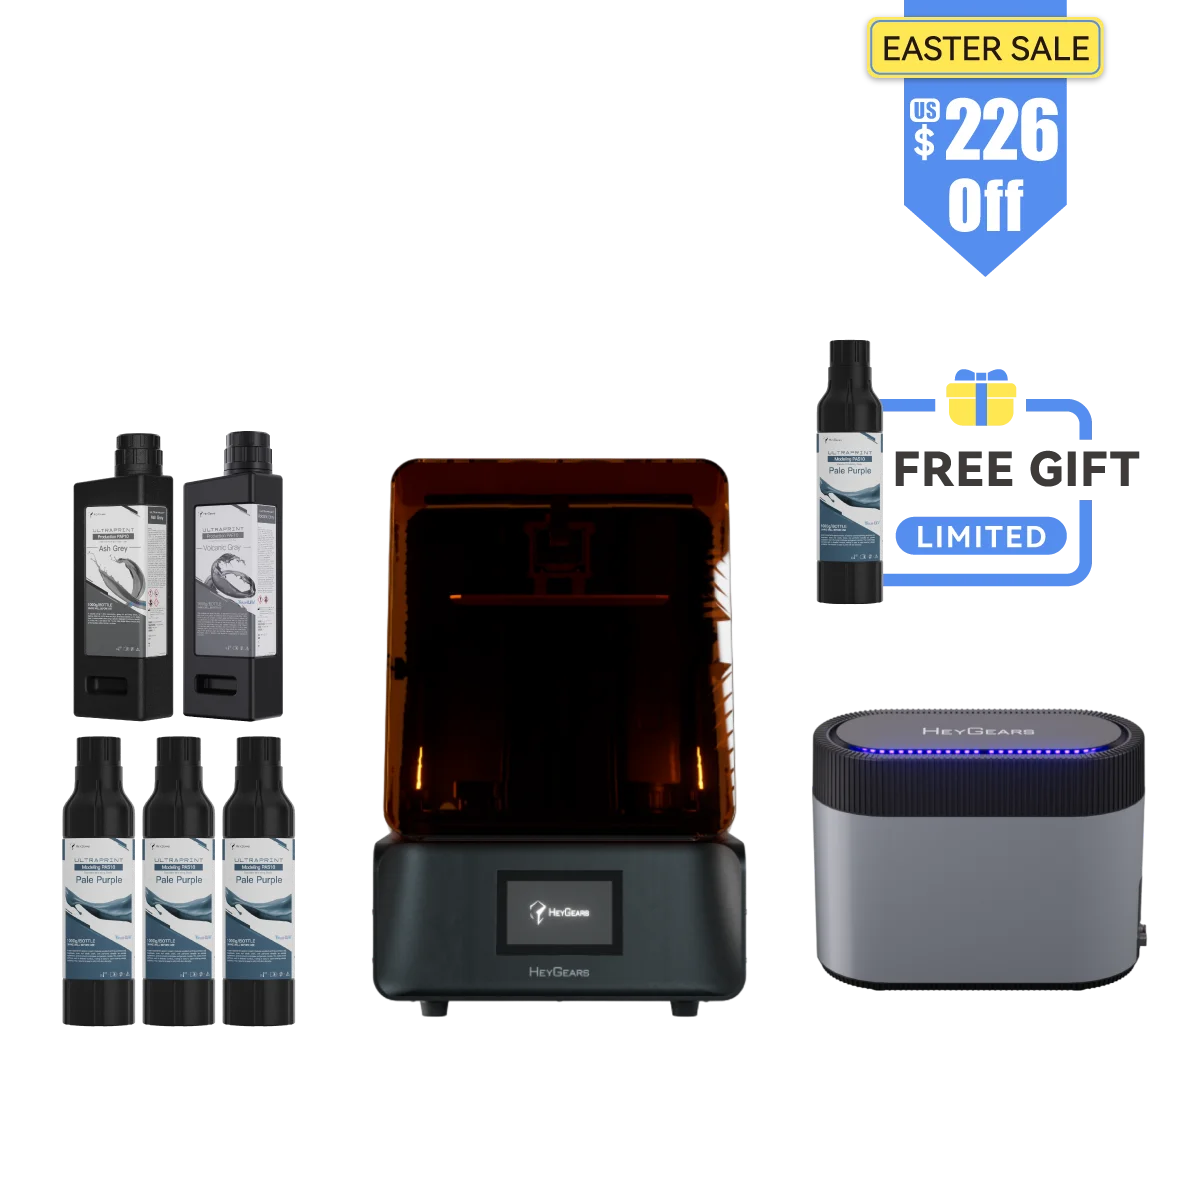
UltraCraft Reflex RS Combo
UltraCraft Reflex RS 3D Printer
UltraCraft Reflex 3D Printer
UltraCraft Reflex Combo
UltraCraft Reflex 3D Printer Combo
FAQs
What is a resin 3d printer, and how does it work?
A resin 3D printer, such as those from HeyGears, uses UV light to cure liquid resin layer by layer, creating highly detailed and precise 3D models. The process begins with a 3D model file sliced into layers using software like HeyGears Blueprint.
The resin 3D printer, where a UV light source shines through an LCD screen to selectively cure each layer of resin. The build plate lifts slightly after each layer, allowing fresh resin to flow beneath it, and the process repeats until the model is complete.
After printing, the model is washed to remove uncured resin and cured further under UV light for final strength. This technology ensures exceptional accuracy and smooth finishes, making HeyGears UV resin printers ideal for detailed applications like jewelry, and miniatures.
Is a resin 3D printer better than other 3D printers?
It depends on what you’re printing. LCD resin 3D printers offer key advantages over other types like FDM or SLS—especially when high detail, smooth surfaces, and precision matter.
Compared to others, LCD resin printers provide:
- Higher printing resolution and finer details
- Smoother surface finish with minimal layer lines
- Faster print speeds for complex models
HeyGears LCD resin printers—the Reflex and Reflex RS—are designed to maximize these strengths with smart AI algorithms while minimizing complexity.
- High-precision prototypes and collectibles
- Custom small-batch production
In short, if your priority is precision, surface quality, and reliable output, a resin 3D printer—especially LCD—is often the better choice.
What materials can I use with a HeyGears 3D resin printer?
HeyGears 3D printers are designed to work exclusively with HeyGears resins. This ensures optimal performance, precision, and reliability, as both hardware and software are finely tuned to match resin properties.Here’s a breakdown of supported materials for each model:
- HeyGears Reflex RS: PARP10, PAS10, PAWW10, PAP10, PAWR10.
- HeyGears Reflex: Compatible with all HeyGears resins.
How do I choose the best 3D resin printer for my needs?
When selecting the best LCD 3D resin printer to meet your needs, it's essential to evaluate several key factors:
Budget
LCD resin 3D printers are generally more affordable than DLP or SLA printers. Entry-level models can start around $199, while more advanced units may reach up to $2,300. In contrast, DLP printers typically range from $2,000 to $4,000, and SLA printers can start at approximately $3,500, escalating significantly for industrial models.
Print Size
Evaluate the maximum build volume of the printer to ensure it accommodates your typical project dimensions. LCD printers are available in various sizes, so selecting one that aligns with your project requirements is crucial.
Printing Speed
LCD printers cure entire layers simultaneously, offering faster print speeds compared to SLA printers, which cure point by point. However, DLP printers often have higher light intensity, potentially providing quicker curing times than LCD printers.
Ease of Use
Features like user-friendly interfaces, reliable customer support, and straightforward maintenance can significantly enhance your printing experience. For example, HeyGears UltraCraft Reflex and UltraCraft Reflex RS 3D printers offer advanced functionalities such as auto-leveling and intuitive touchscreen controls, simplifying the printing process.
Printer Resolution
Higher resolution printers produce finer details. LCD printers typically offer high XY resolutions, such as HeyGears UltraCraft Reflex RS 3D printers offering an XY native pixel of 29.7 μm, making them suitable for applications requiring intricate detail and precision.
Are 3D resin printers suitable for beginners?
Yes, HeyGears 3D resin printers are built to be exceptionally beginner-friendly. Everyone can start printing quickly in 15 minutes by following these steps:
HeyGears 3D resin printers come with:
- Pre-calibrated hardware (no manual leveling required)
- Step-by-step interactive setup guide (just 7 guided steps)
- Smart slicing software with one-click workflows
- Pre-configured print profiles—no need for trial-and-error
- Automated features like self-leveling, resin preheating, and intelligent monitoring
Basic workflow overview:
- Choose your printer, resin type, and layer thickness in the software
- Load or import your model
- Let the software auto-generate support and slice the model
- Start printing—automated resin heating and platform calibration included
- After printing, rinse and cure your model using standard post-processing steps
Moreover, HeyGears not only offers documentation, tutorials, and community support available in multiple languages, but also has robust technical support team for all users with remote diagnostics.
What is the difference between resin 3D printing and FDM printing?
Resin 3D printing and FDM (Fused Deposition Modeling) printing are two popular 3D printing technologies, each with its own strengths.
Resin printing uses liquid photopolymer resin cured by UV light to create highly detailed and smooth models, making it ideal for applications requiring fine details, such as jewelry, miniatures, and dental models.
FDM printing, on the other hand, uses melted plastic filament extruded through a nozzle to build objects layer by layer. It is better suited for larger, functional parts and prototypes due to its durability and cost-effectiveness.
How do I fix layer shifting in resin 3D printing?
Layer shifting in resin 3D printing can be caused by several factors. Here are the most common reasons and their solutions:
Machine Vibration During Printing
- Cause: The printer may shake or shift due to an unstable surface or accidental contact during printing.
- Solution: Place the printer on a solid, level surface in a low-vibration environment. Avoid touching or bumping the machine during operation.
Residual Resin or Model Fragments in the Vat
- Cause: Cured resin debris left in the vat can interfere with the print, leading to misalignment or shifting.
- Solution: Always check and clean the vat and build the platform before printing. Filter the resin after every 2–3 prints to remove small particles.
Loose Build Platform
- Cause: If the build platform isn’t properly locked in place, it may shift slightly during layer transitions.
- Solution: Check that the build platform is fully secured and locked before starting each print.
Z-axis Component Wear or Damage
- Cause: Long-term use may lead to mechanical wear or backlash on the Z-axis, resulting in inaccurate vertical movement.
- Solution: Regularly inspect the Z-axis components. If wear or damage is found, perform maintenance or replace the affected parts.
Insufficient Support Structure
- Cause: Large or heavy models may shift if not properly supported.
- Solution: Use sufficient and well-placed supports, especially for overhangs and long spans. Adjust slicing parameters and preview the print to assess the model’s center of gravity and support coverage.
Loose or Worn Release Film
- Cause: If the release film is loose or degraded, it may cause irregular layer separation forces and model displacement.
- Solution: Inspect the release film regularly. Replace it if it shows signs of wear, warping, or aging. HeyGears’ Reflex resin vat is designed to extend film life and includes sensors to alert users when replacement is needed.
What should I do if there are surface lines or layer marks on the printed model?
Surface lines on resin 3D prints generally fall into two types—layer lines and pixel lines (also known as voxel patterns or ripple artifacts). Each has different causes and solutions:
Layer Lines
- Cause: Resin 3D printing builds models layer by layer. Thicker layers make the layer lines more visible, especially on flat or gently curved surfaces.
- Solution: To minimize visible layer lines, reduce the layer height during slicing. Thinner layers create smoother transitions between each pass, leading to cleaner surfaces. Additionally, adjusting the orientation of the model—such as tilting flat surfaces at an angle—can help distribute layer transitions across less noticeable areas, further improving surface finish and reducing visible stepping.
Pixel Lines / Voxel Pattern
- Cause: LCD screens are composed of square pixels. When curved surfaces intersect with both the XY and Z axes, noticeable patterns may appear, especially on spheres or smooth contours.
- Solution: To reduce pixel lines, avoid positioning spherical or highly curved surfaces so that they align directly with both the Z-axis and the pixel grid of the LCD screen. Reorienting the model slightly can help reduce these voxel-based artifacts. In addition, enabling anti-aliasing and applying image blur settings in the slicing software can smooth out pixel edges. A blur level of 2–4 is typically effective; higher settings may be used with caution depending on the model's surface requirements.
Why does the surface of my printed model appear to be peeling or delaminated in resin 3D printing?
Surface peeling or delamination in resin 3D prints can be caused by several factors. Here are the common causes and how to address them:
Cup-Like Geometry (Inverted Cavity Structures)
- Cause: If the model is positioned in a way that forms an inverted cup or sealed cavity, the resin can become trapped and generate pressure fluctuations during printing, leading to surface defects.
- Solution: Optimize model placement or add drainage holes in affected areas to allow resin flow and pressure release.
Slicing Errors from Unrepaired Models
- Cause: If the model contains geometry errors and is sliced without repair, it can lead to corrupted slice images and surface artifacts.
- Solution: Confirm that the model is complete and free of mesh issues before generating the slice file.
Residual Cured Resin or Debris in the Vat
- Cause: Overexposure or incorrect light intensity can cause small flakes of cured resin to remain in the vat. These may stick to the model during printing and cause surface peeling.
- Solution: After each print, inspect the vat using the scraper card and use the vat cleaning function. Filter the resin after every 2–3 prints to remove fine floating debris.
Incorrect Material or Process Parameters
- Cause: The mismatch between the selected resin type and the slicing parameters can lead to poor layer adhesion or instability.
- Solution: Ensure that the correct resin and validated print profile are selected during pre-processing. Only use officially supported material-process combinations.
What should I do if parts of the printed model are missing or incomplete?
Missing or incomplete sections in a printed model can be caused by several factors. Here’s how to identify and resolve the issue:
Insufficient or Improper Support Structures
- Cause: Weak, misplaced, or too few supports—especially for island structures, overhangs, heavy solid areas, or linear lowest points—can result in missing features.
- Solution: Add extra manual support in critical areas to ensure proper adhesion and stability throughout the print.
Low Printability or High viscosity
- Cause: Some resins, especially tough or flexible types, are more sensitive to island structures and may not form certain geometries reliably.
- Solution: Check the support coverage specifically for islands when using such materials. Select a resin with better formability for complex geometries if necessary.
Abnormal Light Projection from the Screen
- Cause: Occasional screen projection issues may occur after firmware updates or for other system reasons.
- Solution: Restart the printer and run a projection test using the diagnostic pattern. If irregularities are found, replace the LCD screen.
Damaged or Loose Release Film
- Cause: A worn, leaking, or slack-release film can disrupt the curing process and cause layer loss.
- Solution: Inspect the release film regularly and replace it immediately if damage or slackness is observed.